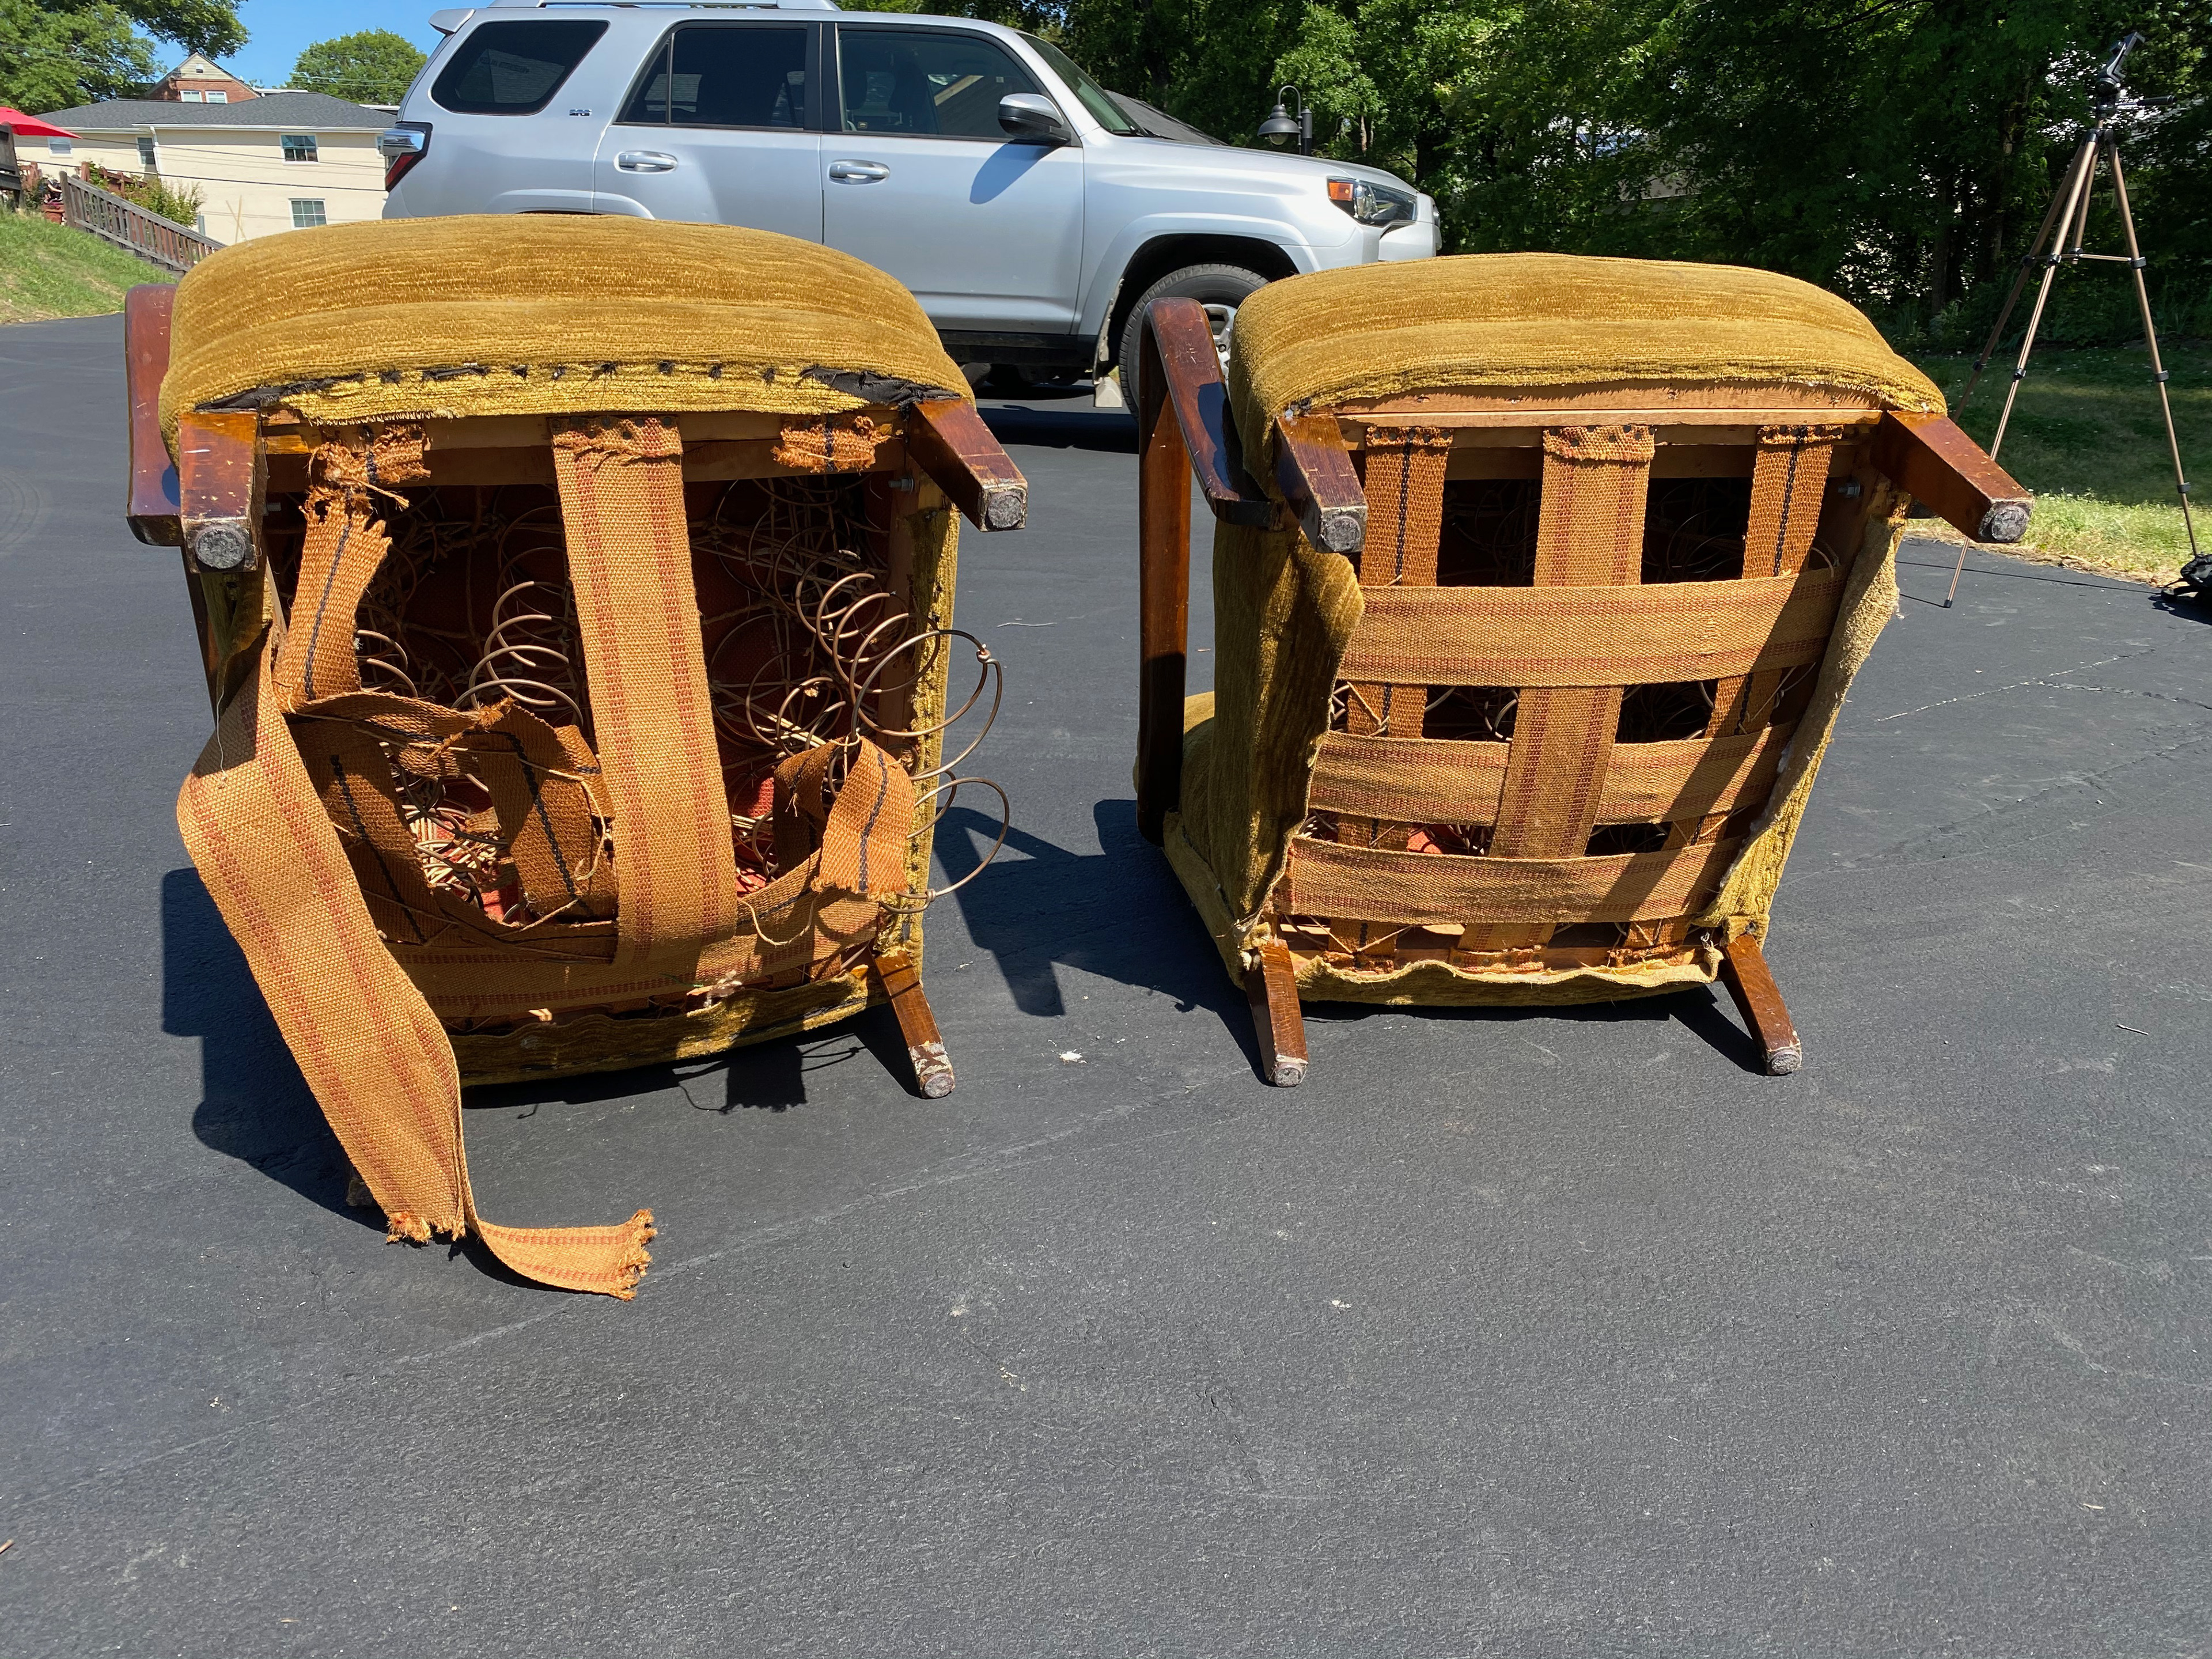

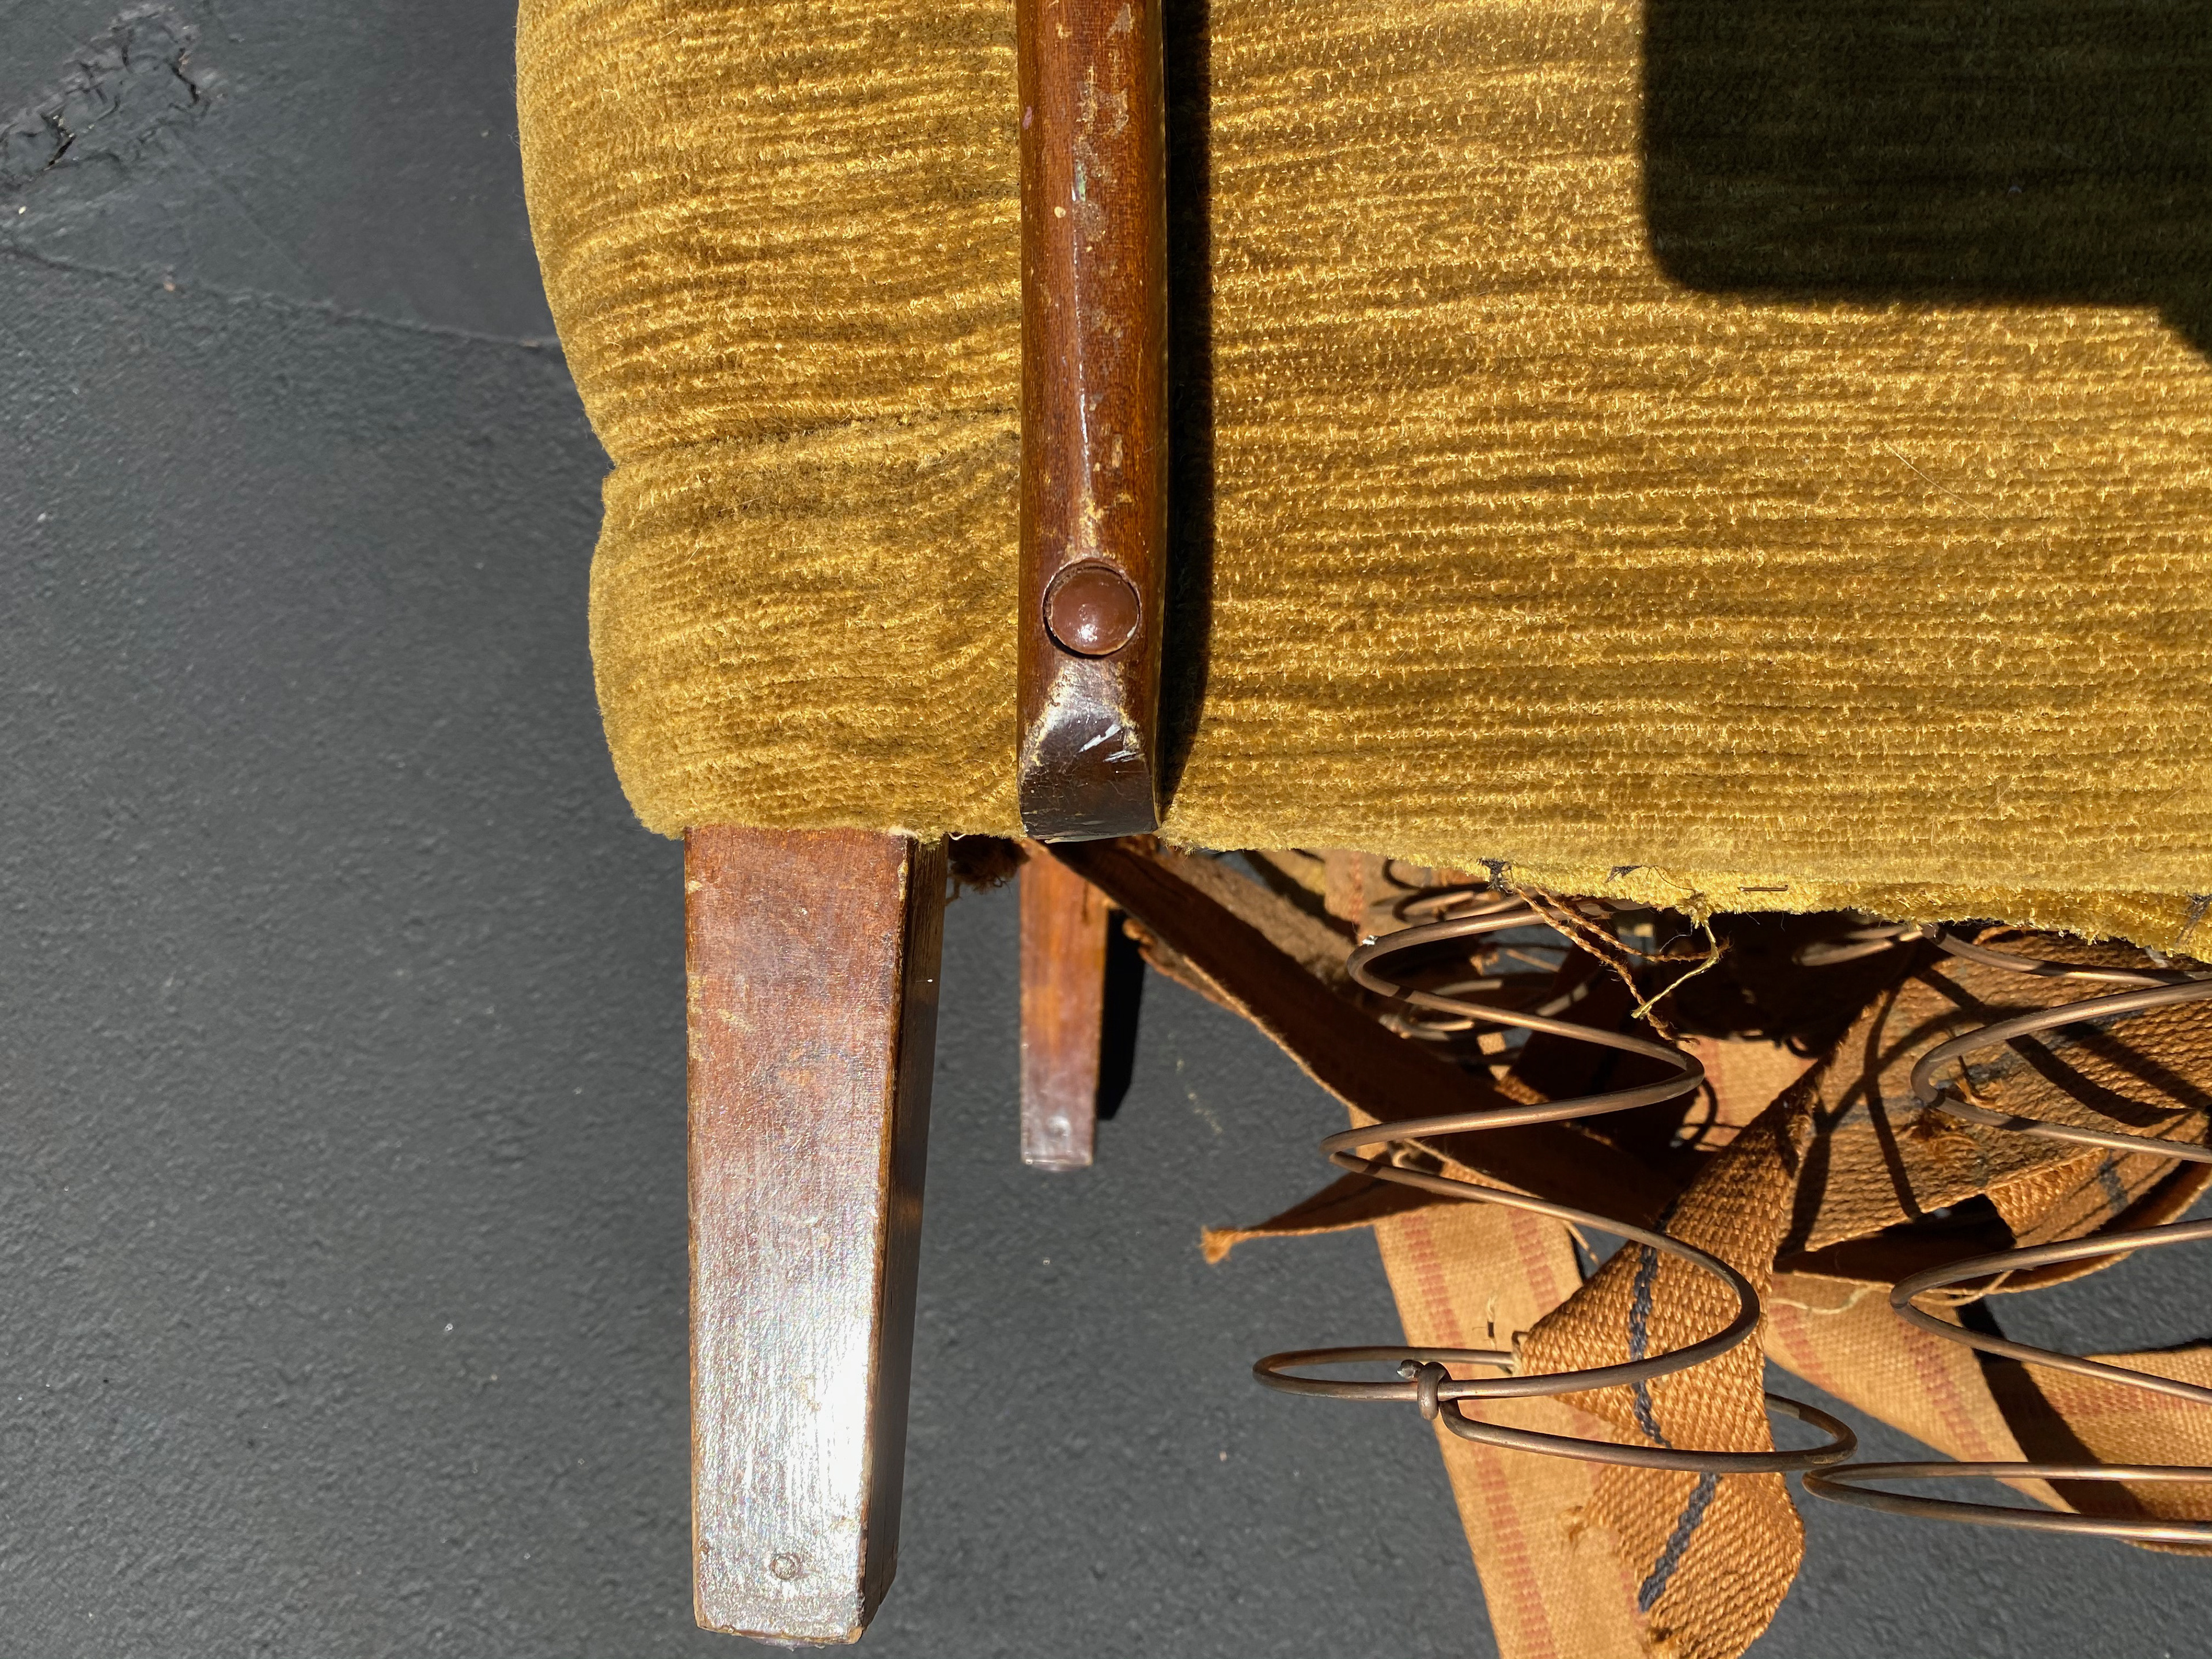
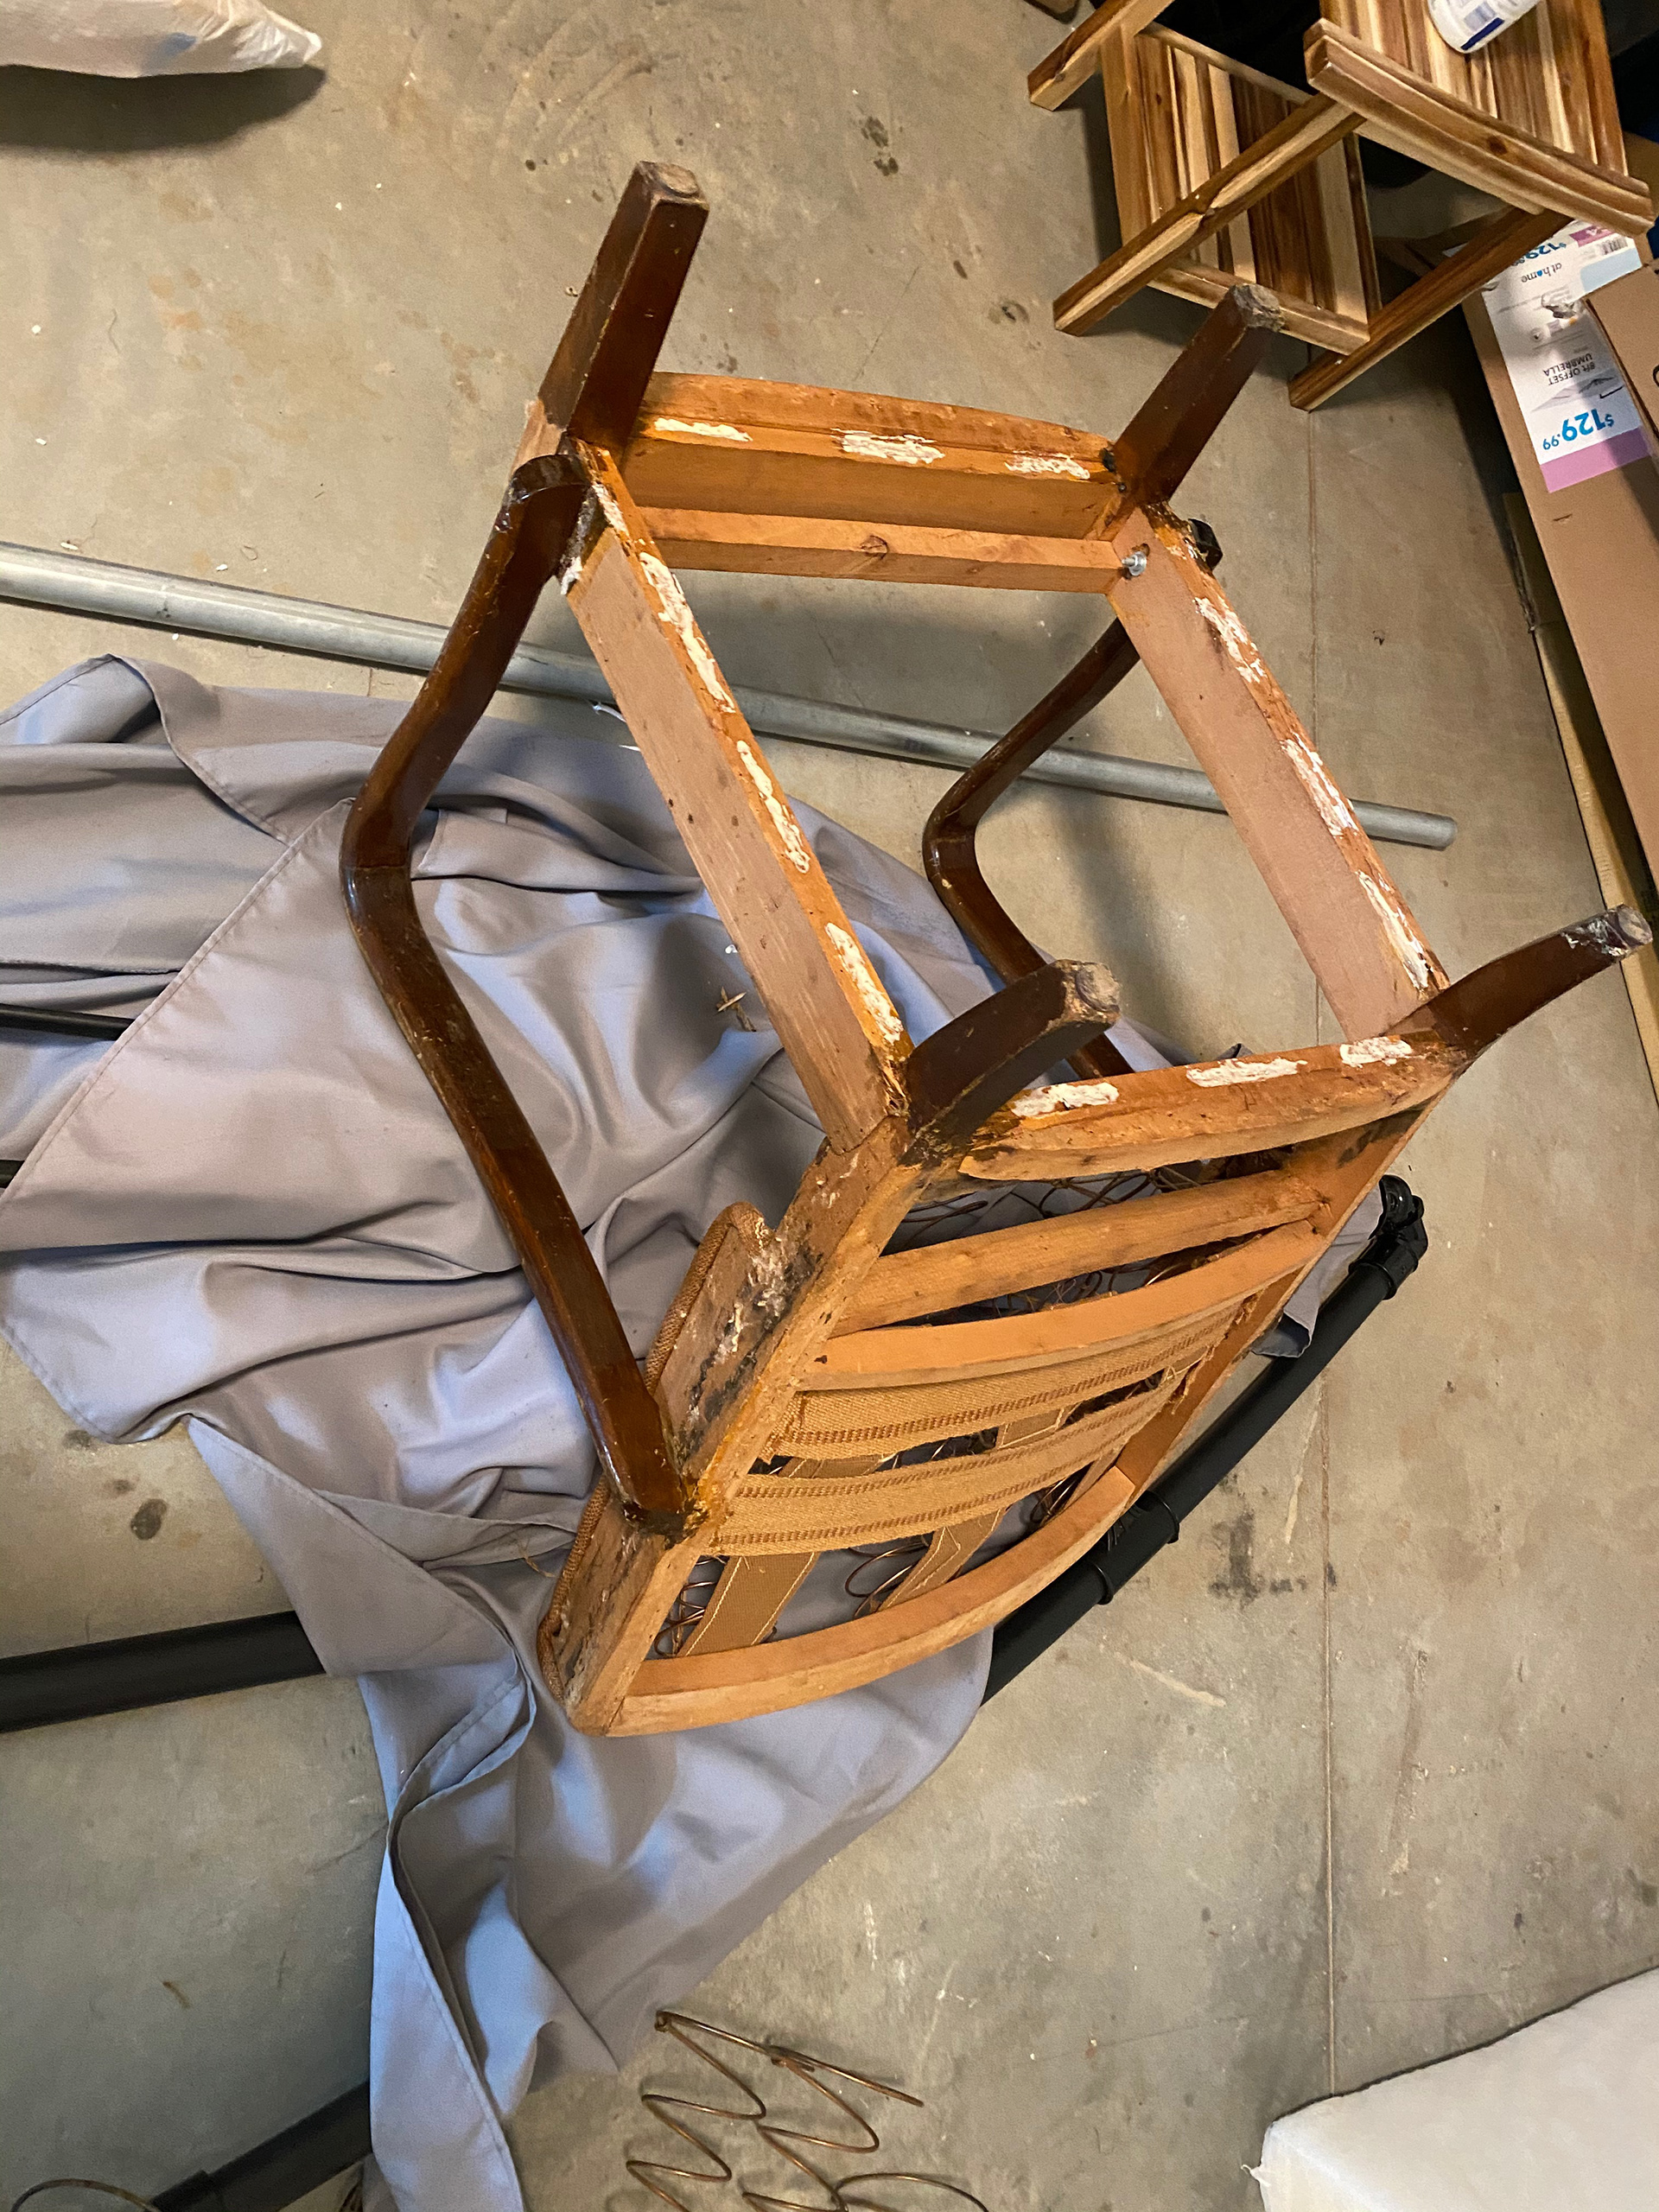
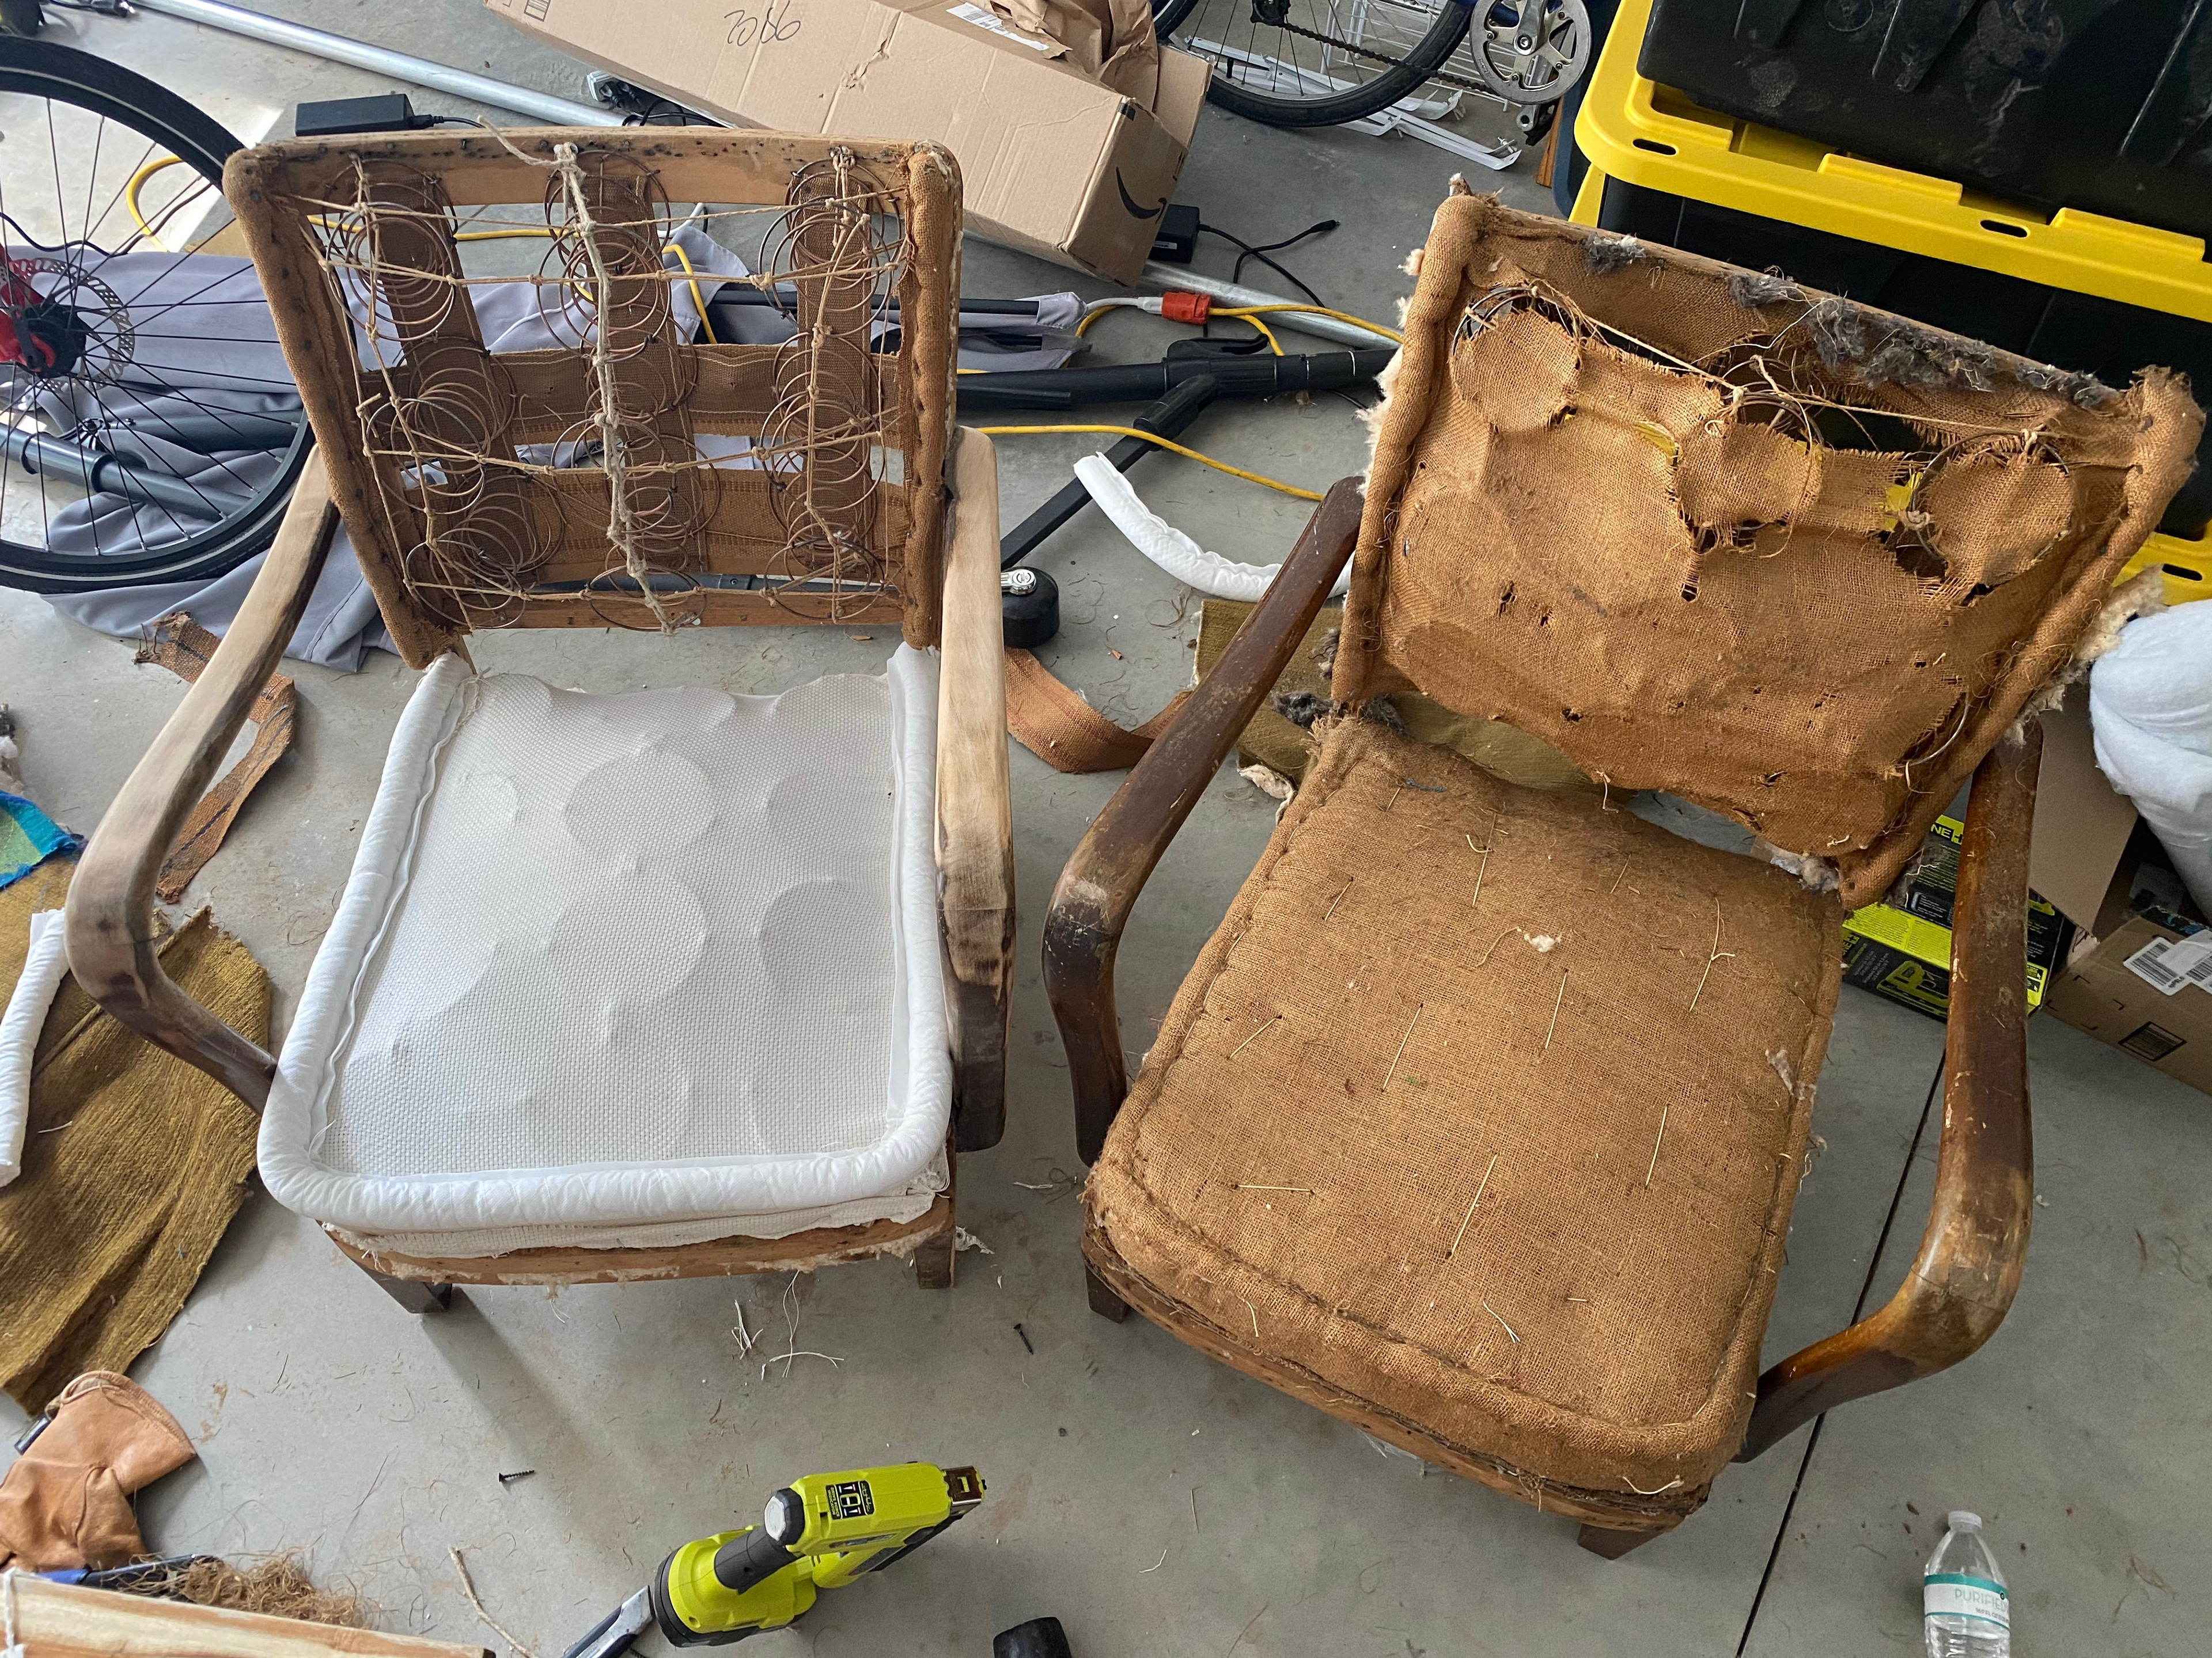
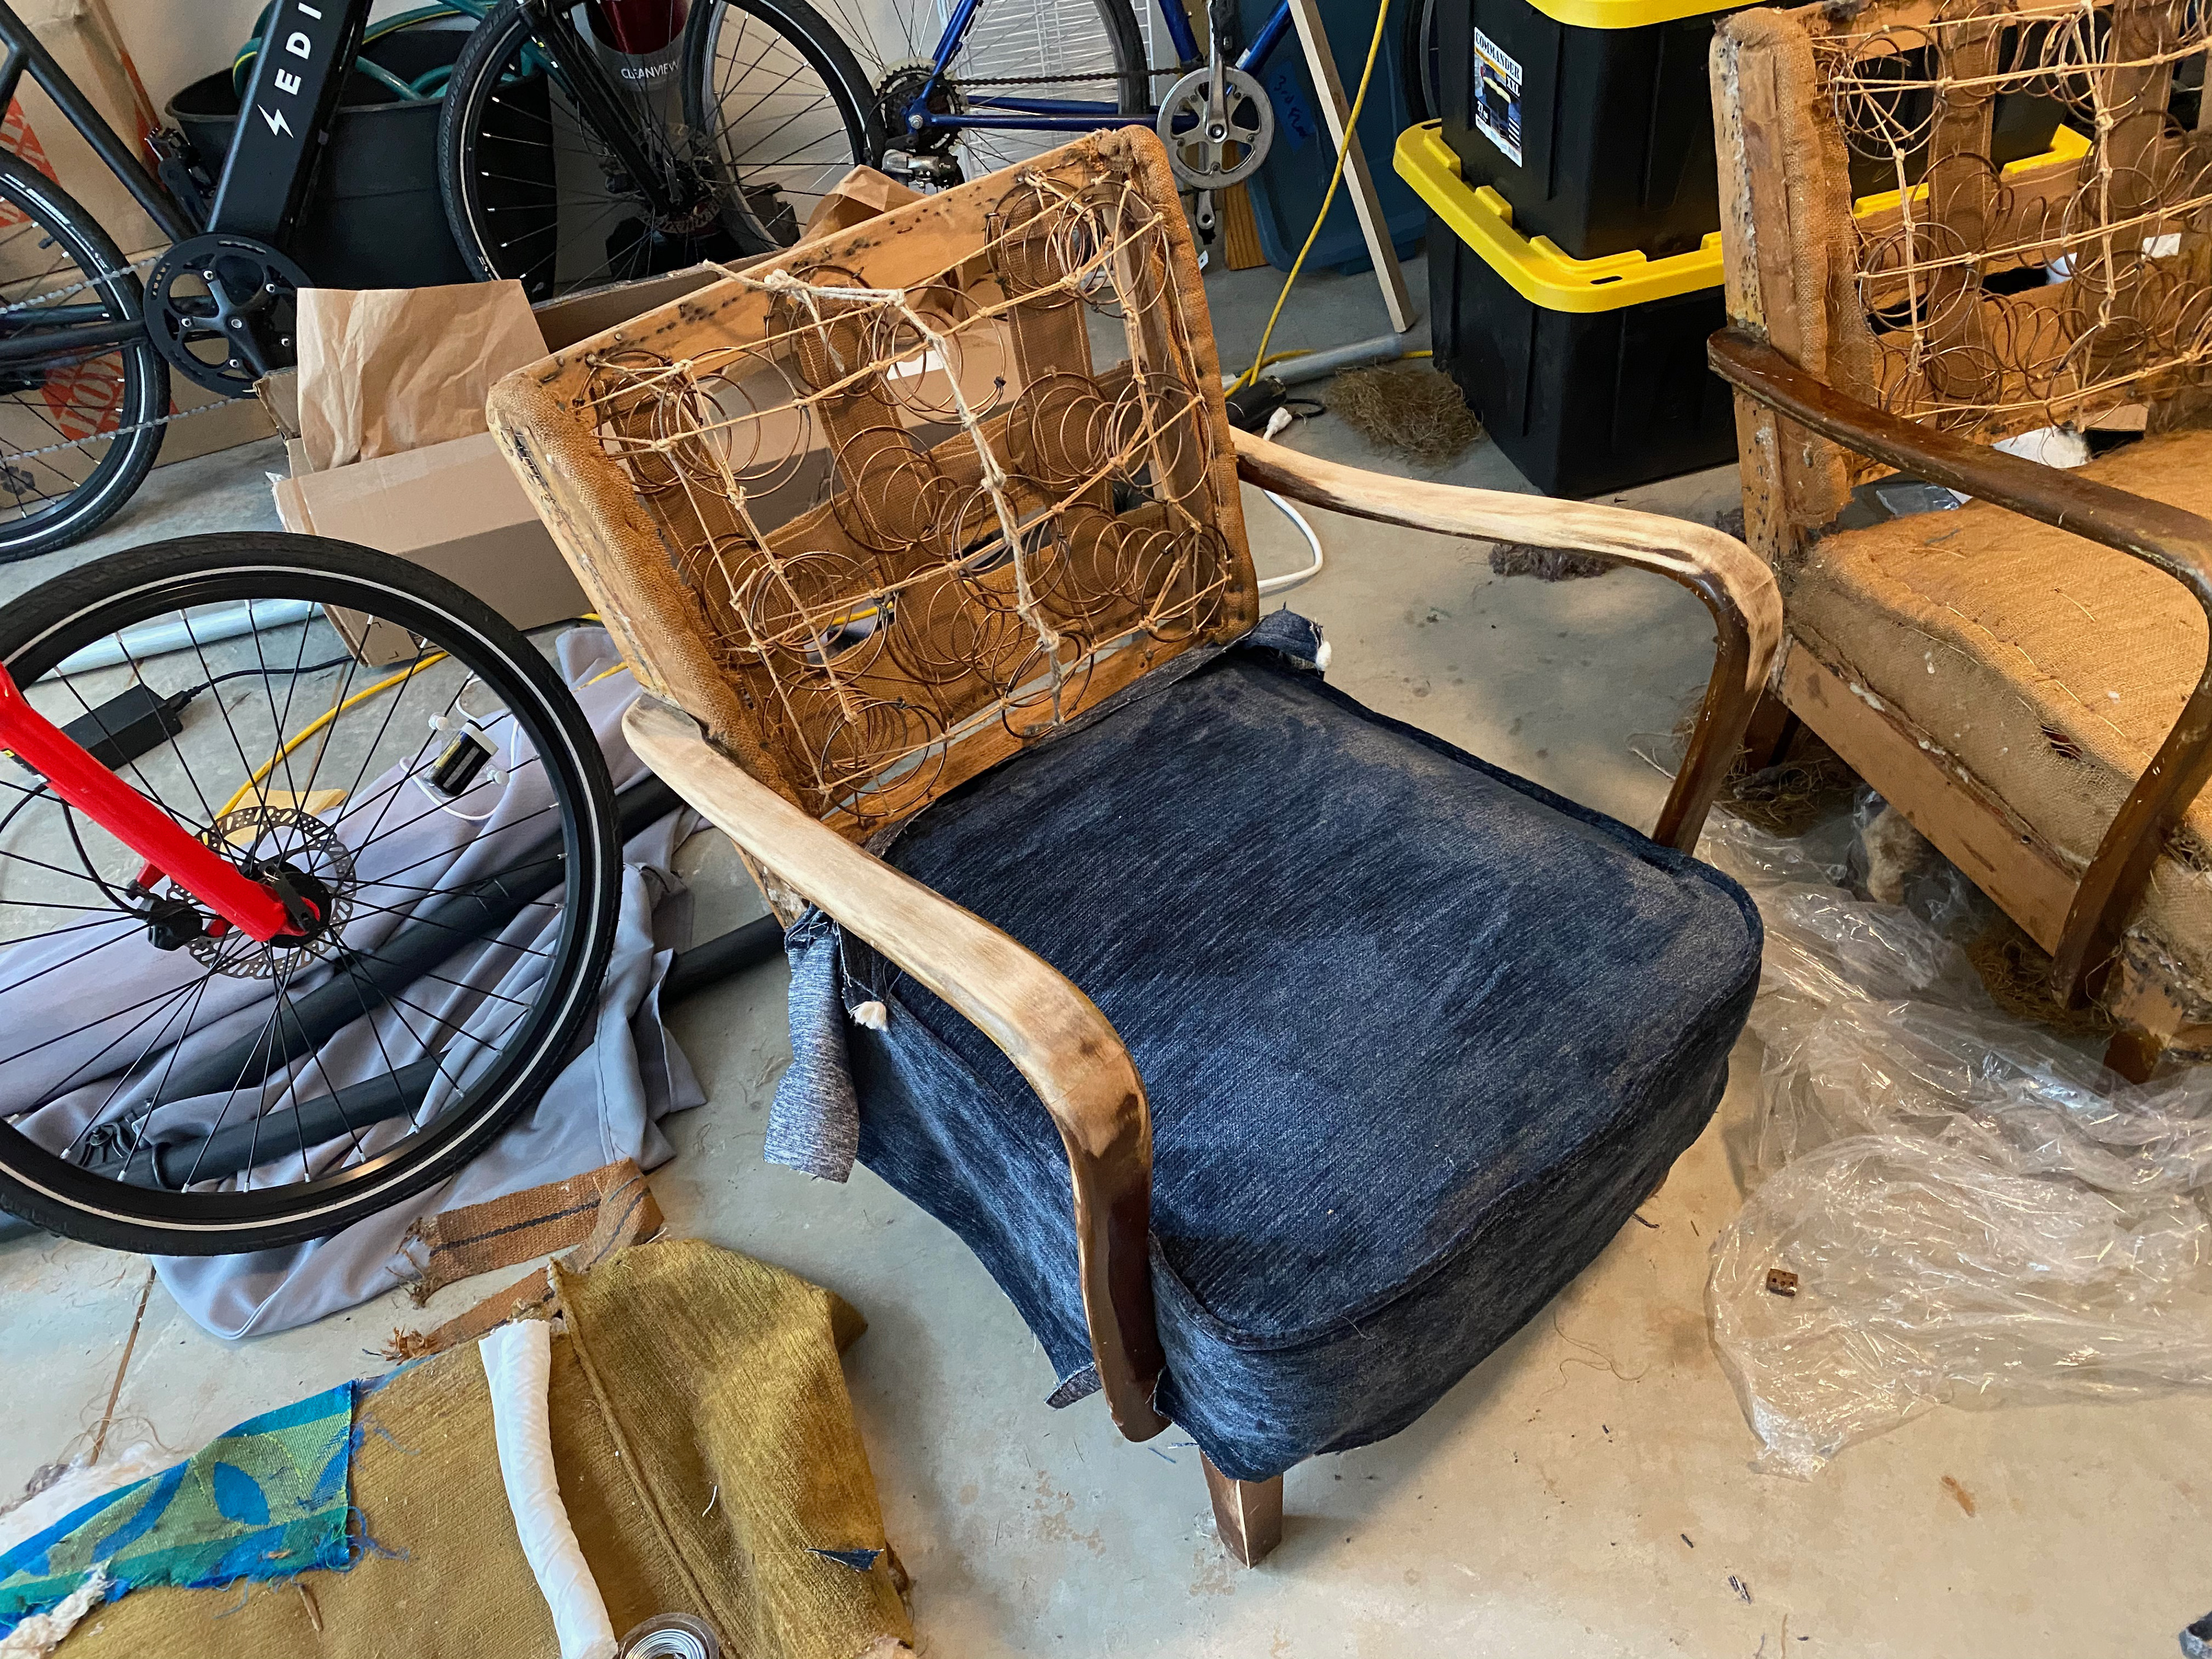
DECONSTRUCTION
Using a chisel, pliers, and a whole lot of elbow grease, I pulled apart layer after layer of trim, stuffing, and fabric. Countless hours, staples, and blisters later, I finally made it to the base wood frame.
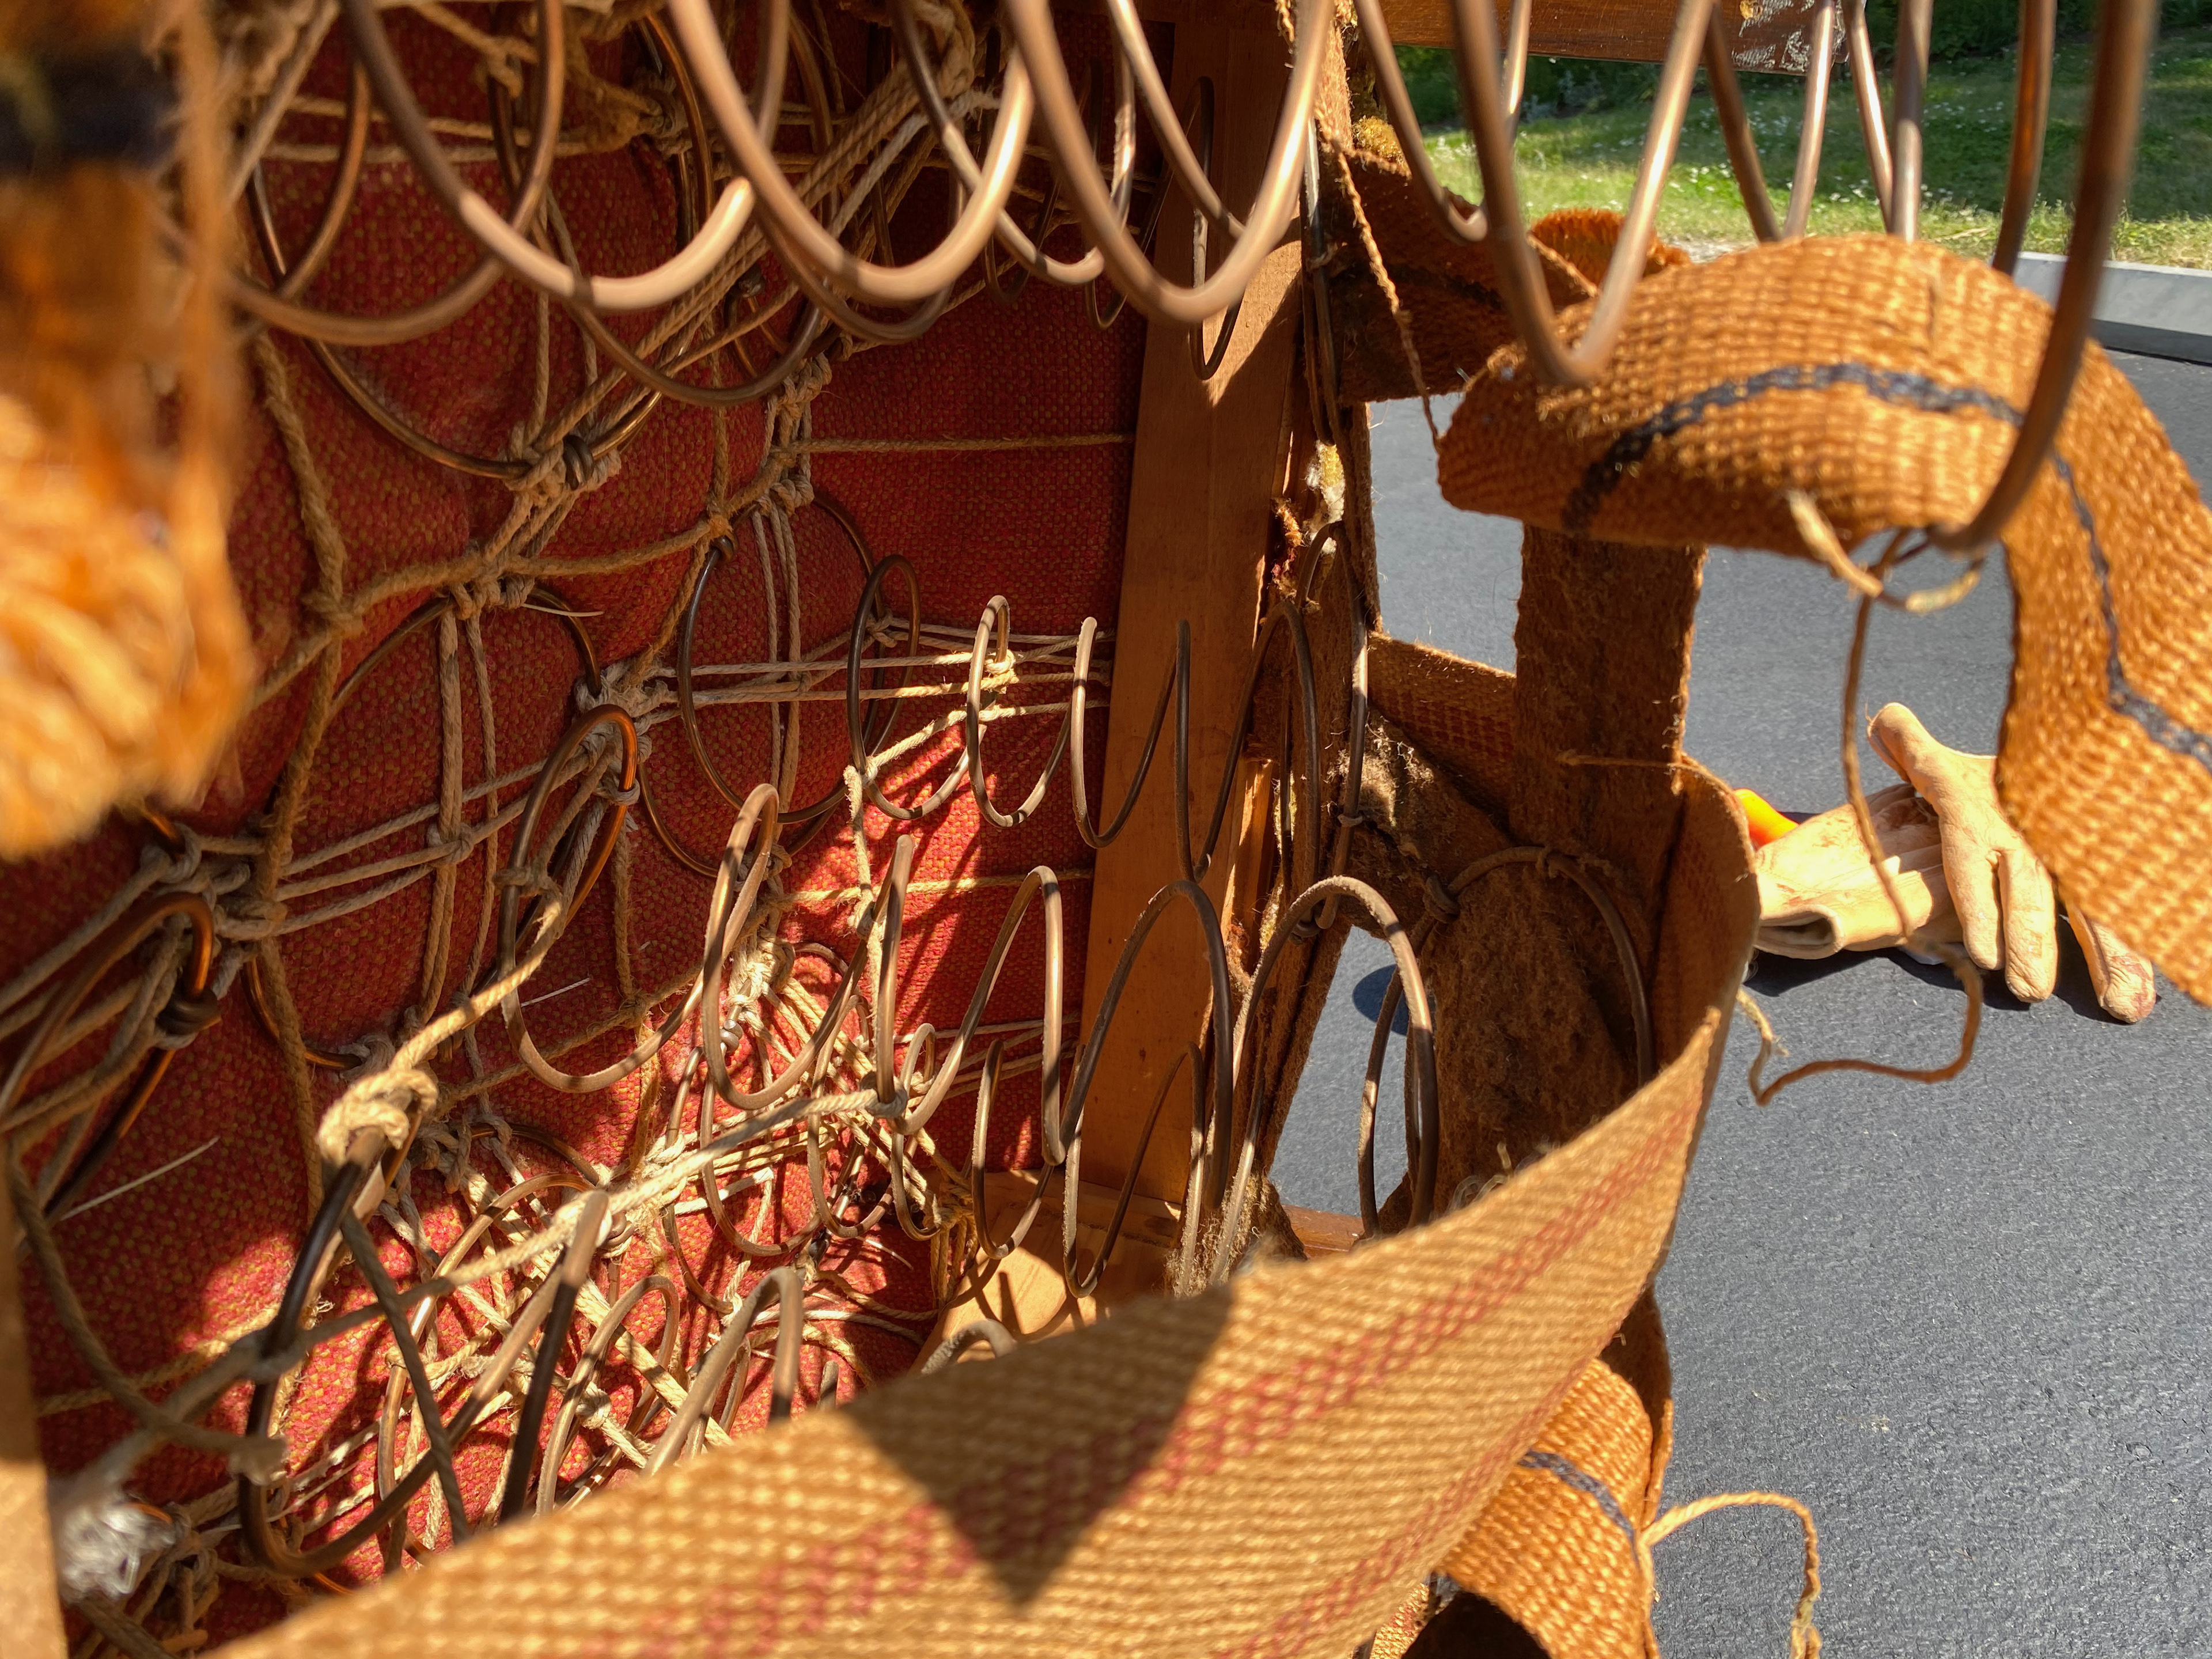
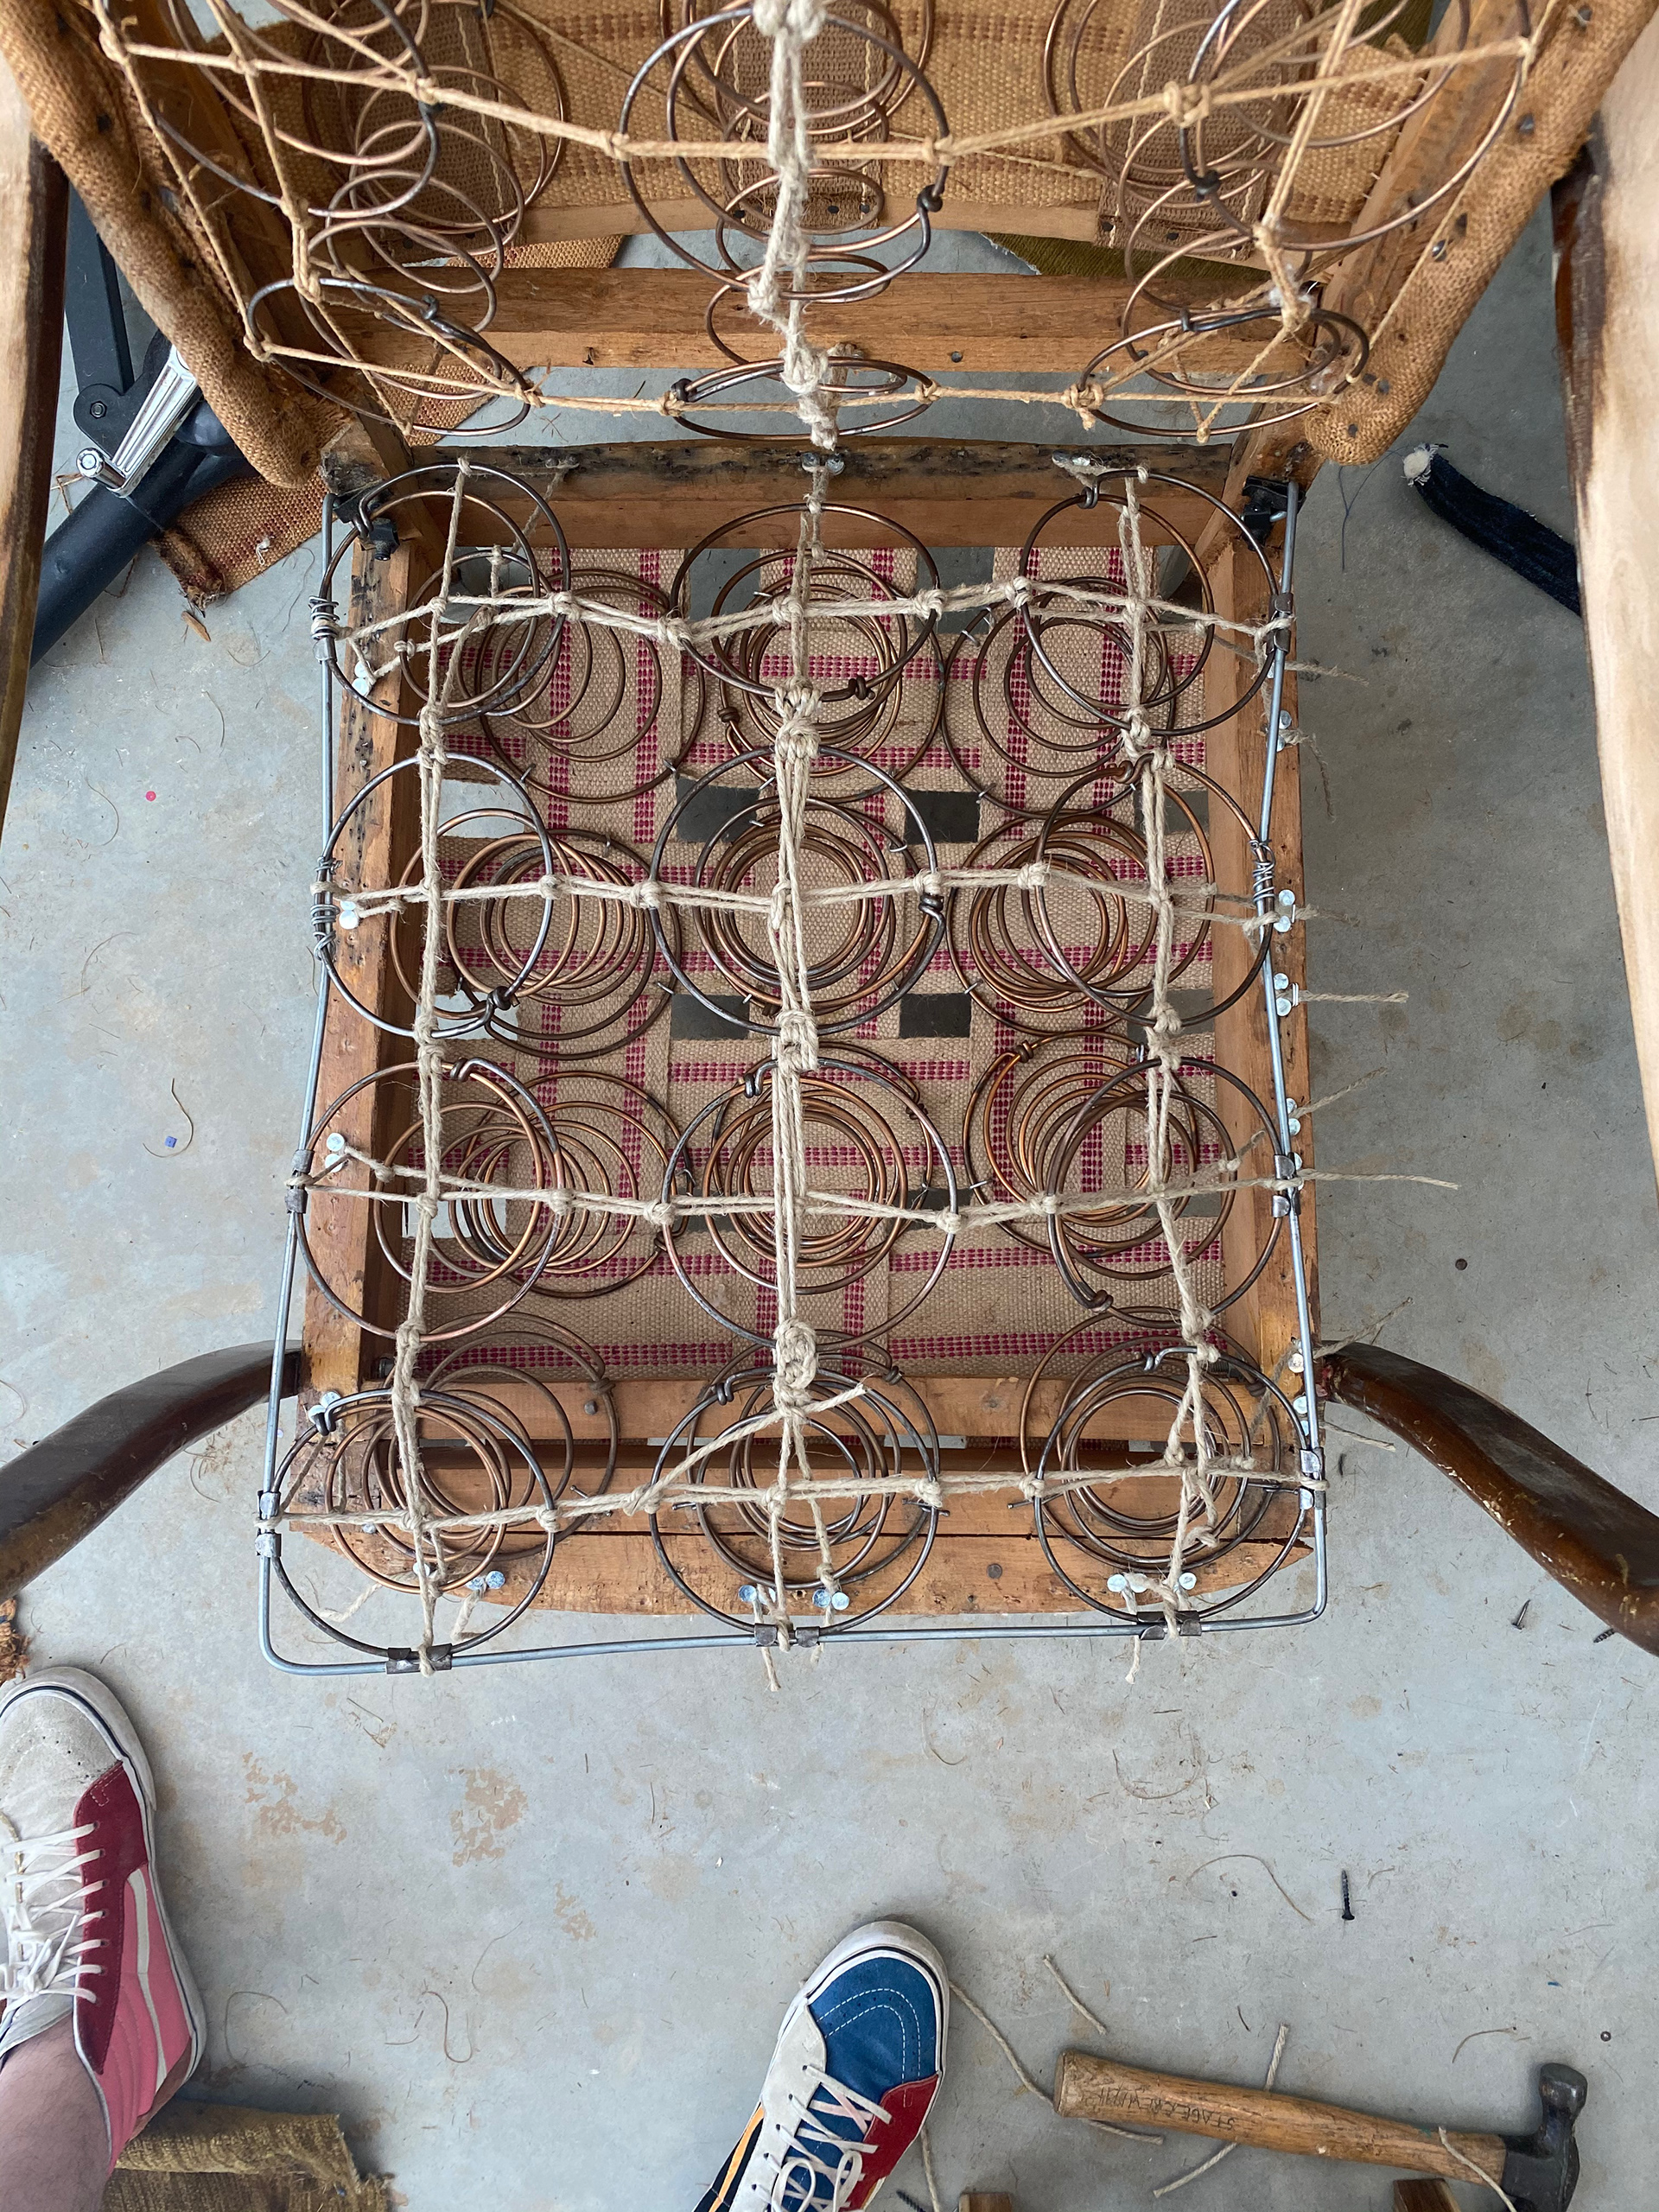
SPRING UP
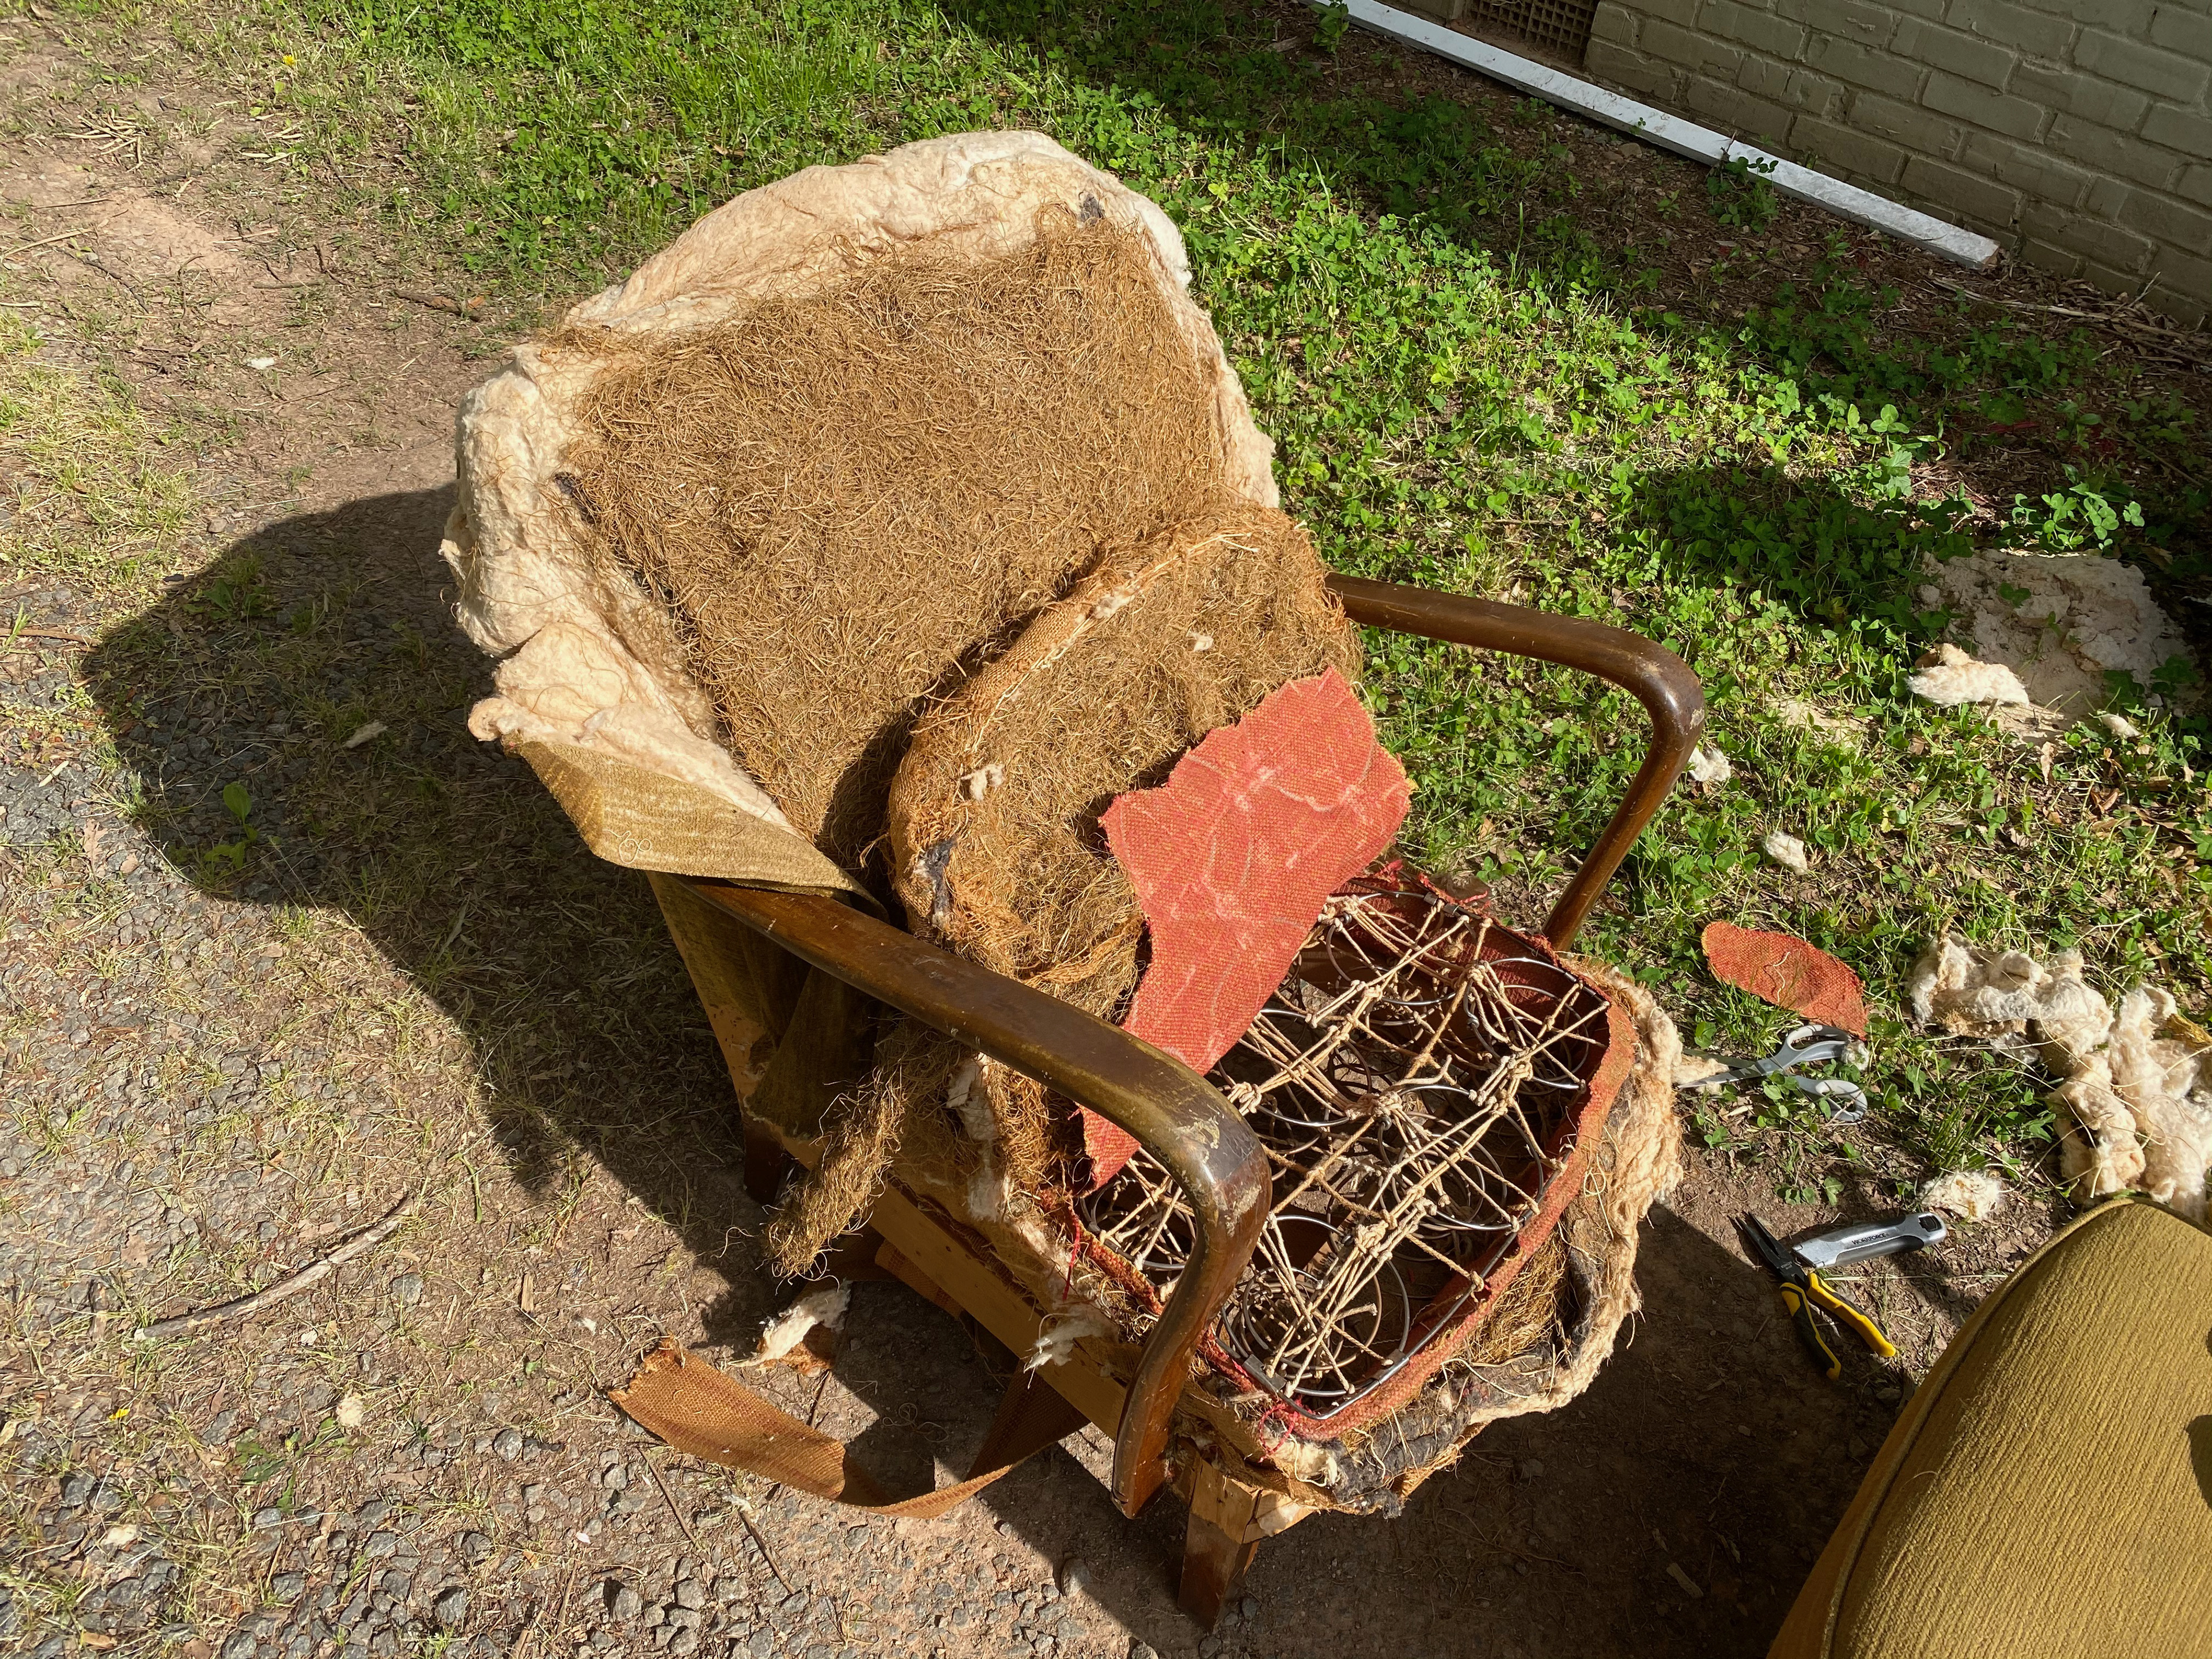
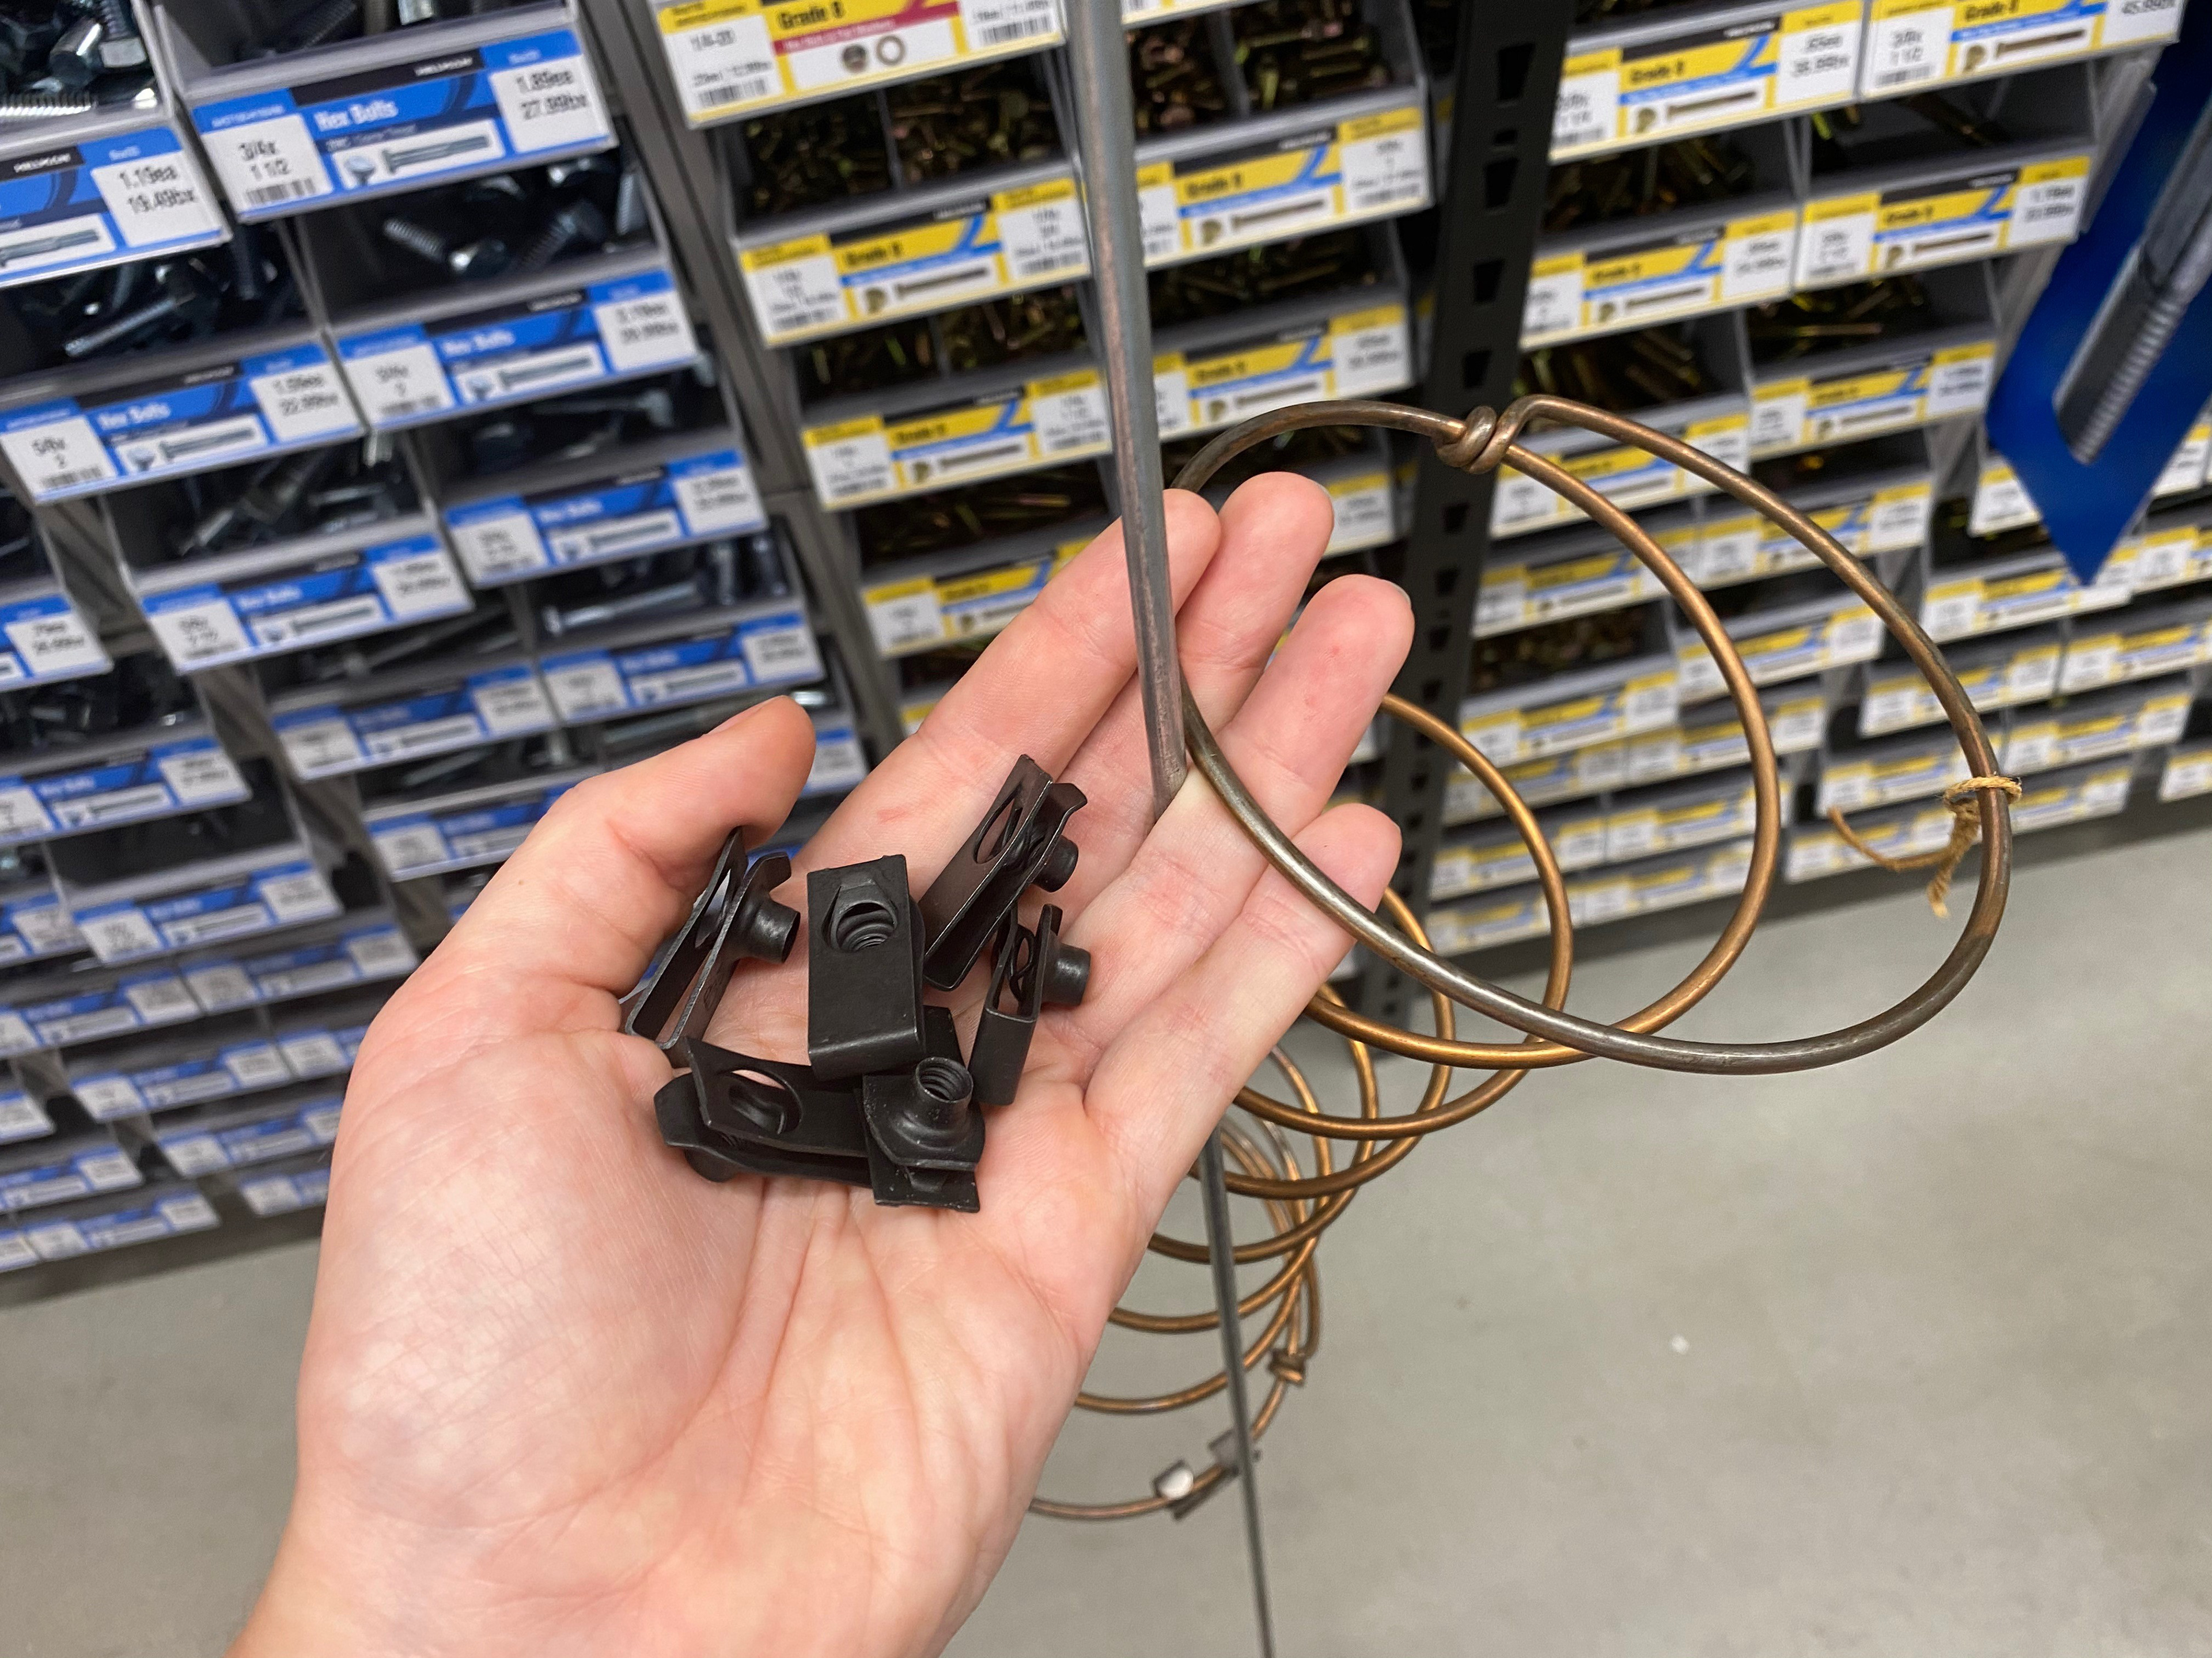
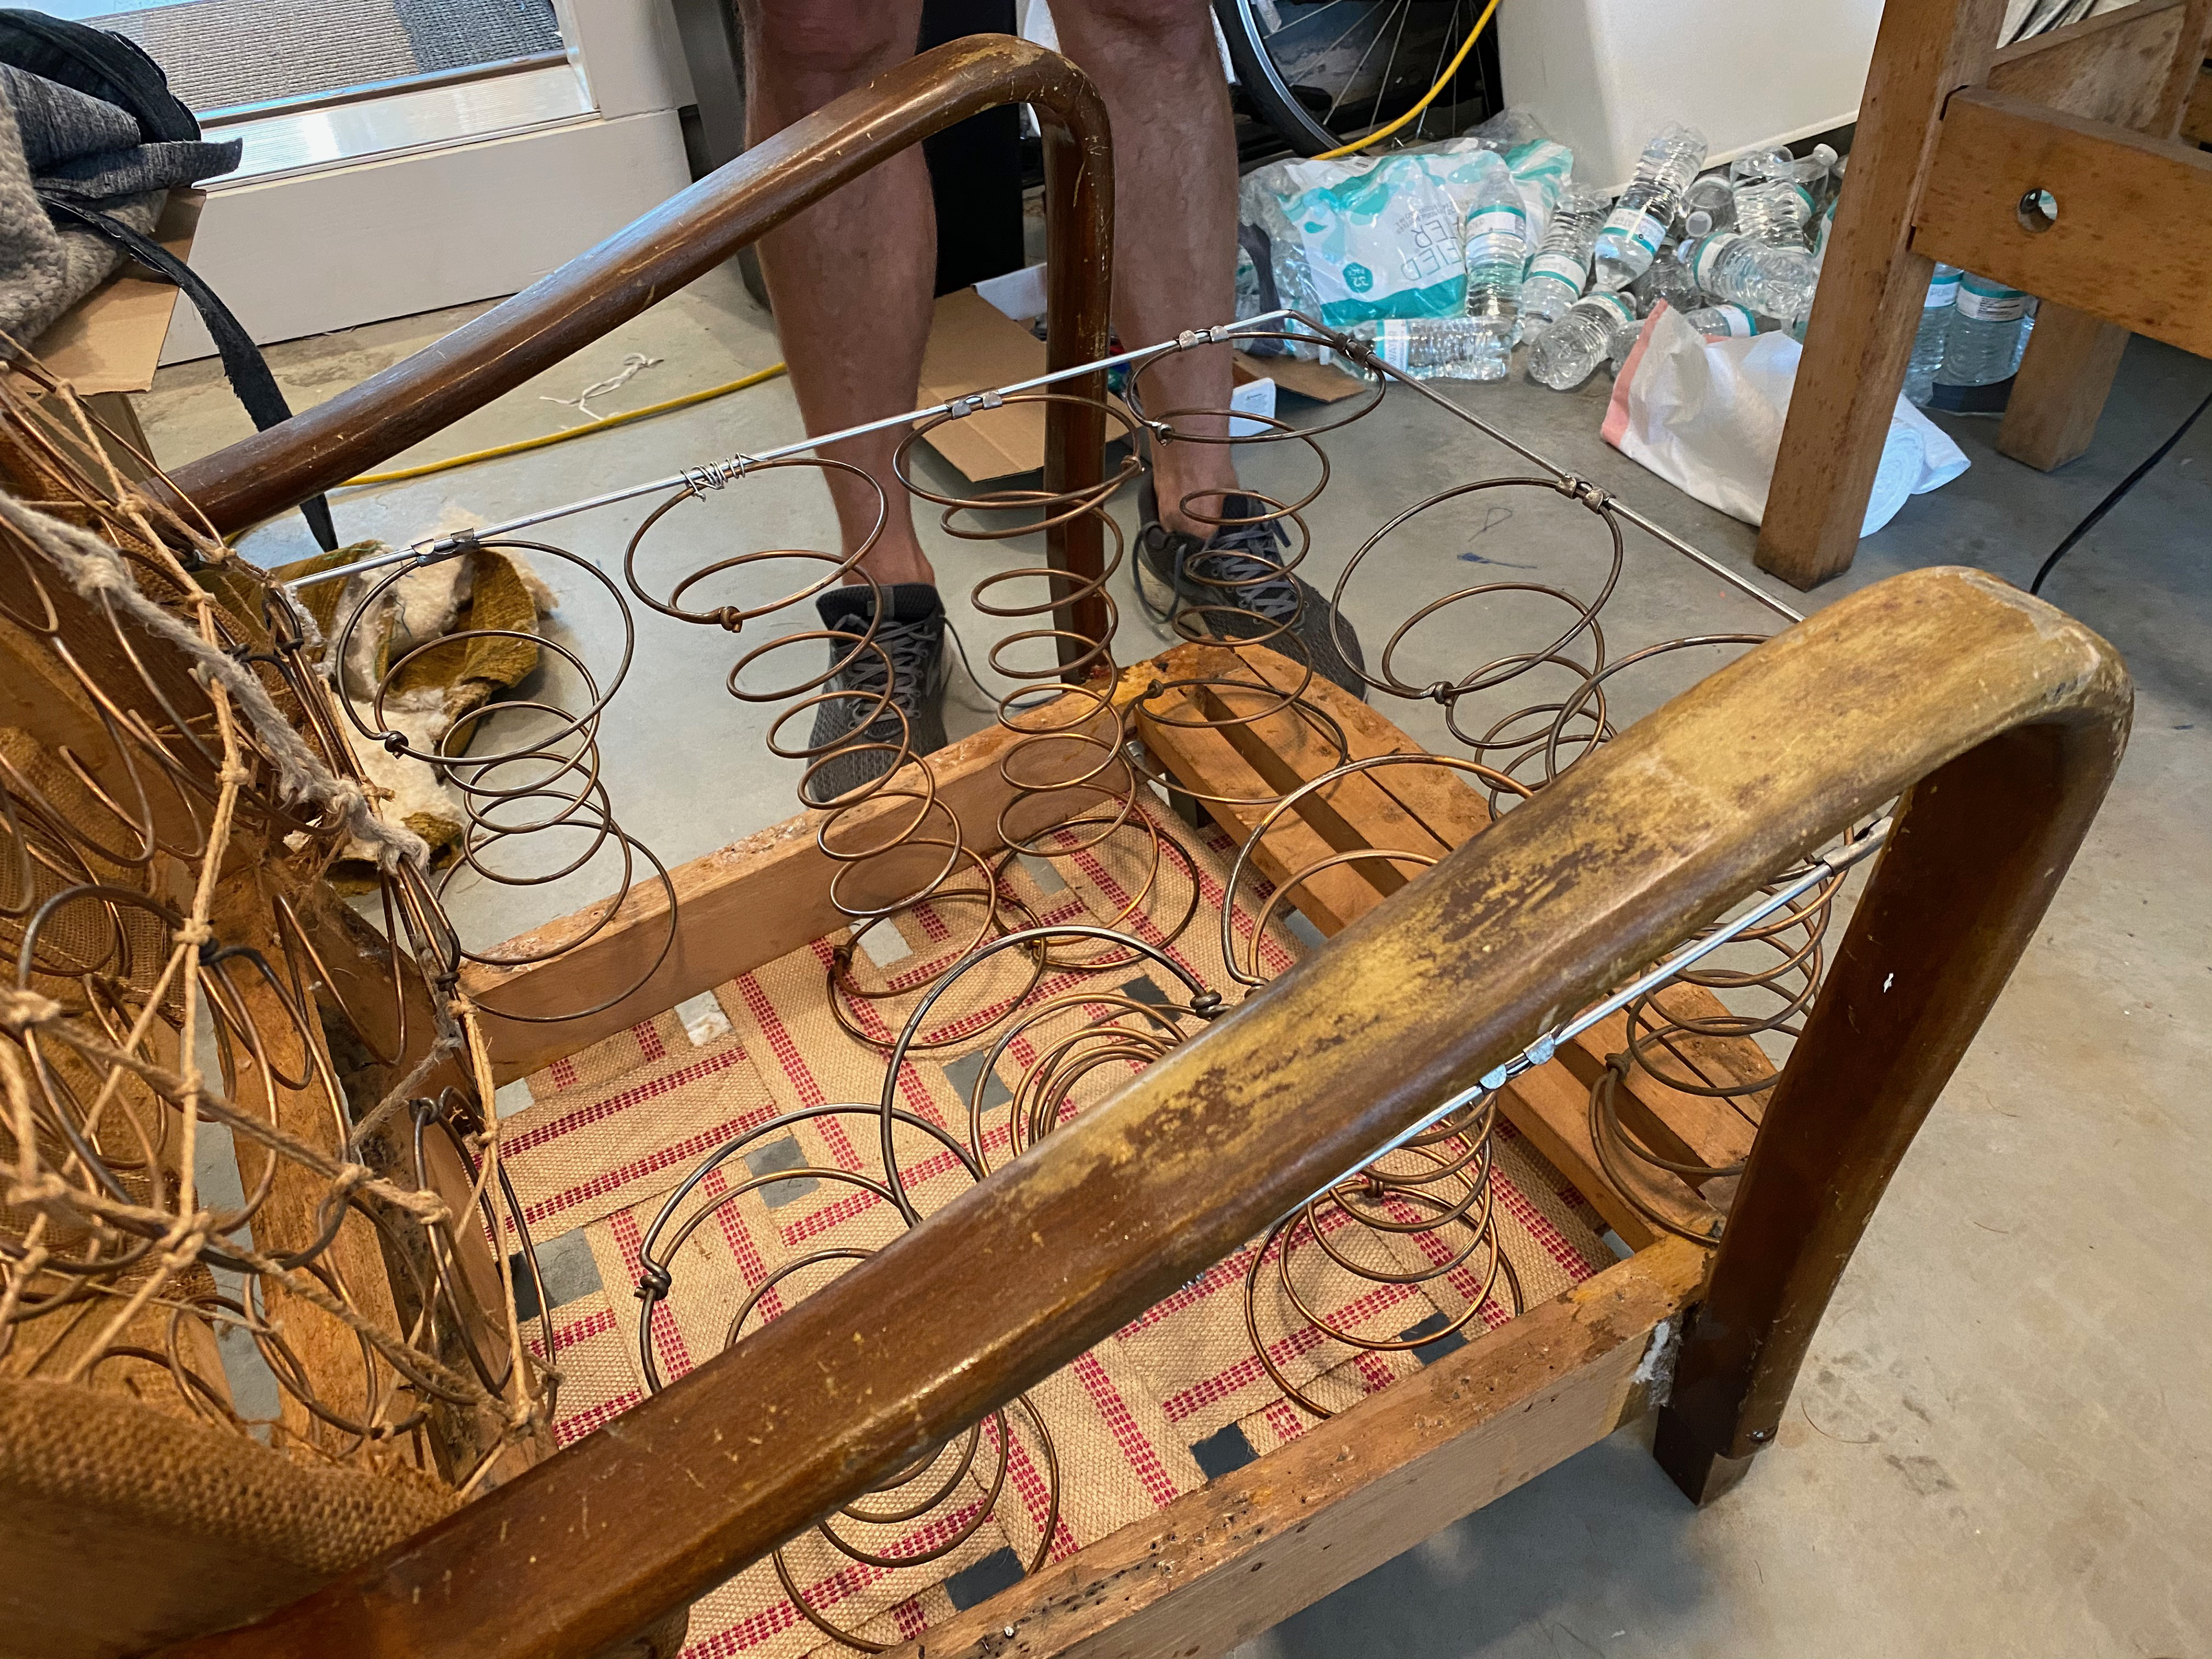
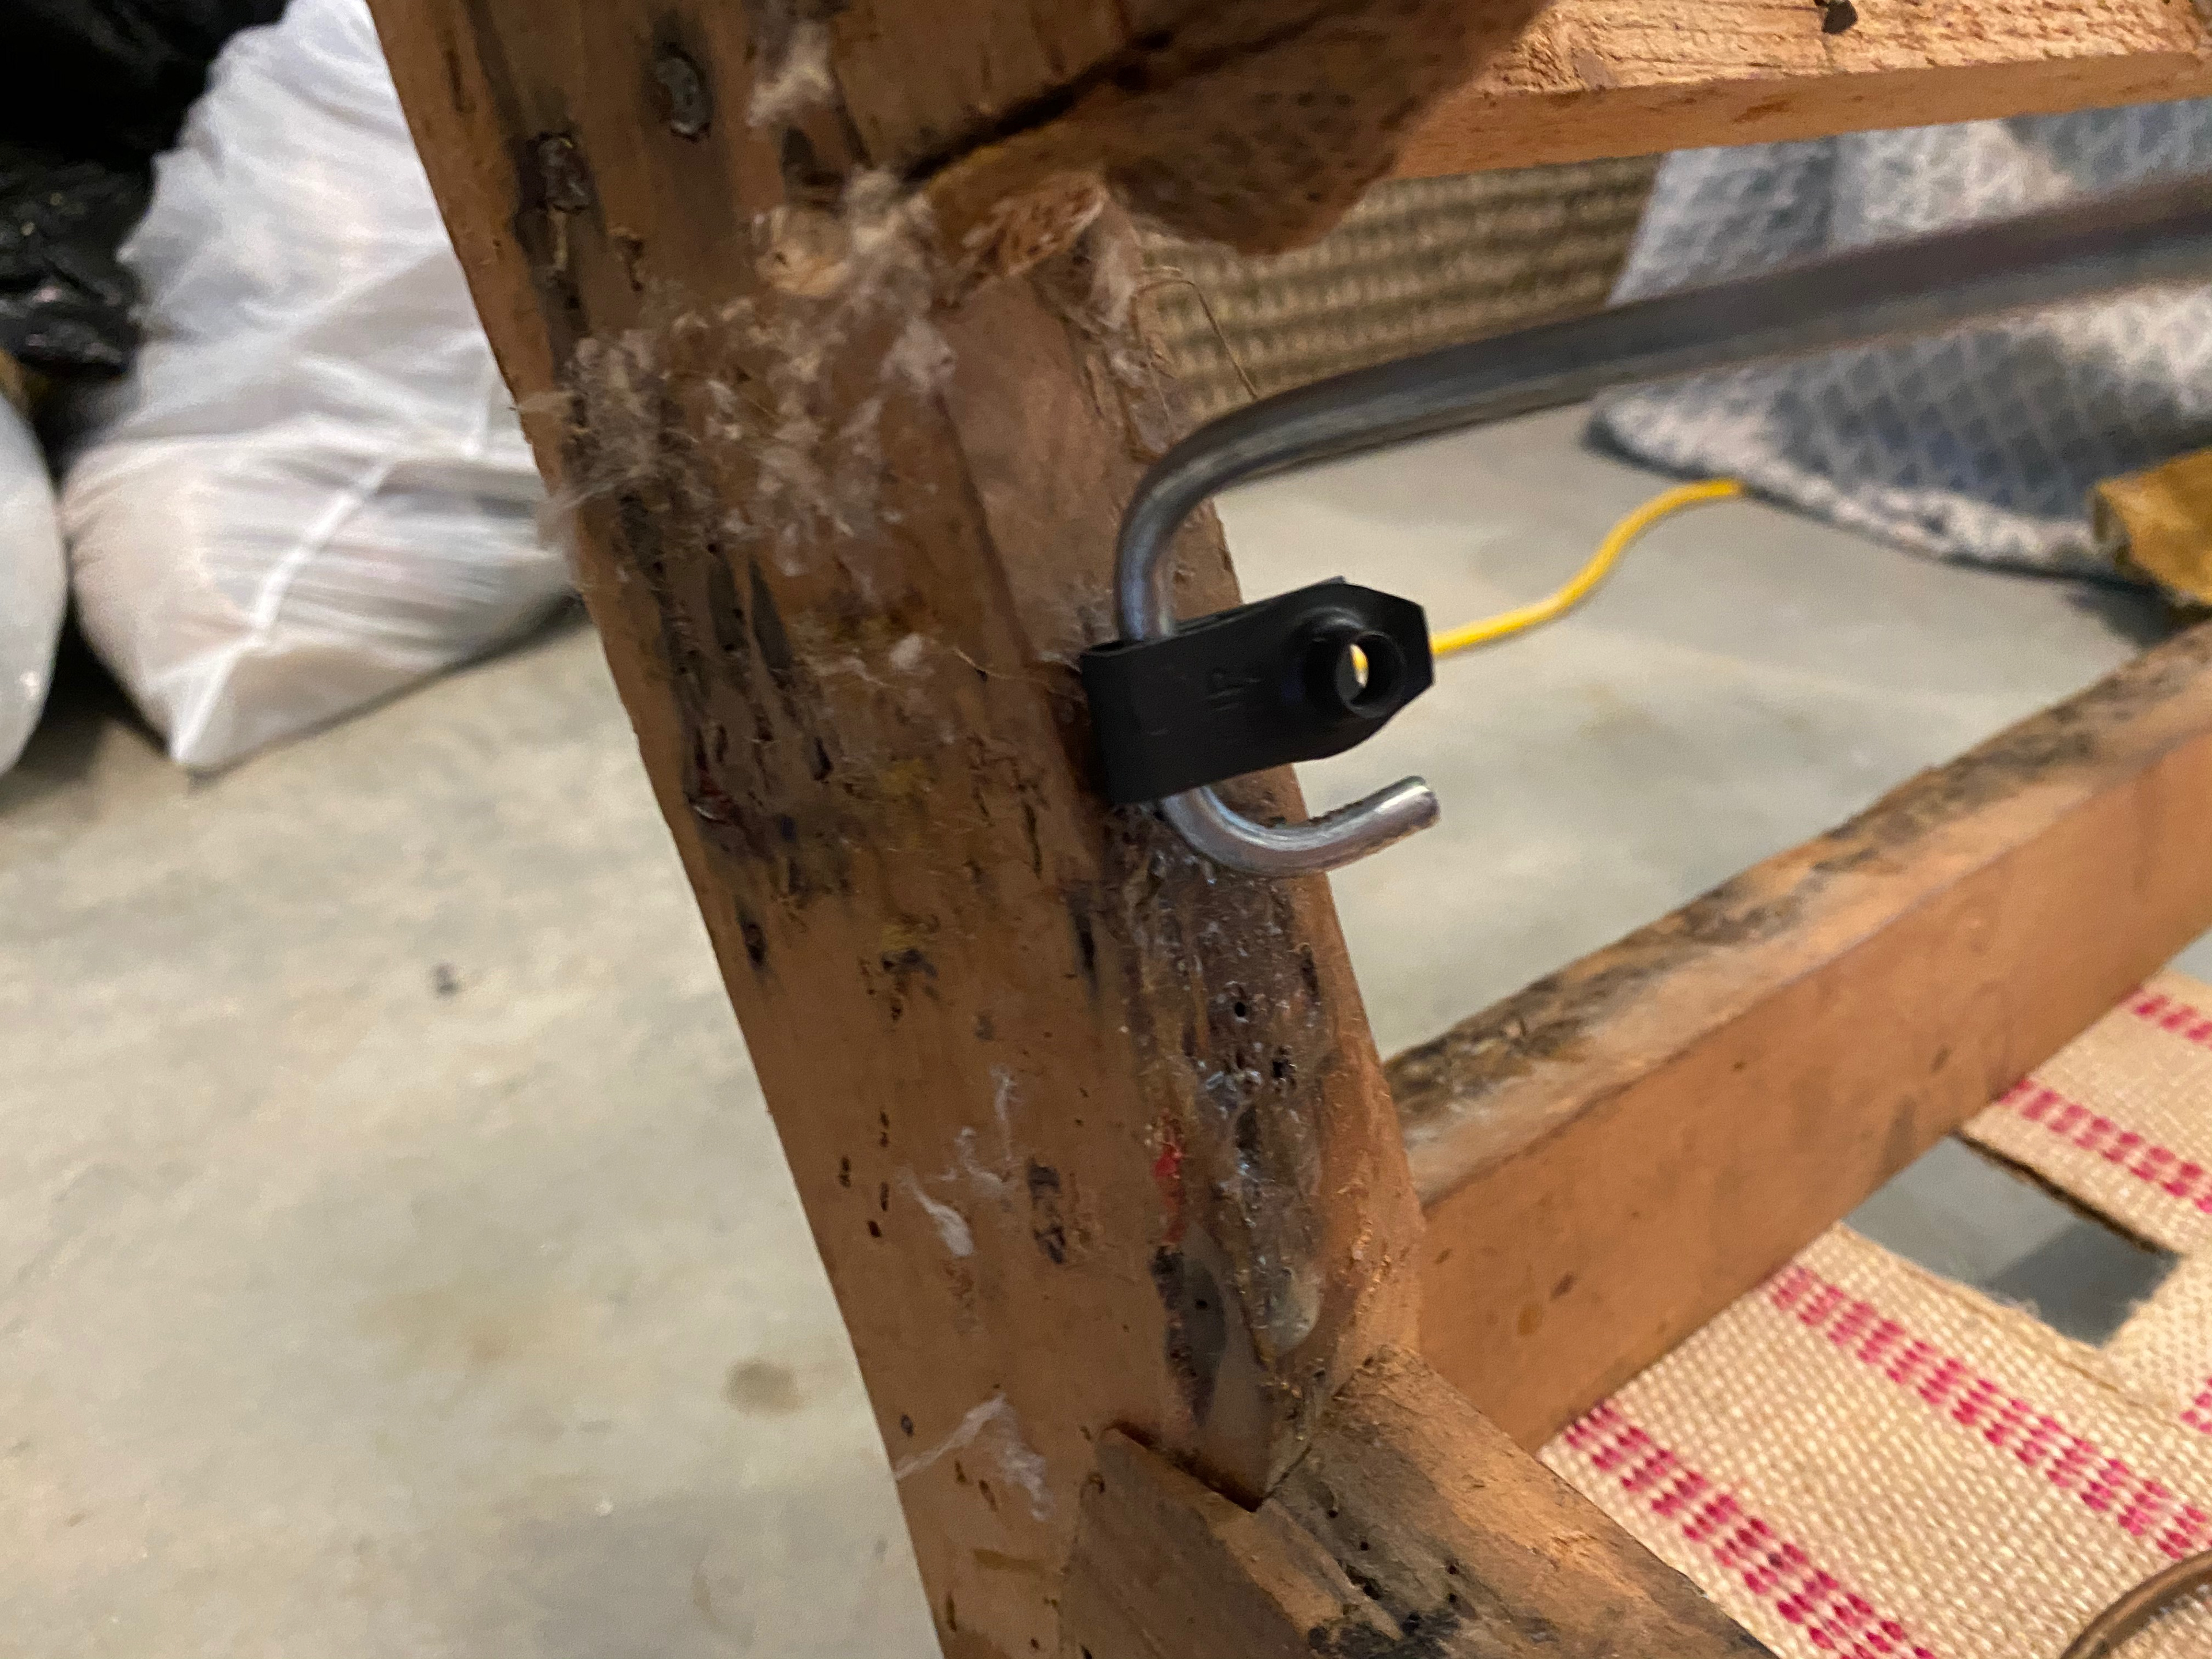
Although the springs of the chairs were structurally sound, the strings and the webbing that kept them in place were falling apart. In addition, the square metal frame that gave the chair its shape (bottom left) was broken and the metal plate that held it in place had ripped out. To fix this, I went to ace hardware and got a metal rod and some "U" nuts to improvise a new frame. I bent the rod into the shape of the old frame and used the hardware to secure it to the chair. I was then able to re-tie the springs as shown in the top right image.
RECONSTRUCTION
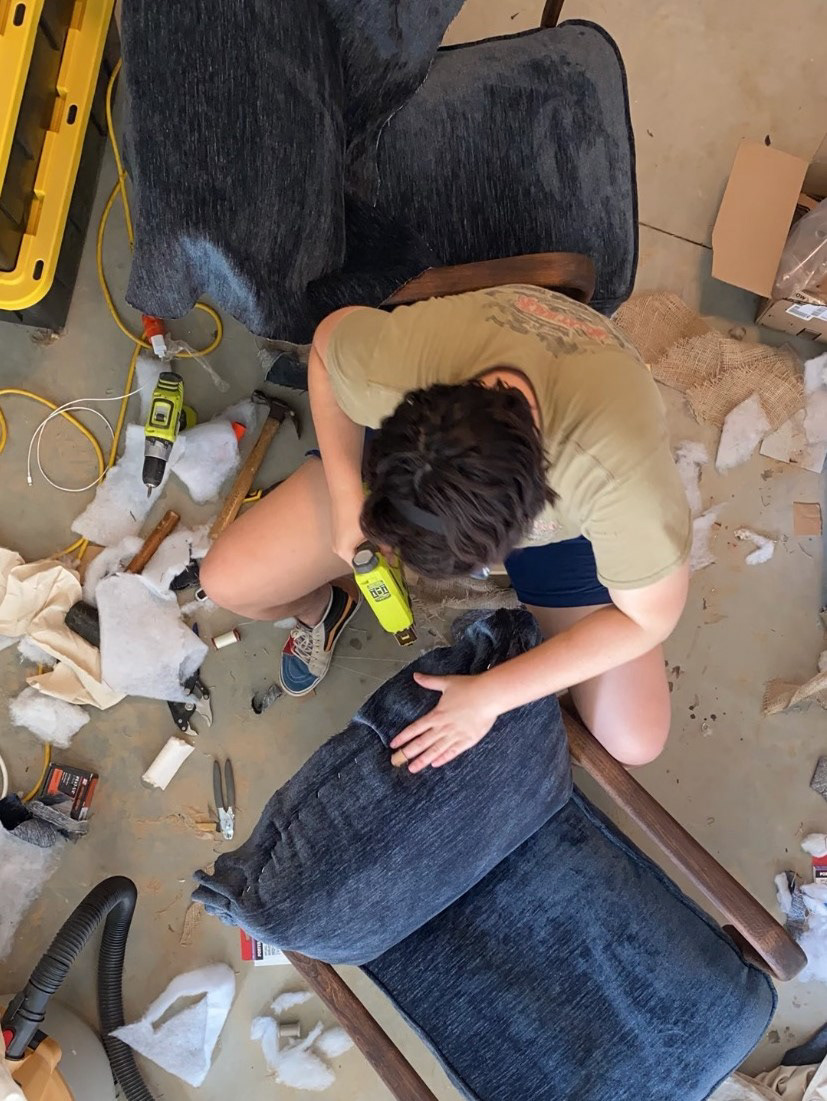
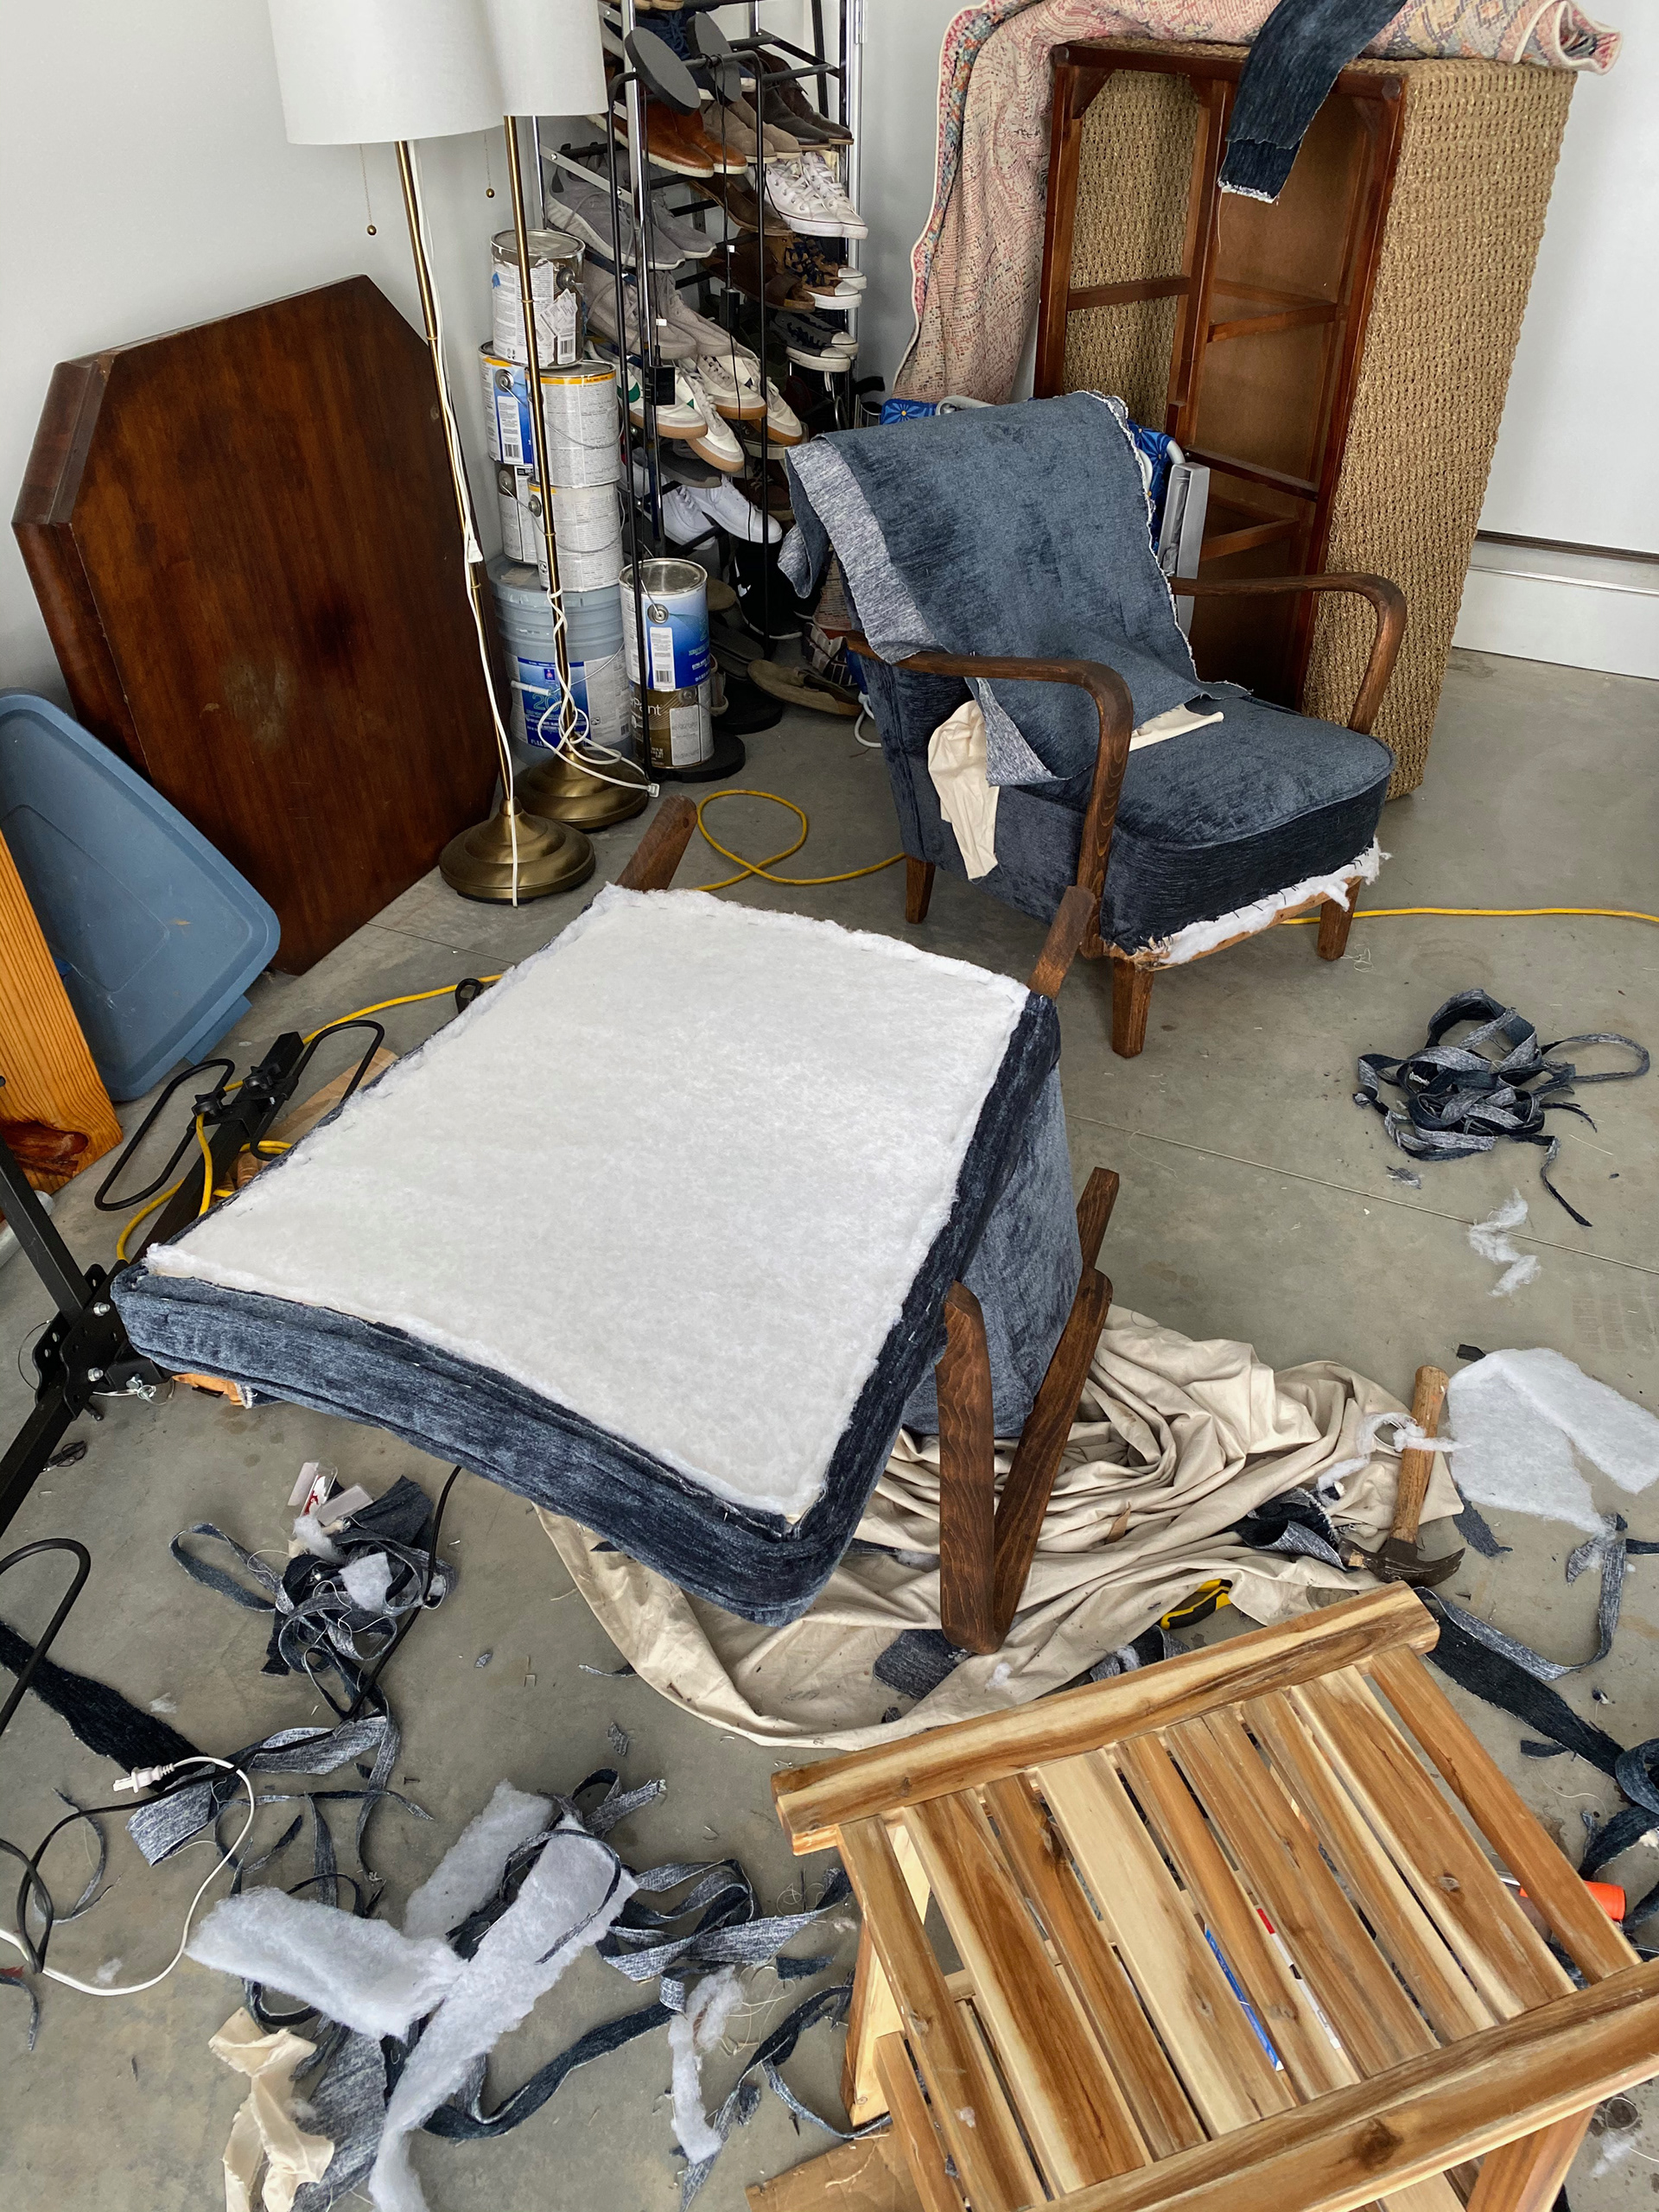
After the structure of the chair was back in place, I began replacing the stuffing and fabric. In the image on the left, I have already tacked down the base layer of fabric, and sewn in the edge roll to give the front of the chair its angular shape. Instead of the natural burlap and horsehair of the original chair, the filling I used was primarily polyester. After a few more layers of fabric and stuffing, I taped off the seat and back of the chair and sanded down the arms and legs. After sanding, I began sewing and fitting the final fabric. I used the old chair pattern as a guide, and used trial-and-error to test the fit. I sewed my own welt cord to trim the fabric, and hand-sewed where necessary. Lastly, I stained the wood and stapled and sewed the final fabric into place.
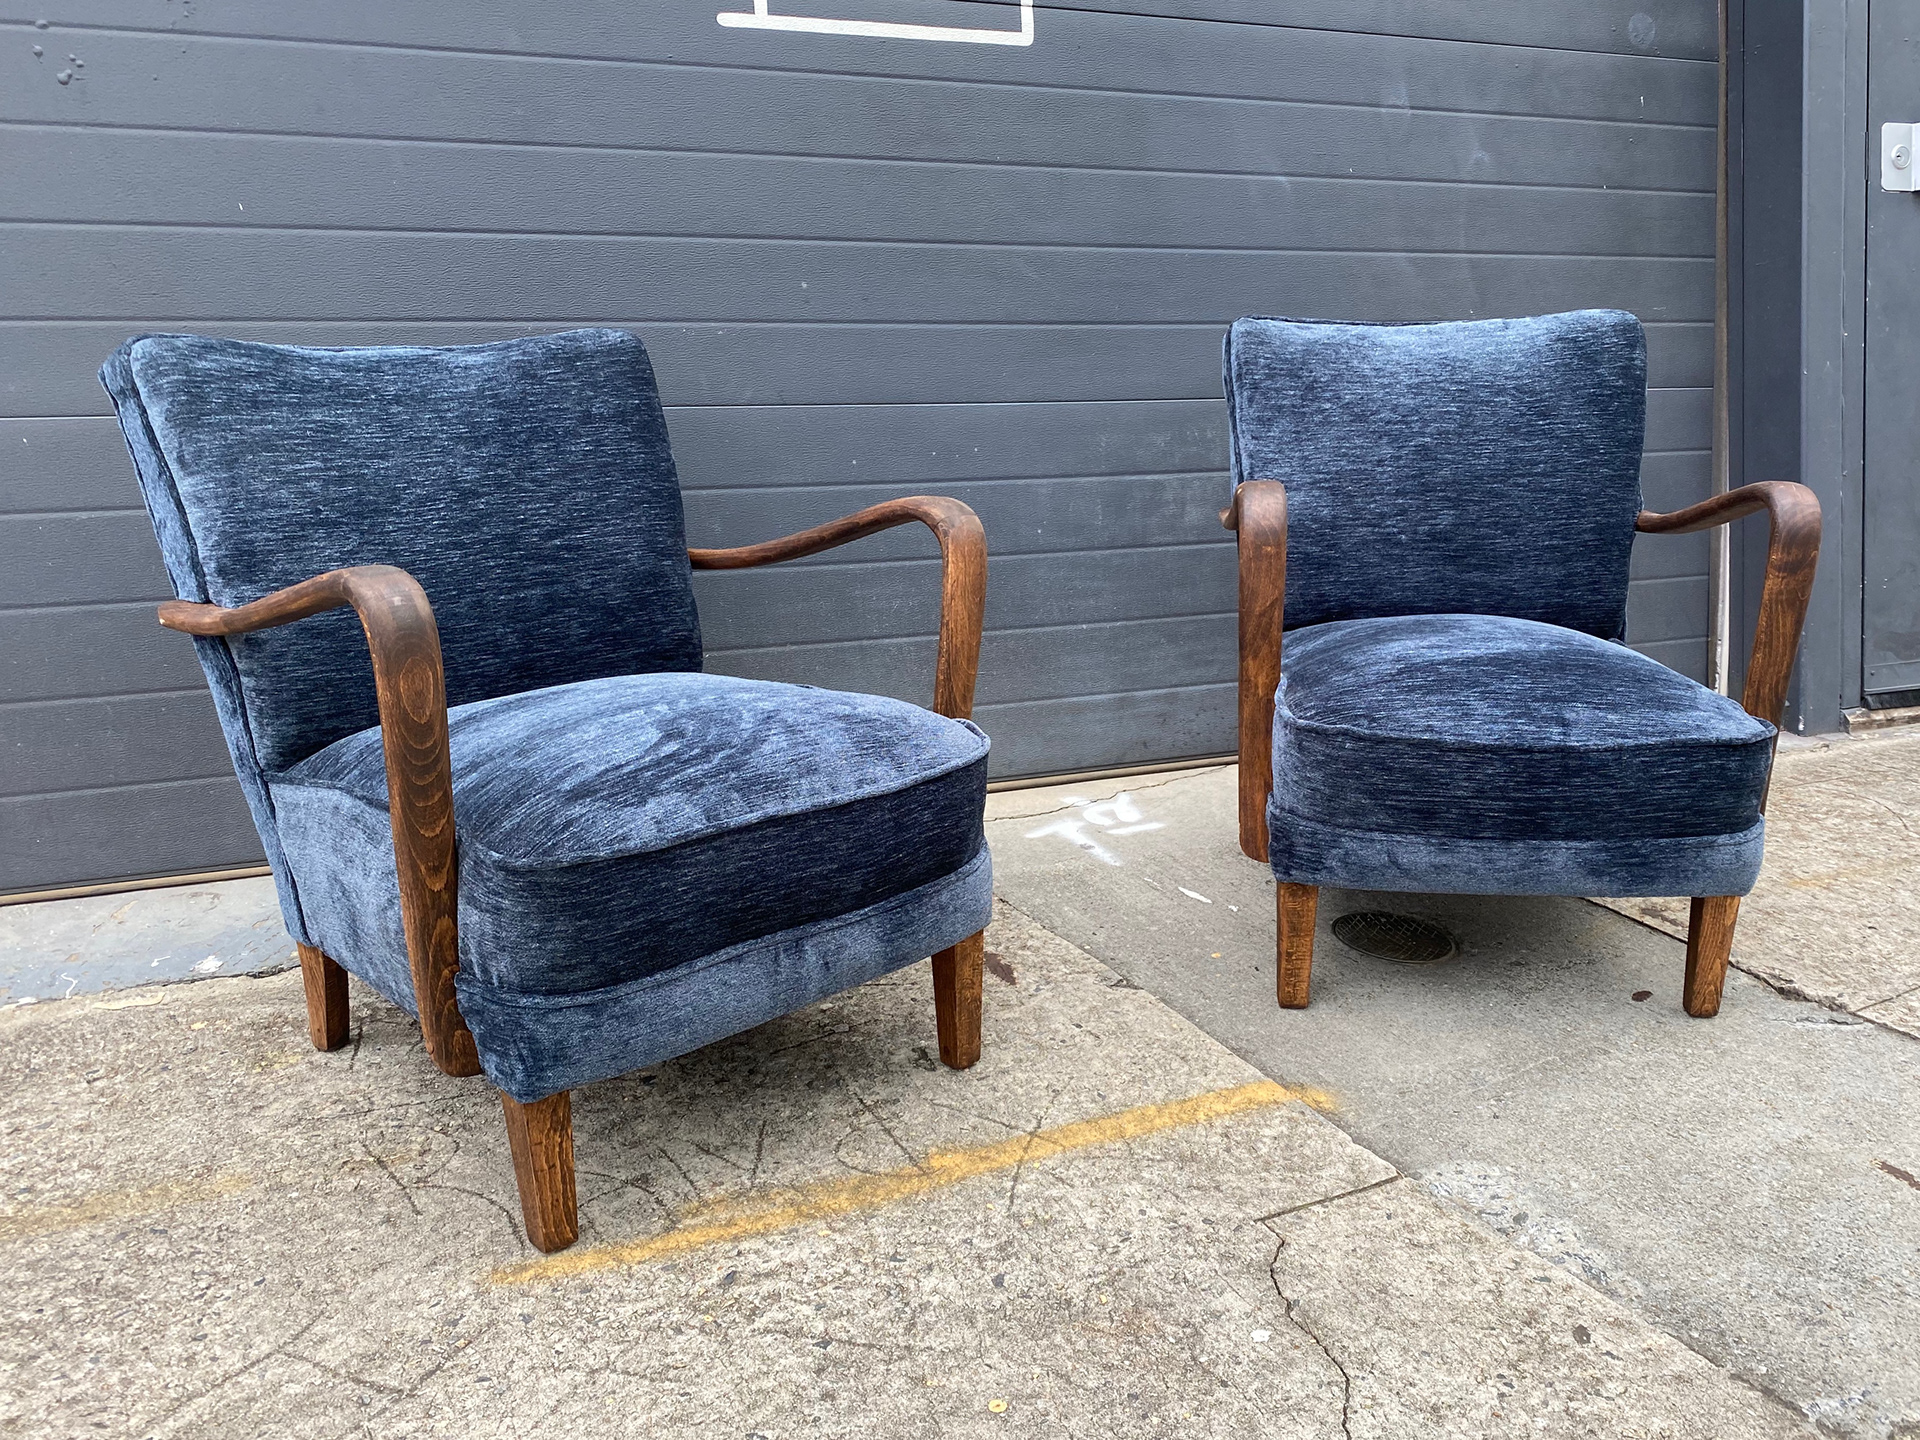
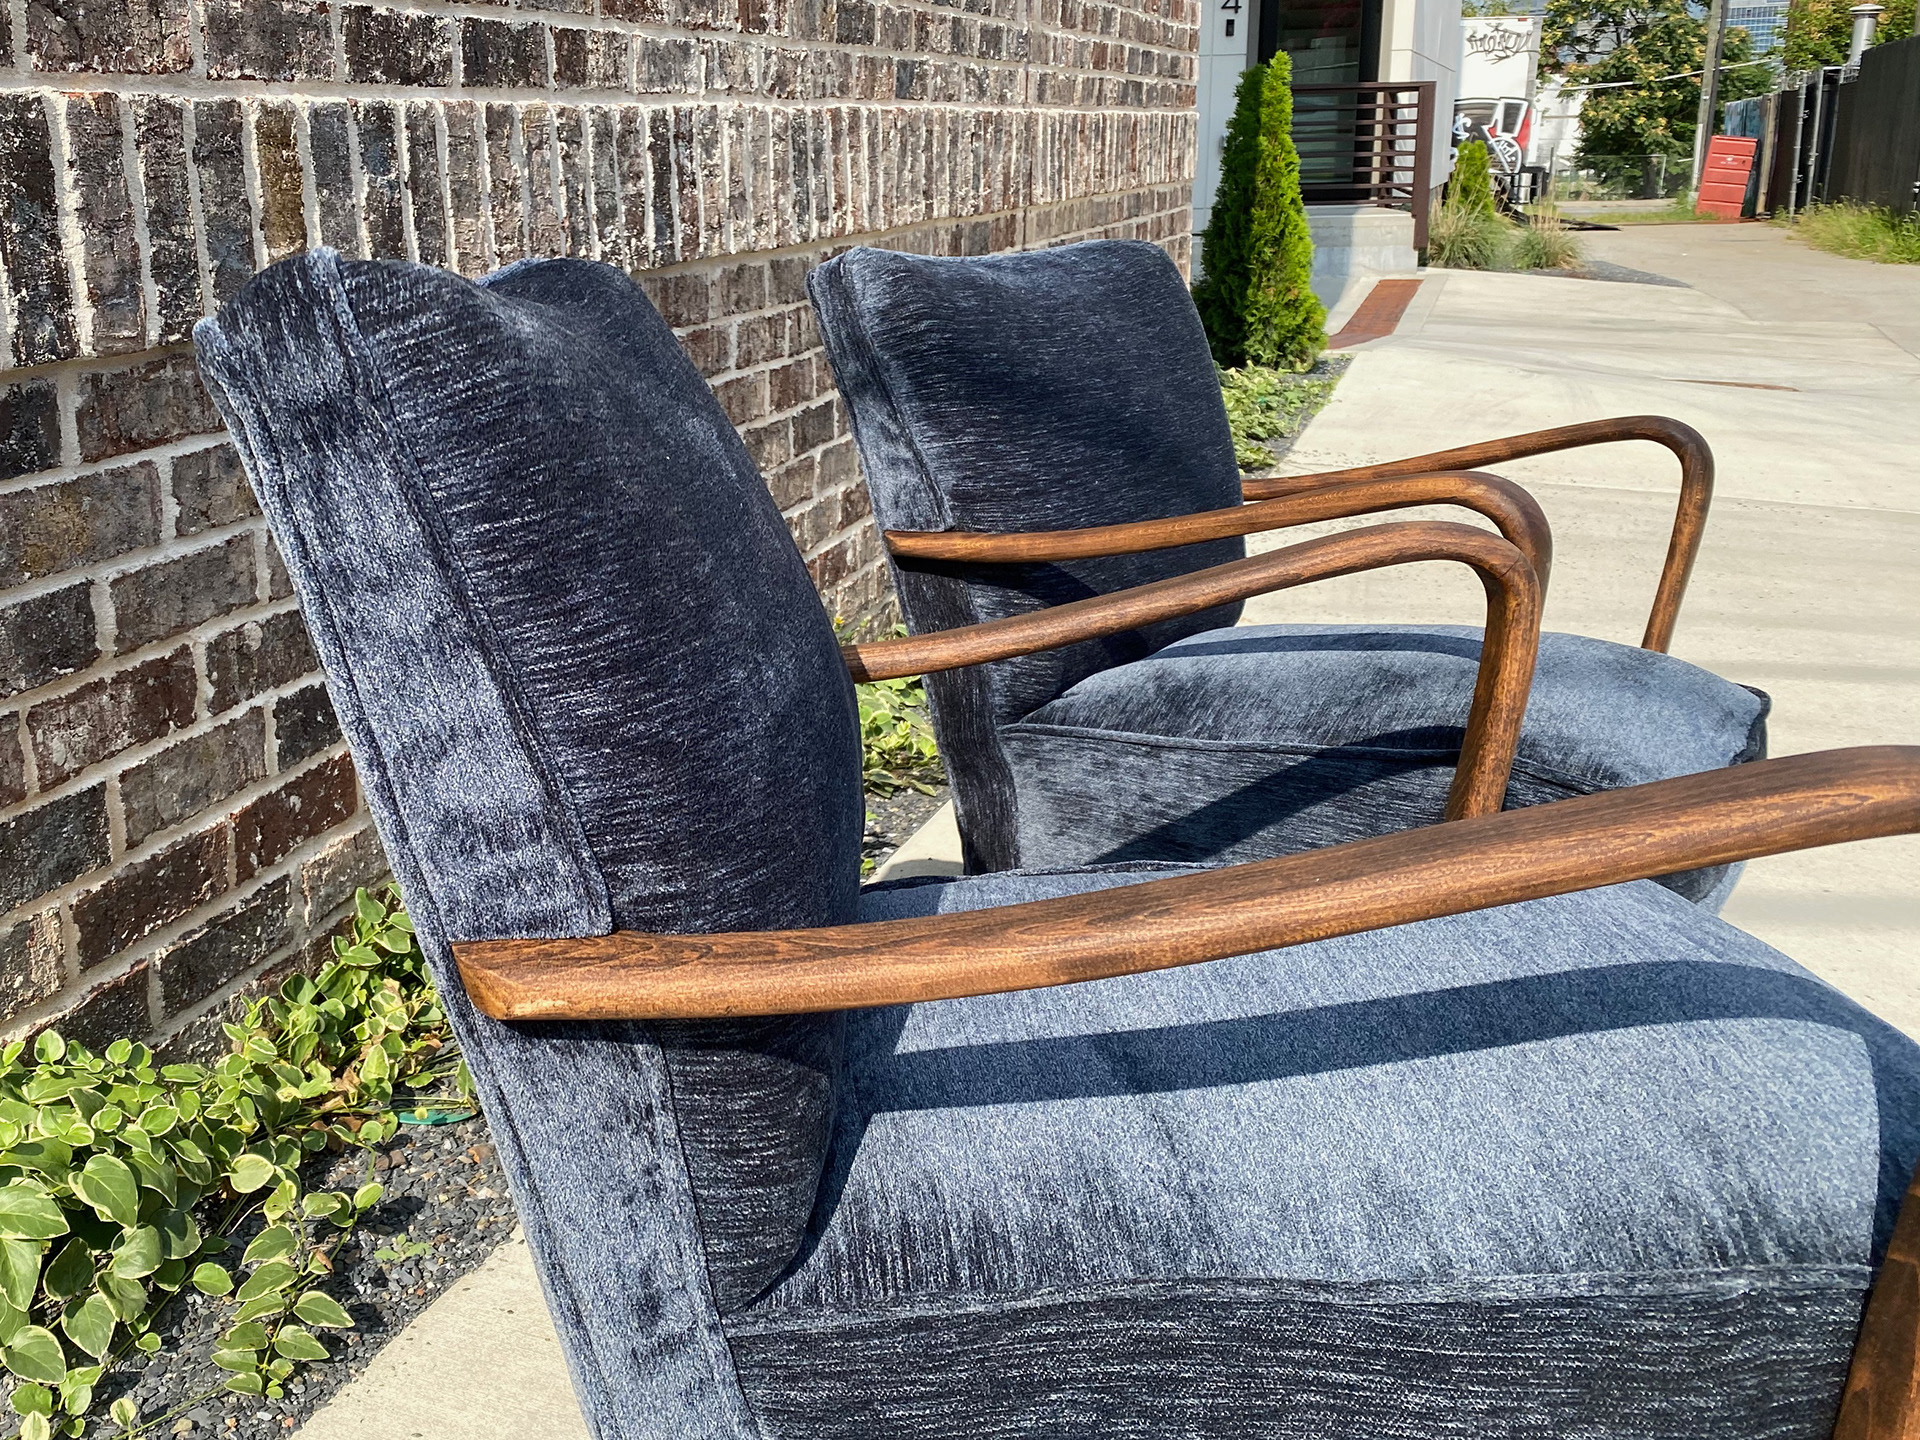
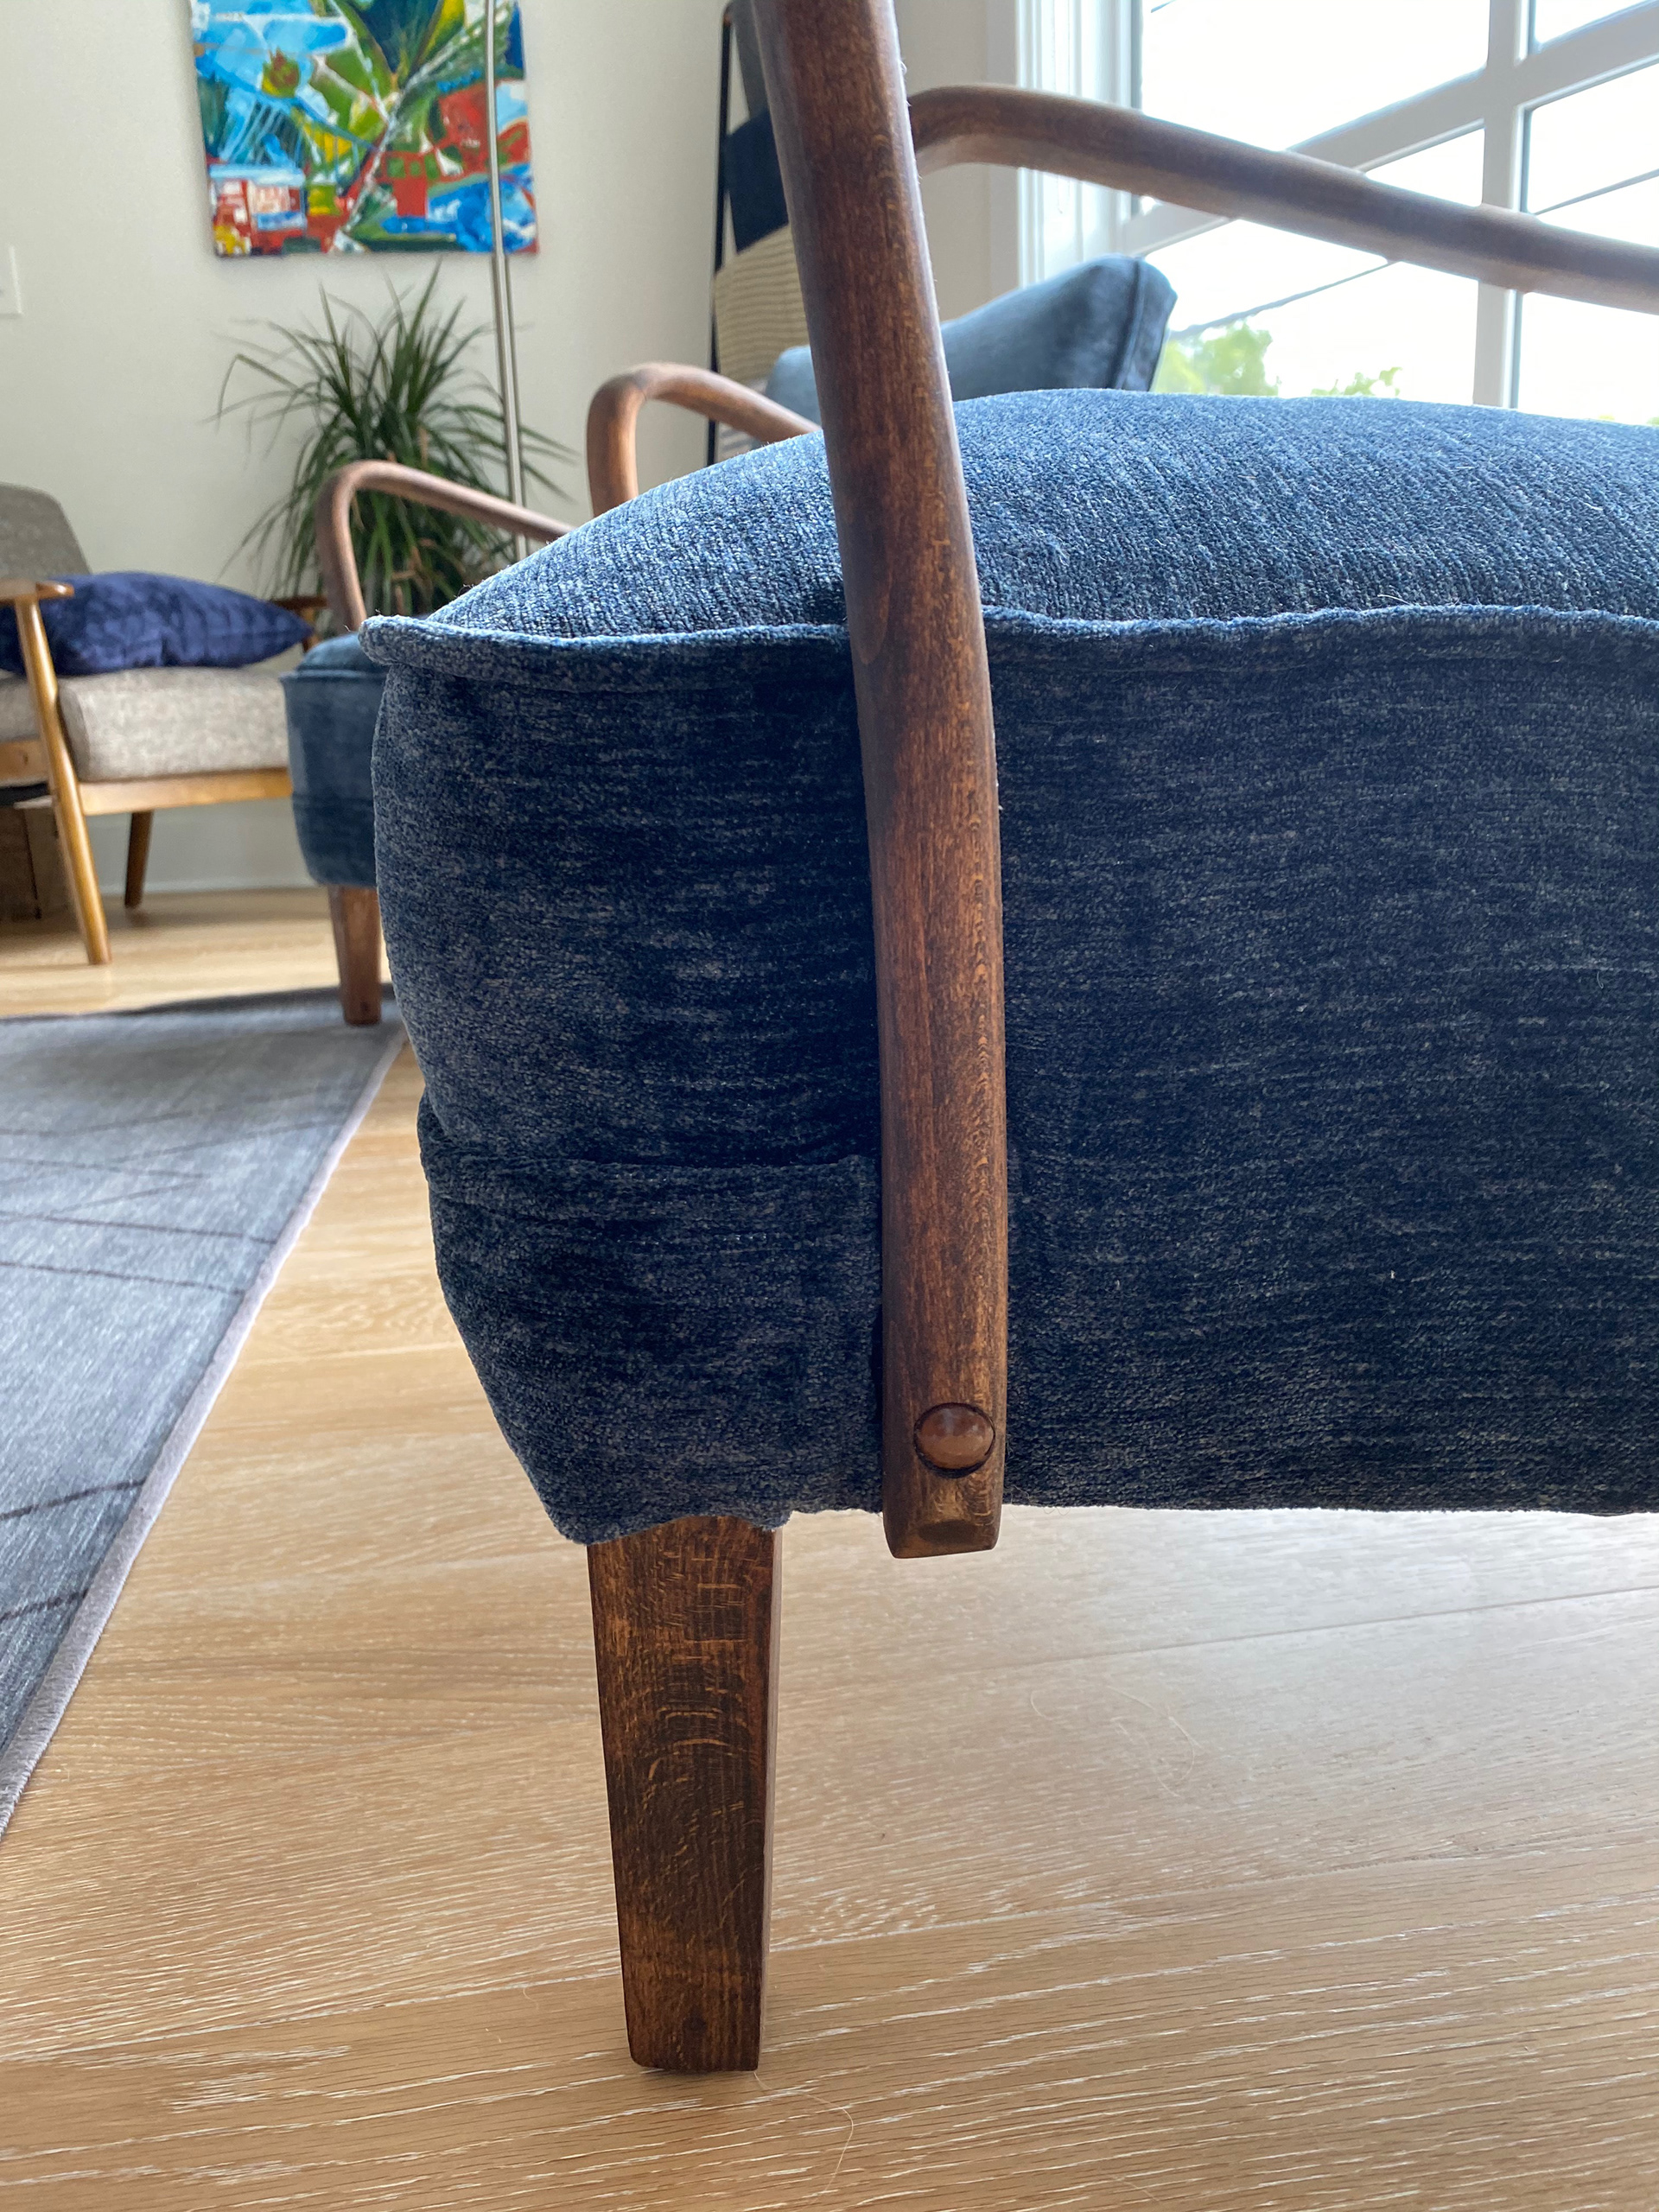
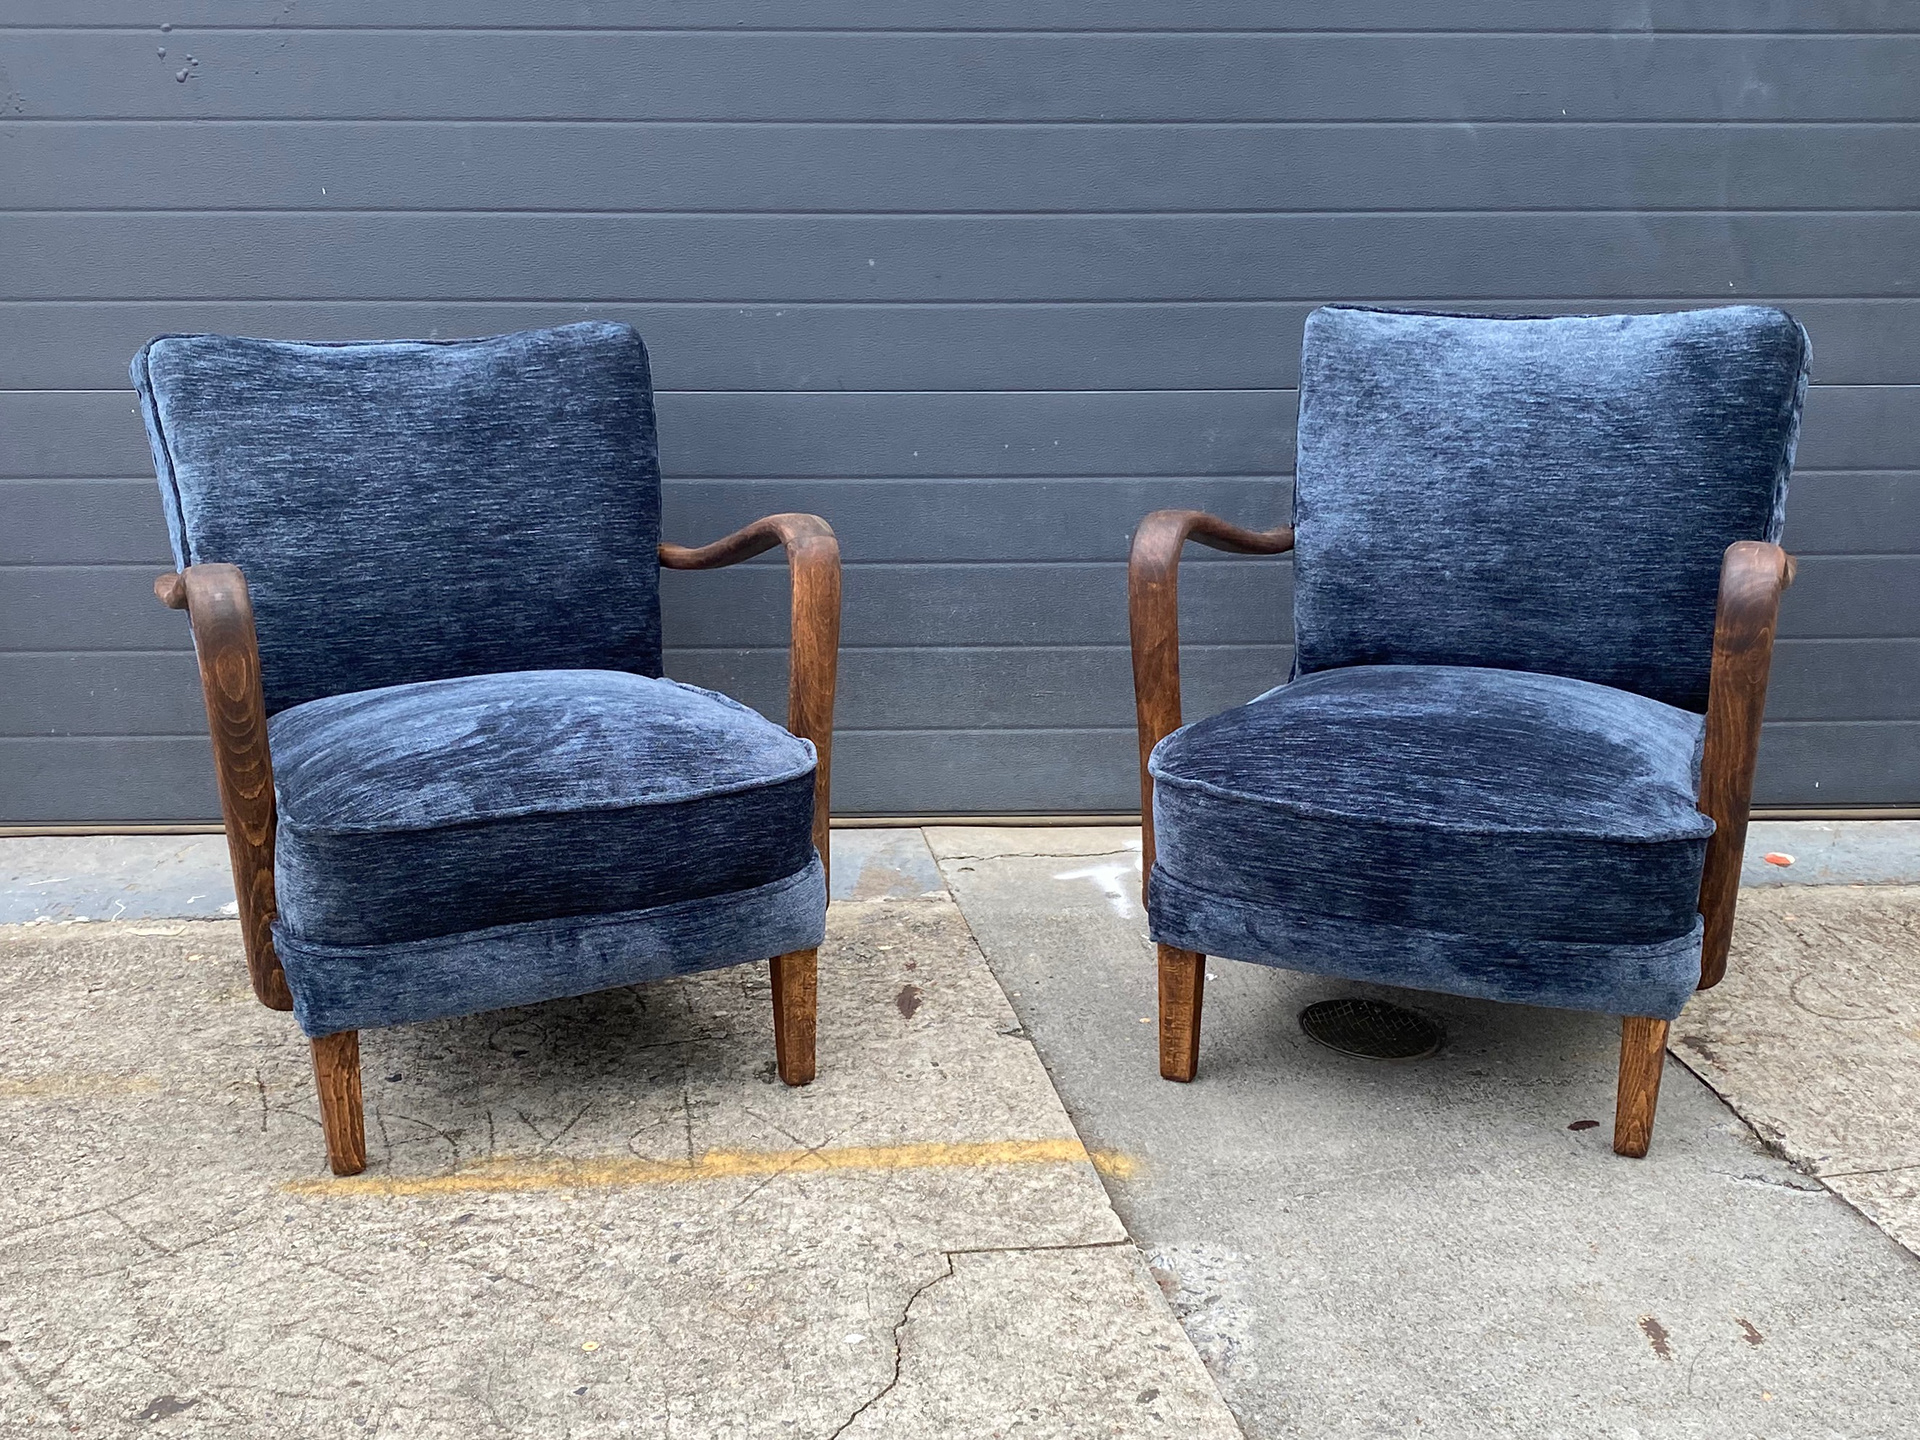
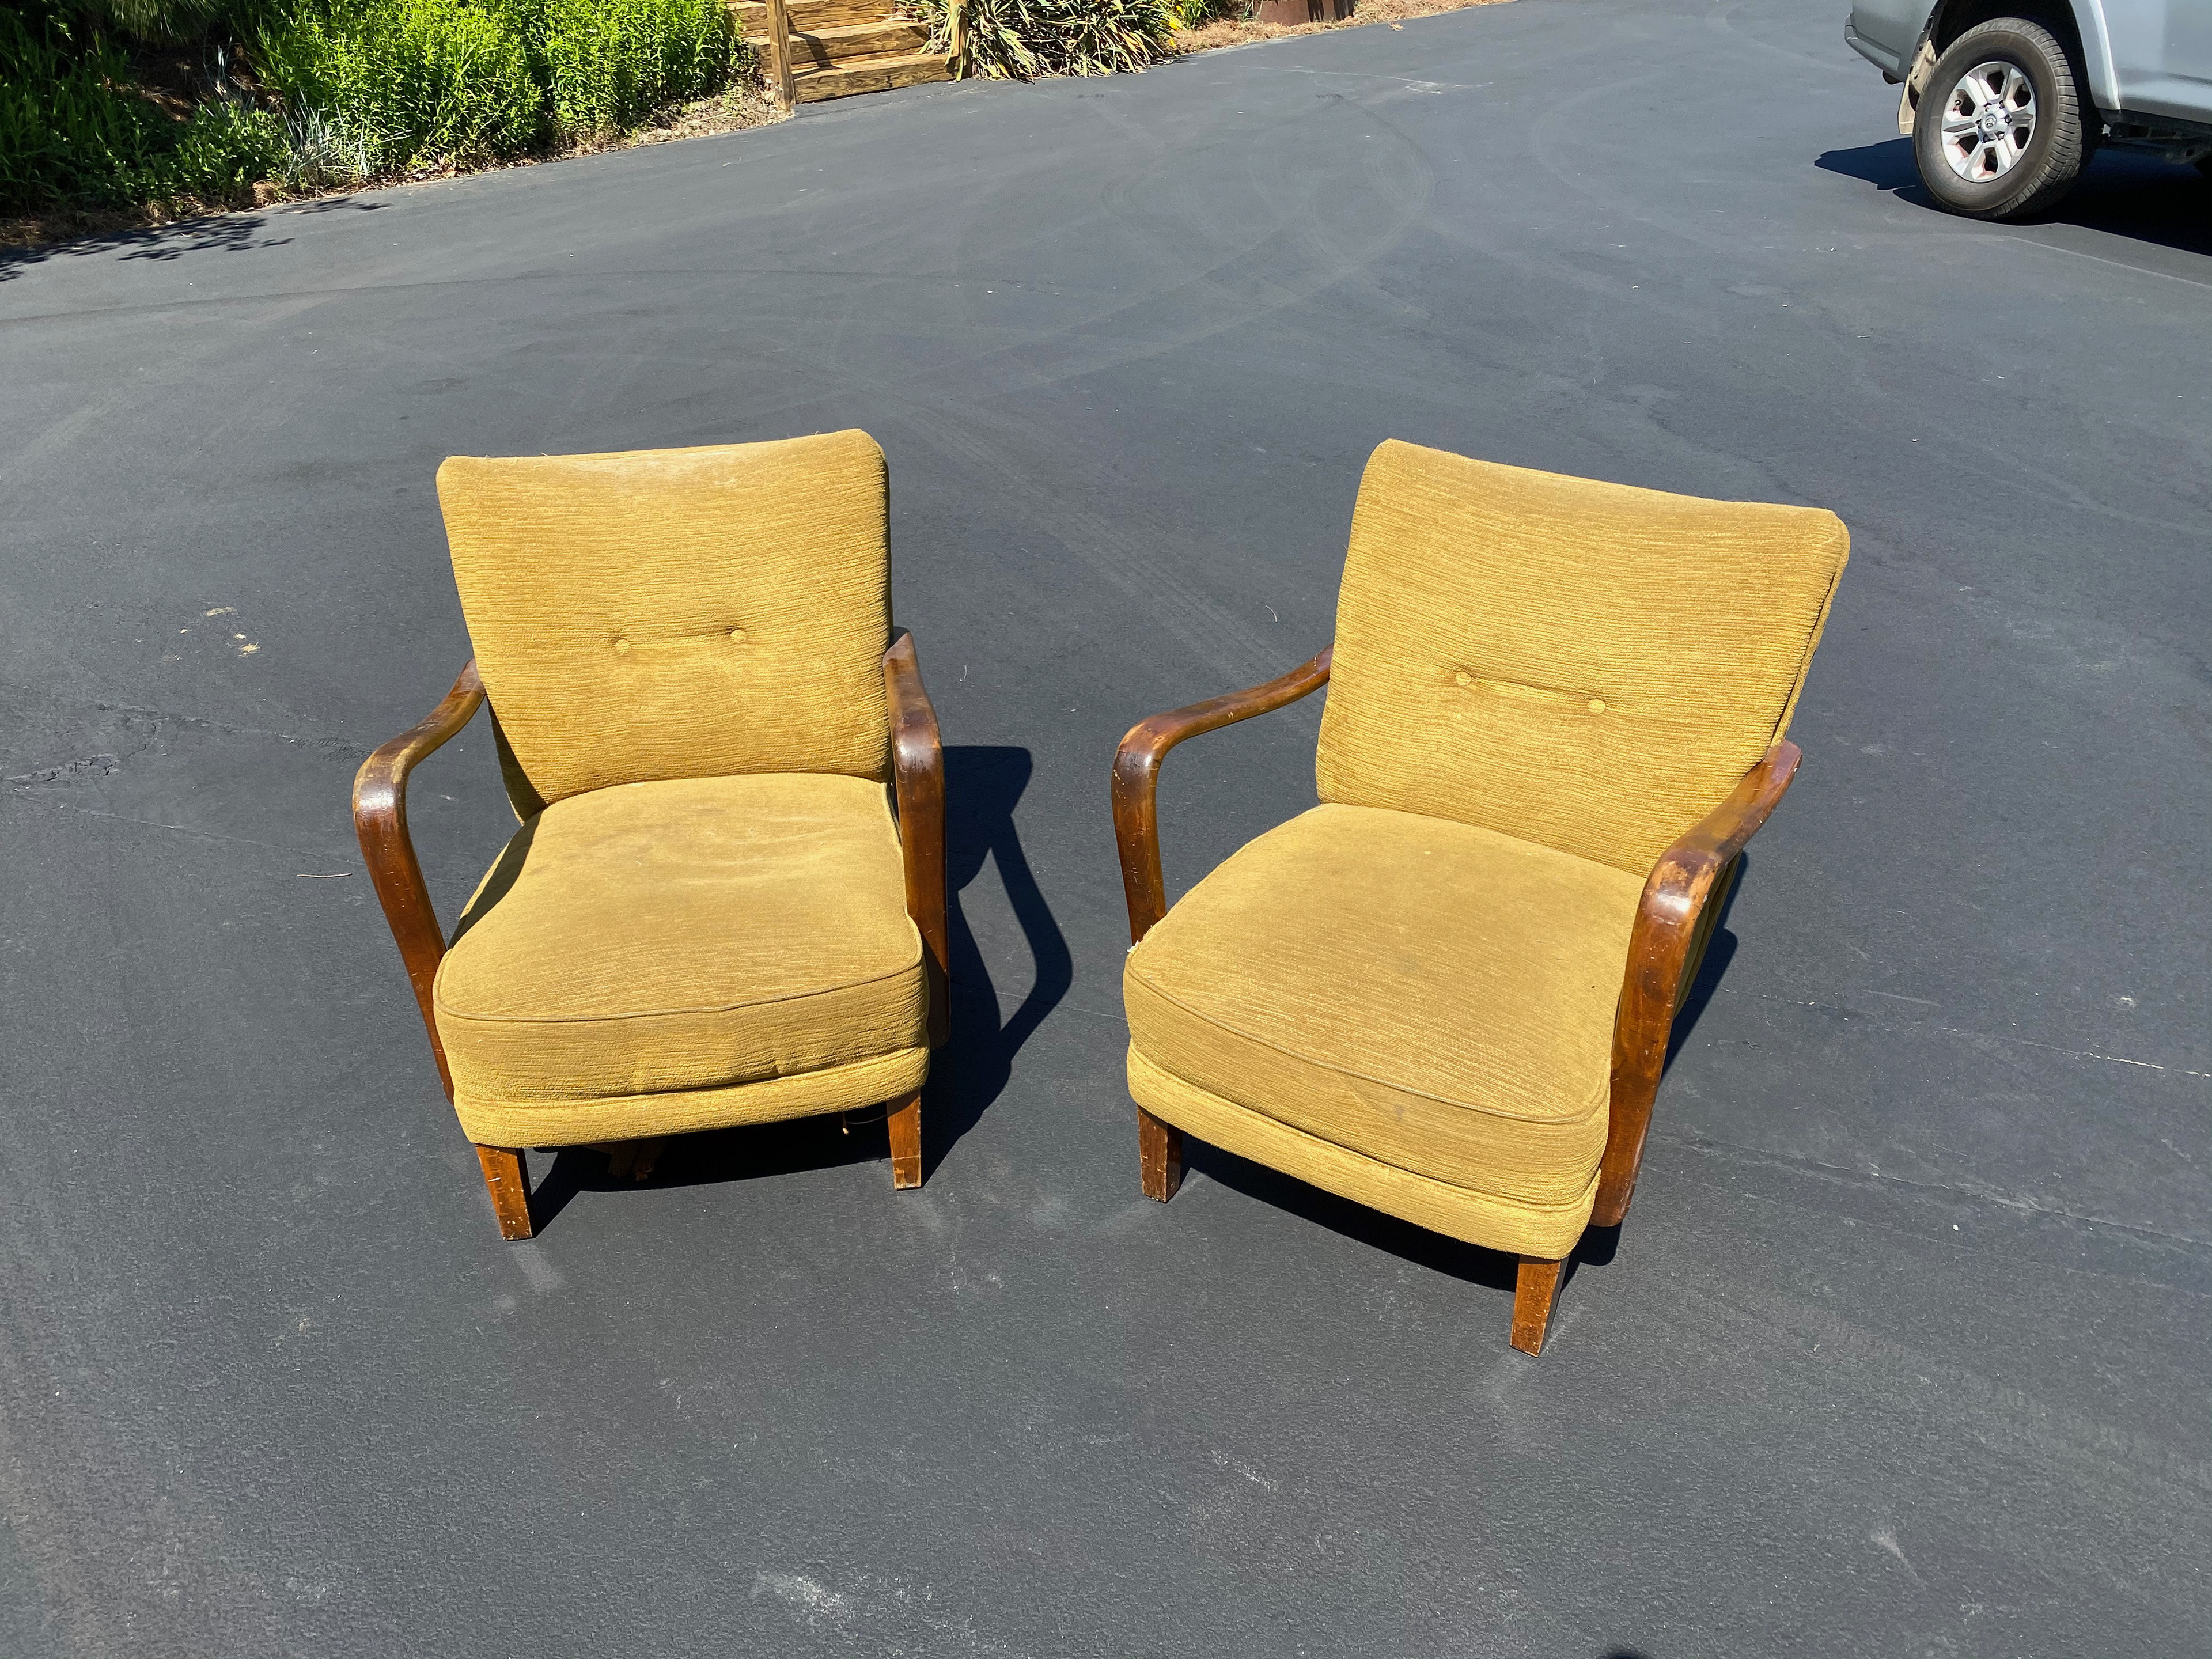
FINISHED CHAIRS