PROCESS
I found the original piece of wood in a friend's backyard, and had the idea to turn it into an end table. Though I had never done a project like this before, I figured with the help of YouTube and WikiHow I could manage a simple table and with a little luck, some bowtie inlays.
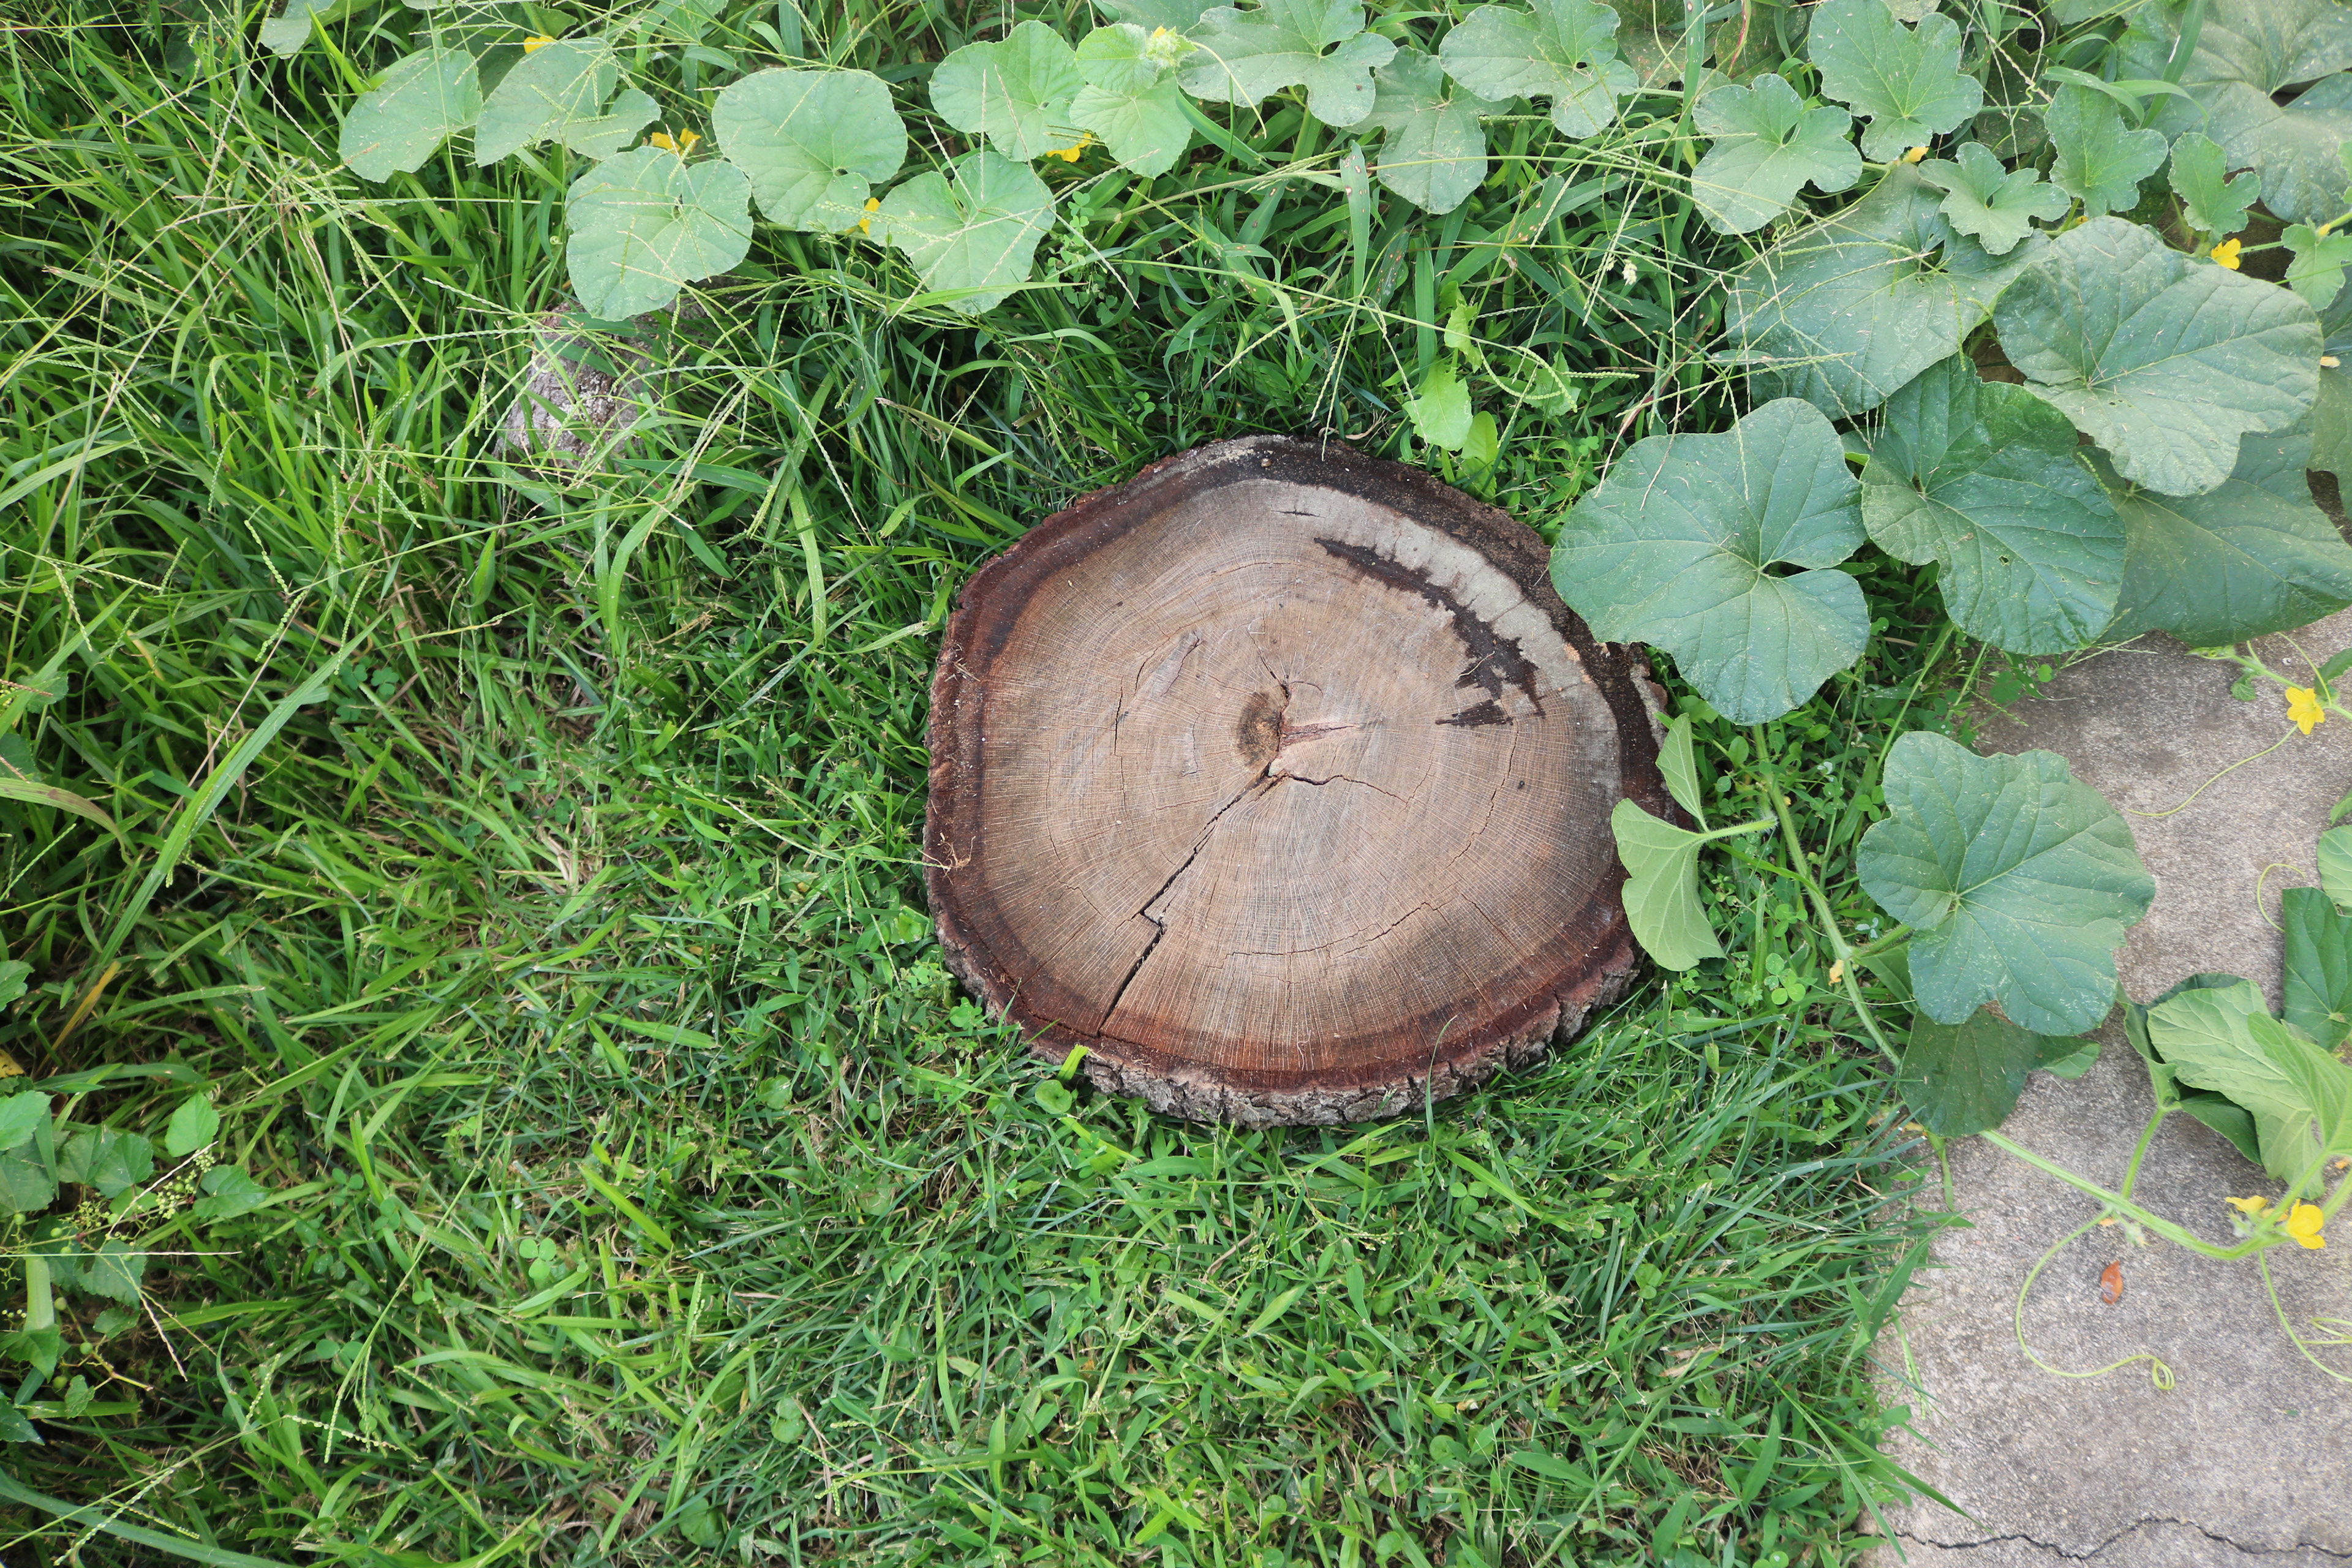
After doing some research, I realized the wood—which had been outside in North Carolina humidity for years—was far too wet to work with and to be structurally sound. I tried drying the wood out in the oven, as well as chipping away the rotten center, but it was completely unusable.
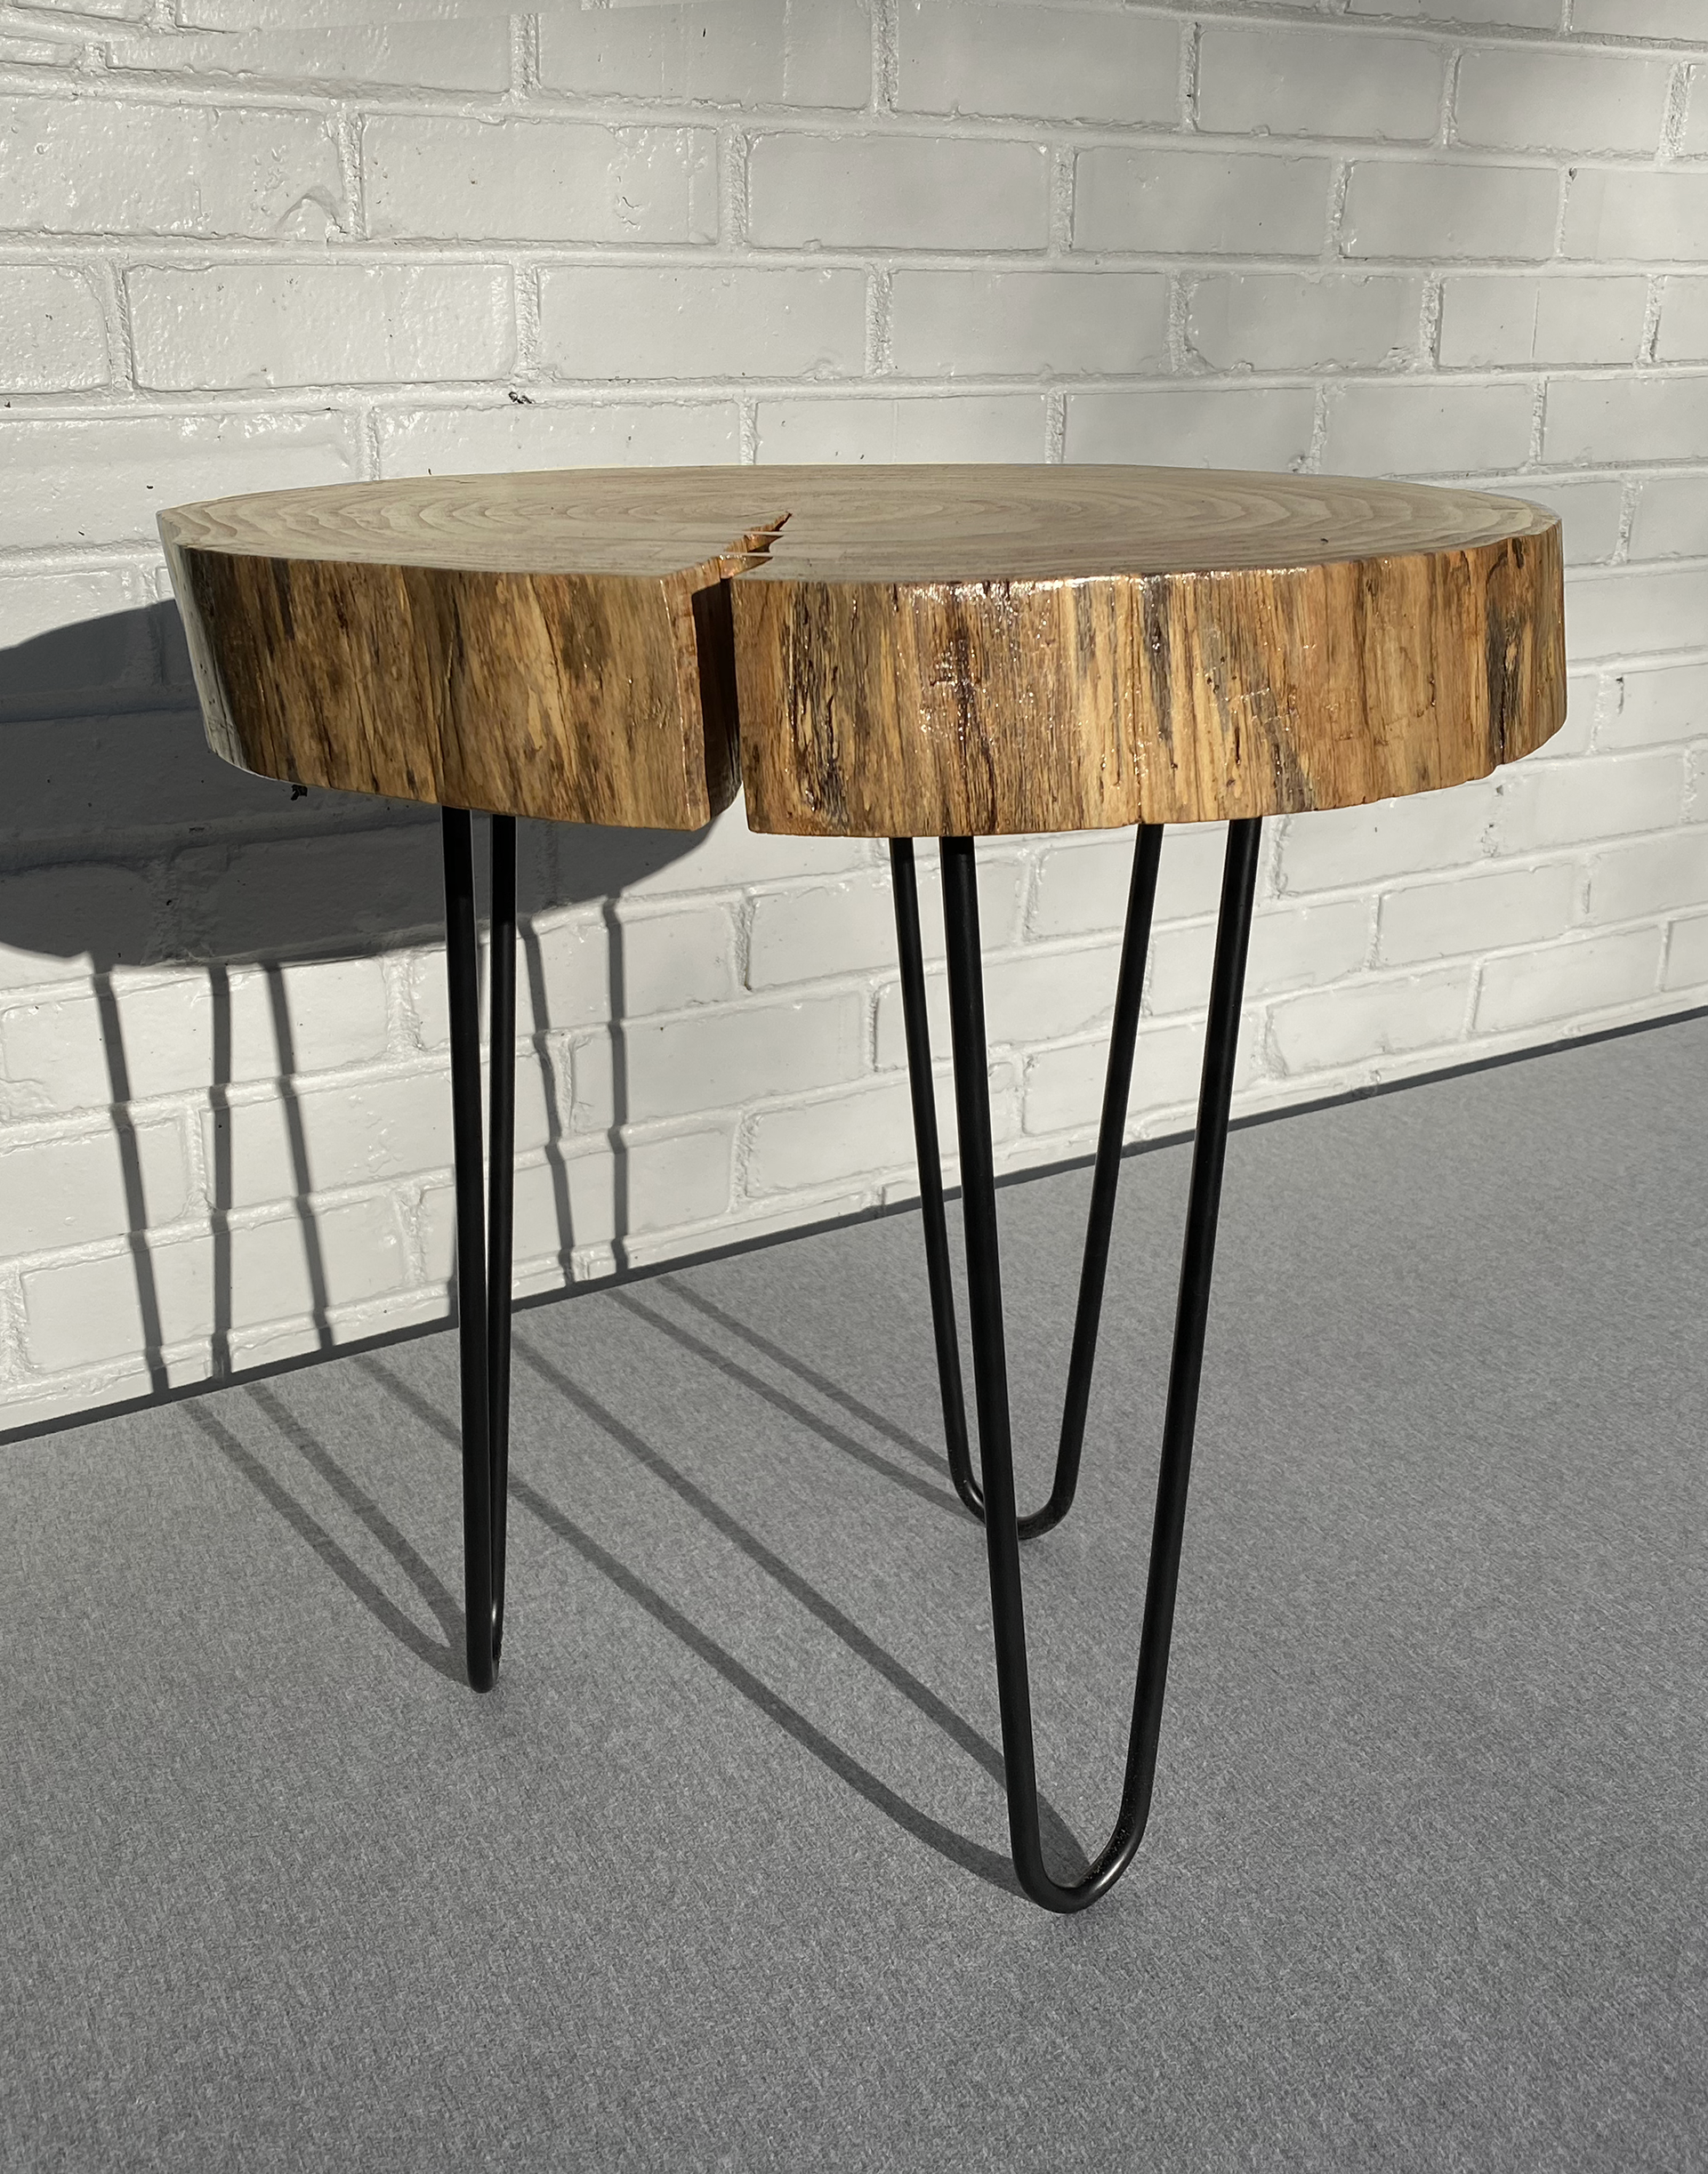
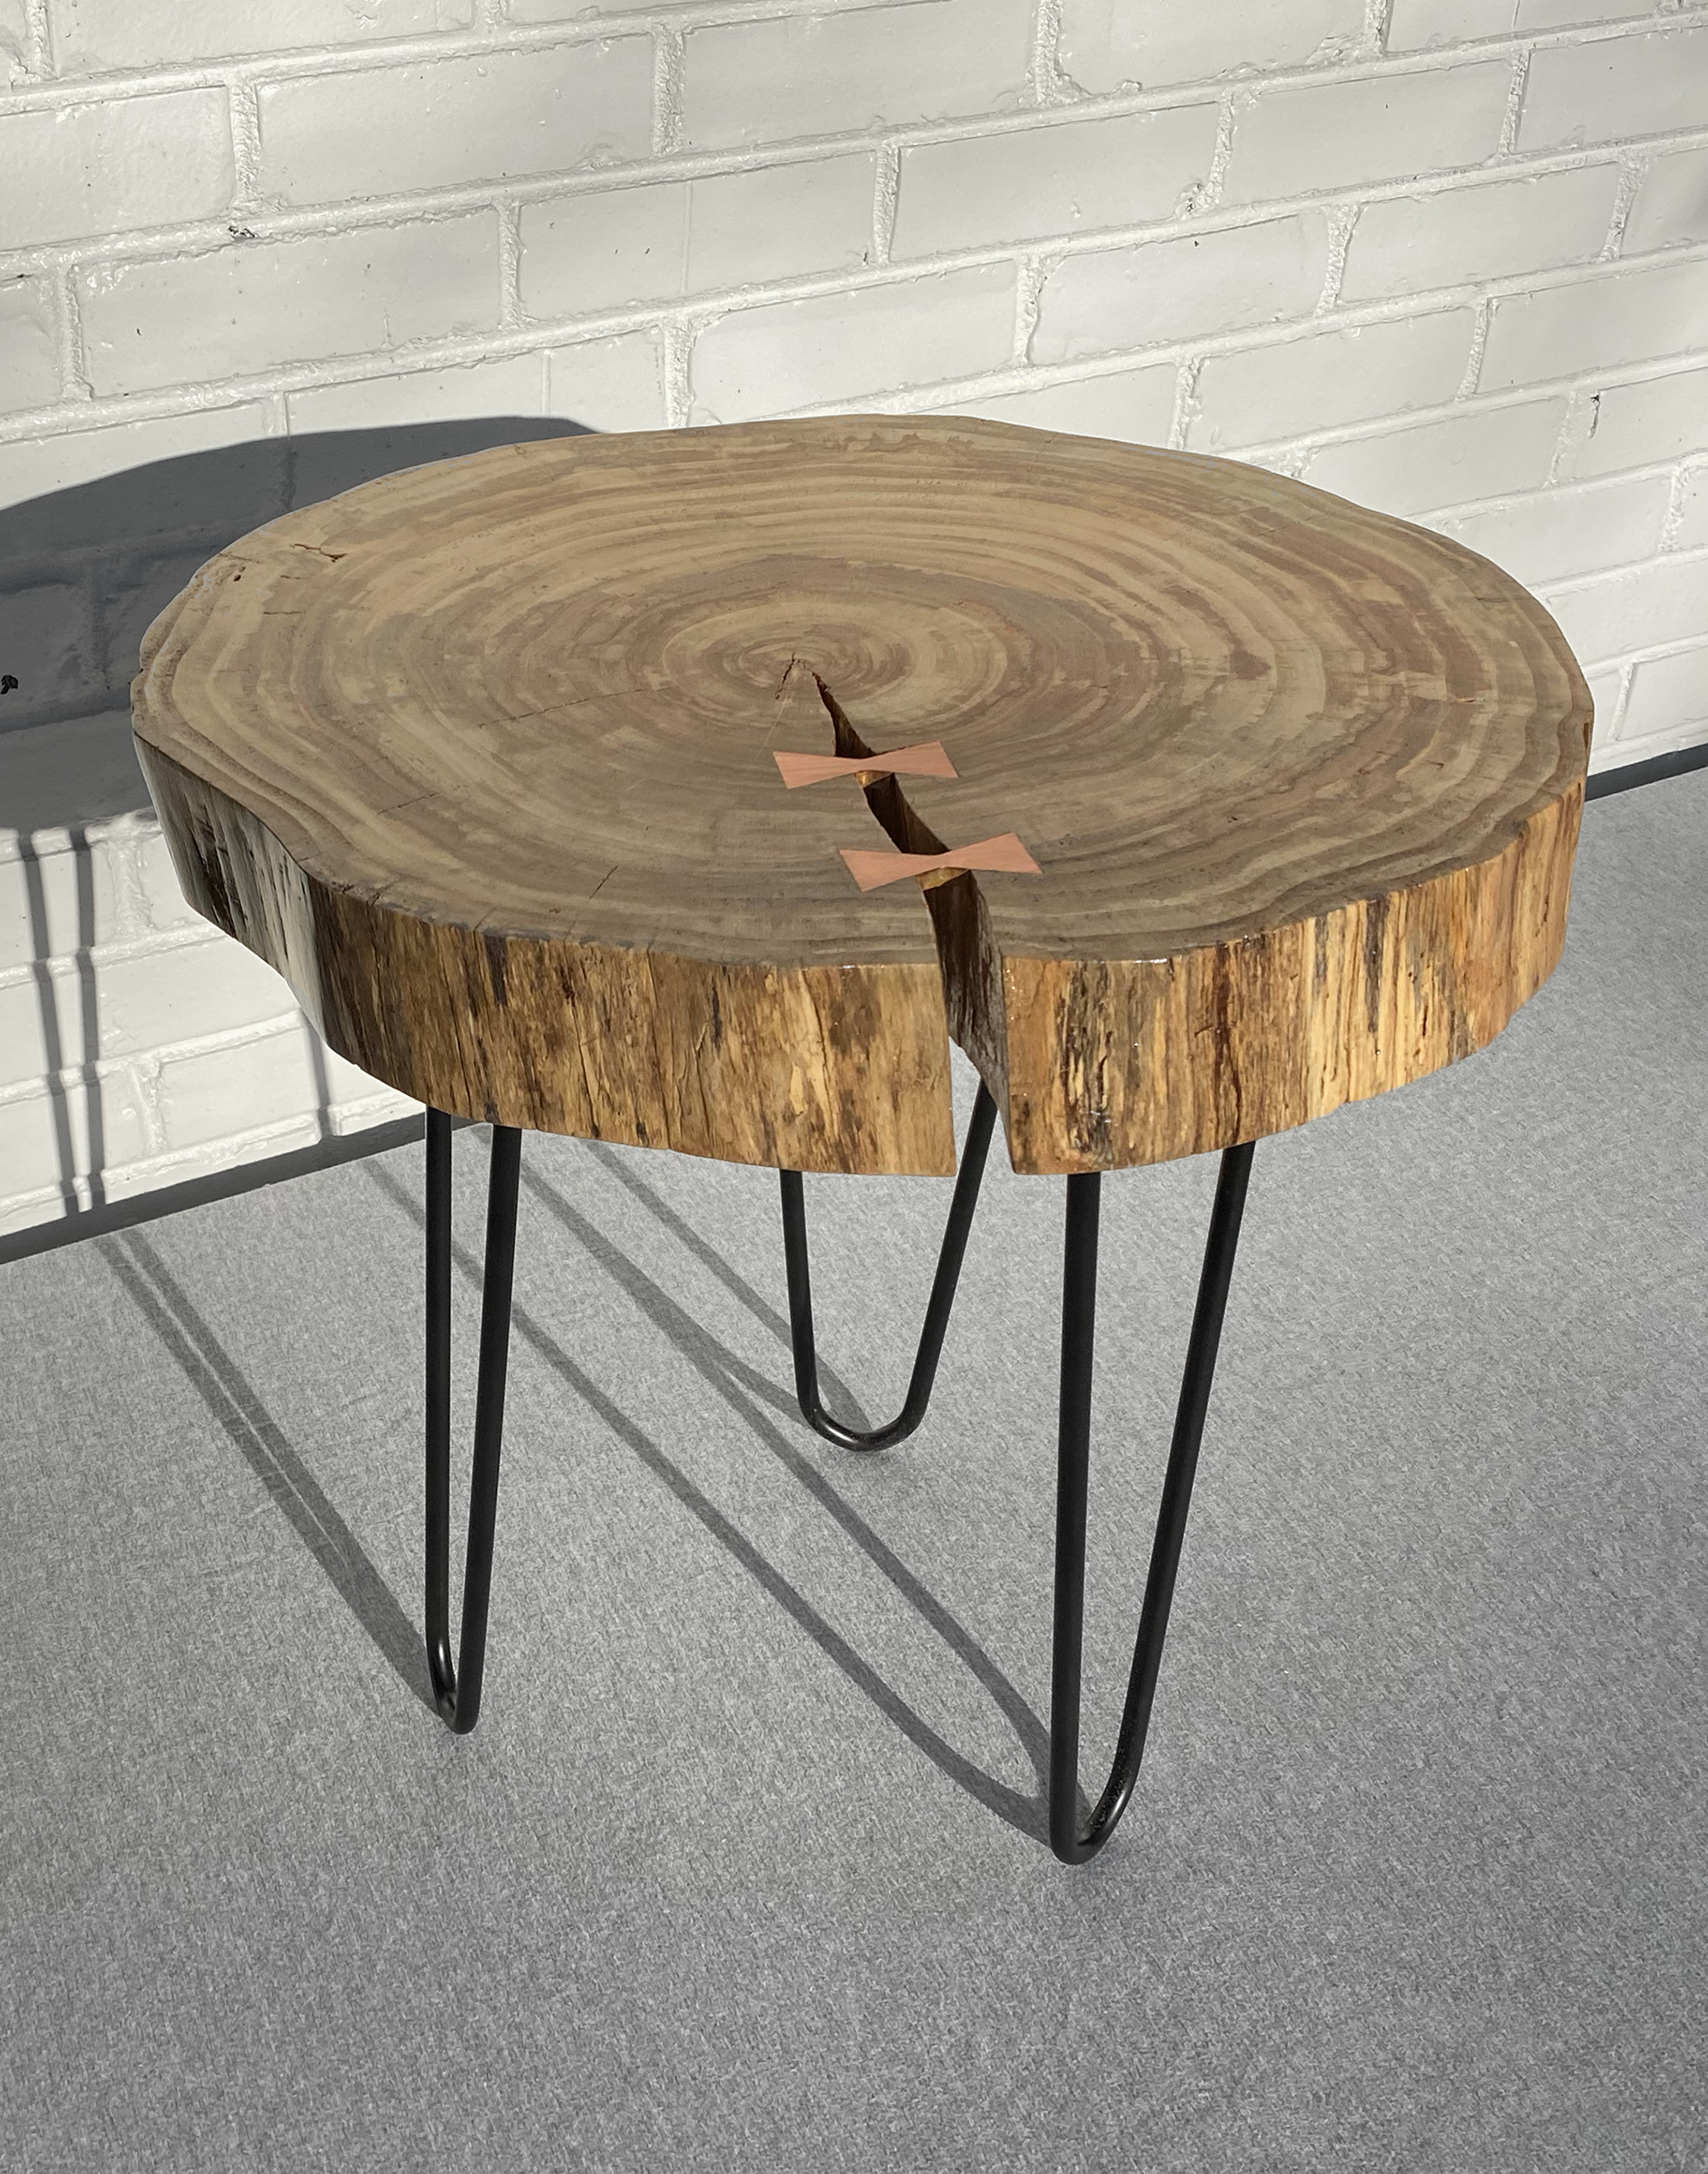
Still determined to complete my project, I went online and bought a piece of dried, rough-cut wood from a wholesale lumber vendor, making sure to pick one with a split to highlight the bowties. While waiting for the wood to arrive in the mail, I bought the hairpin legs and the copper bow ties, as well as epoxy, polyurethane, sandpaper, screws, and chisels for assembly and finishing. This also gave me time to do more research on inlaying bowties.
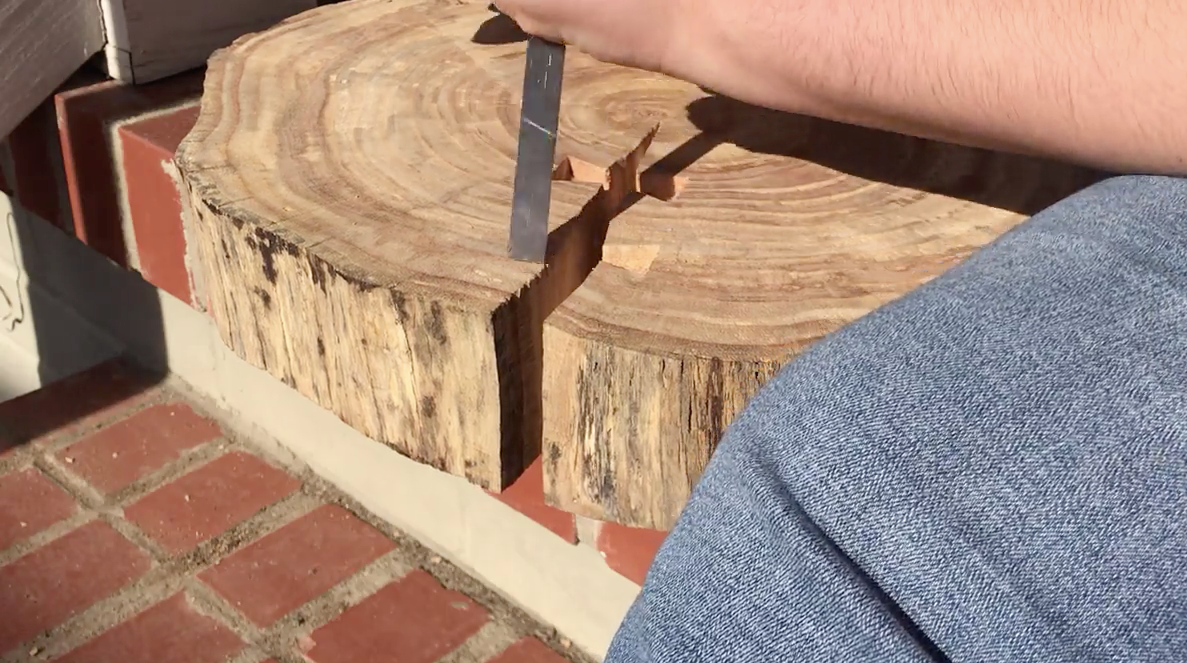
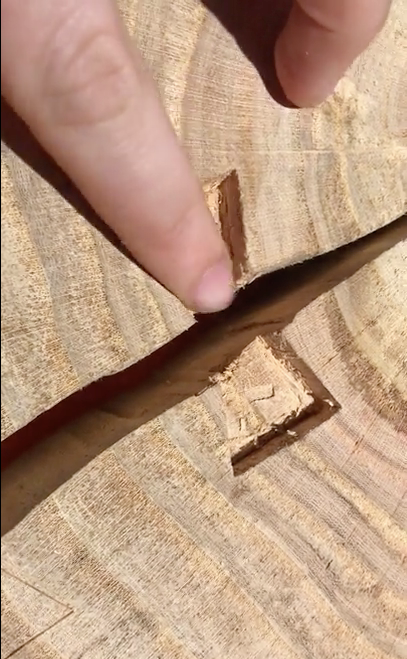
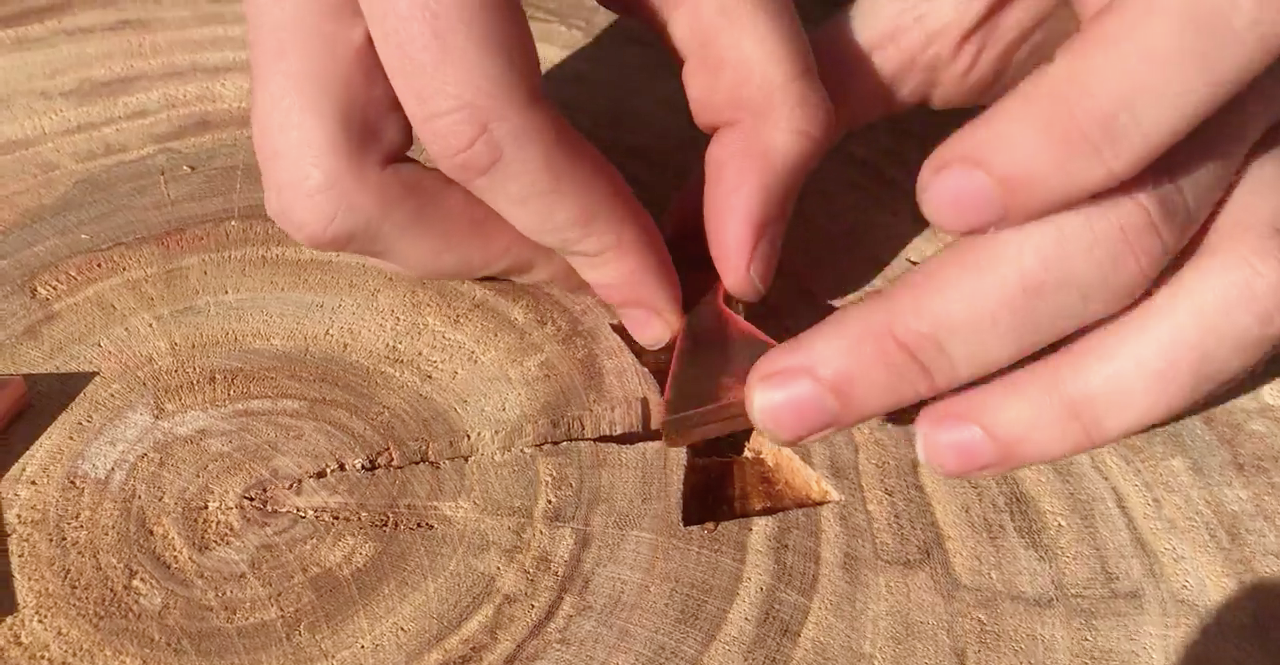
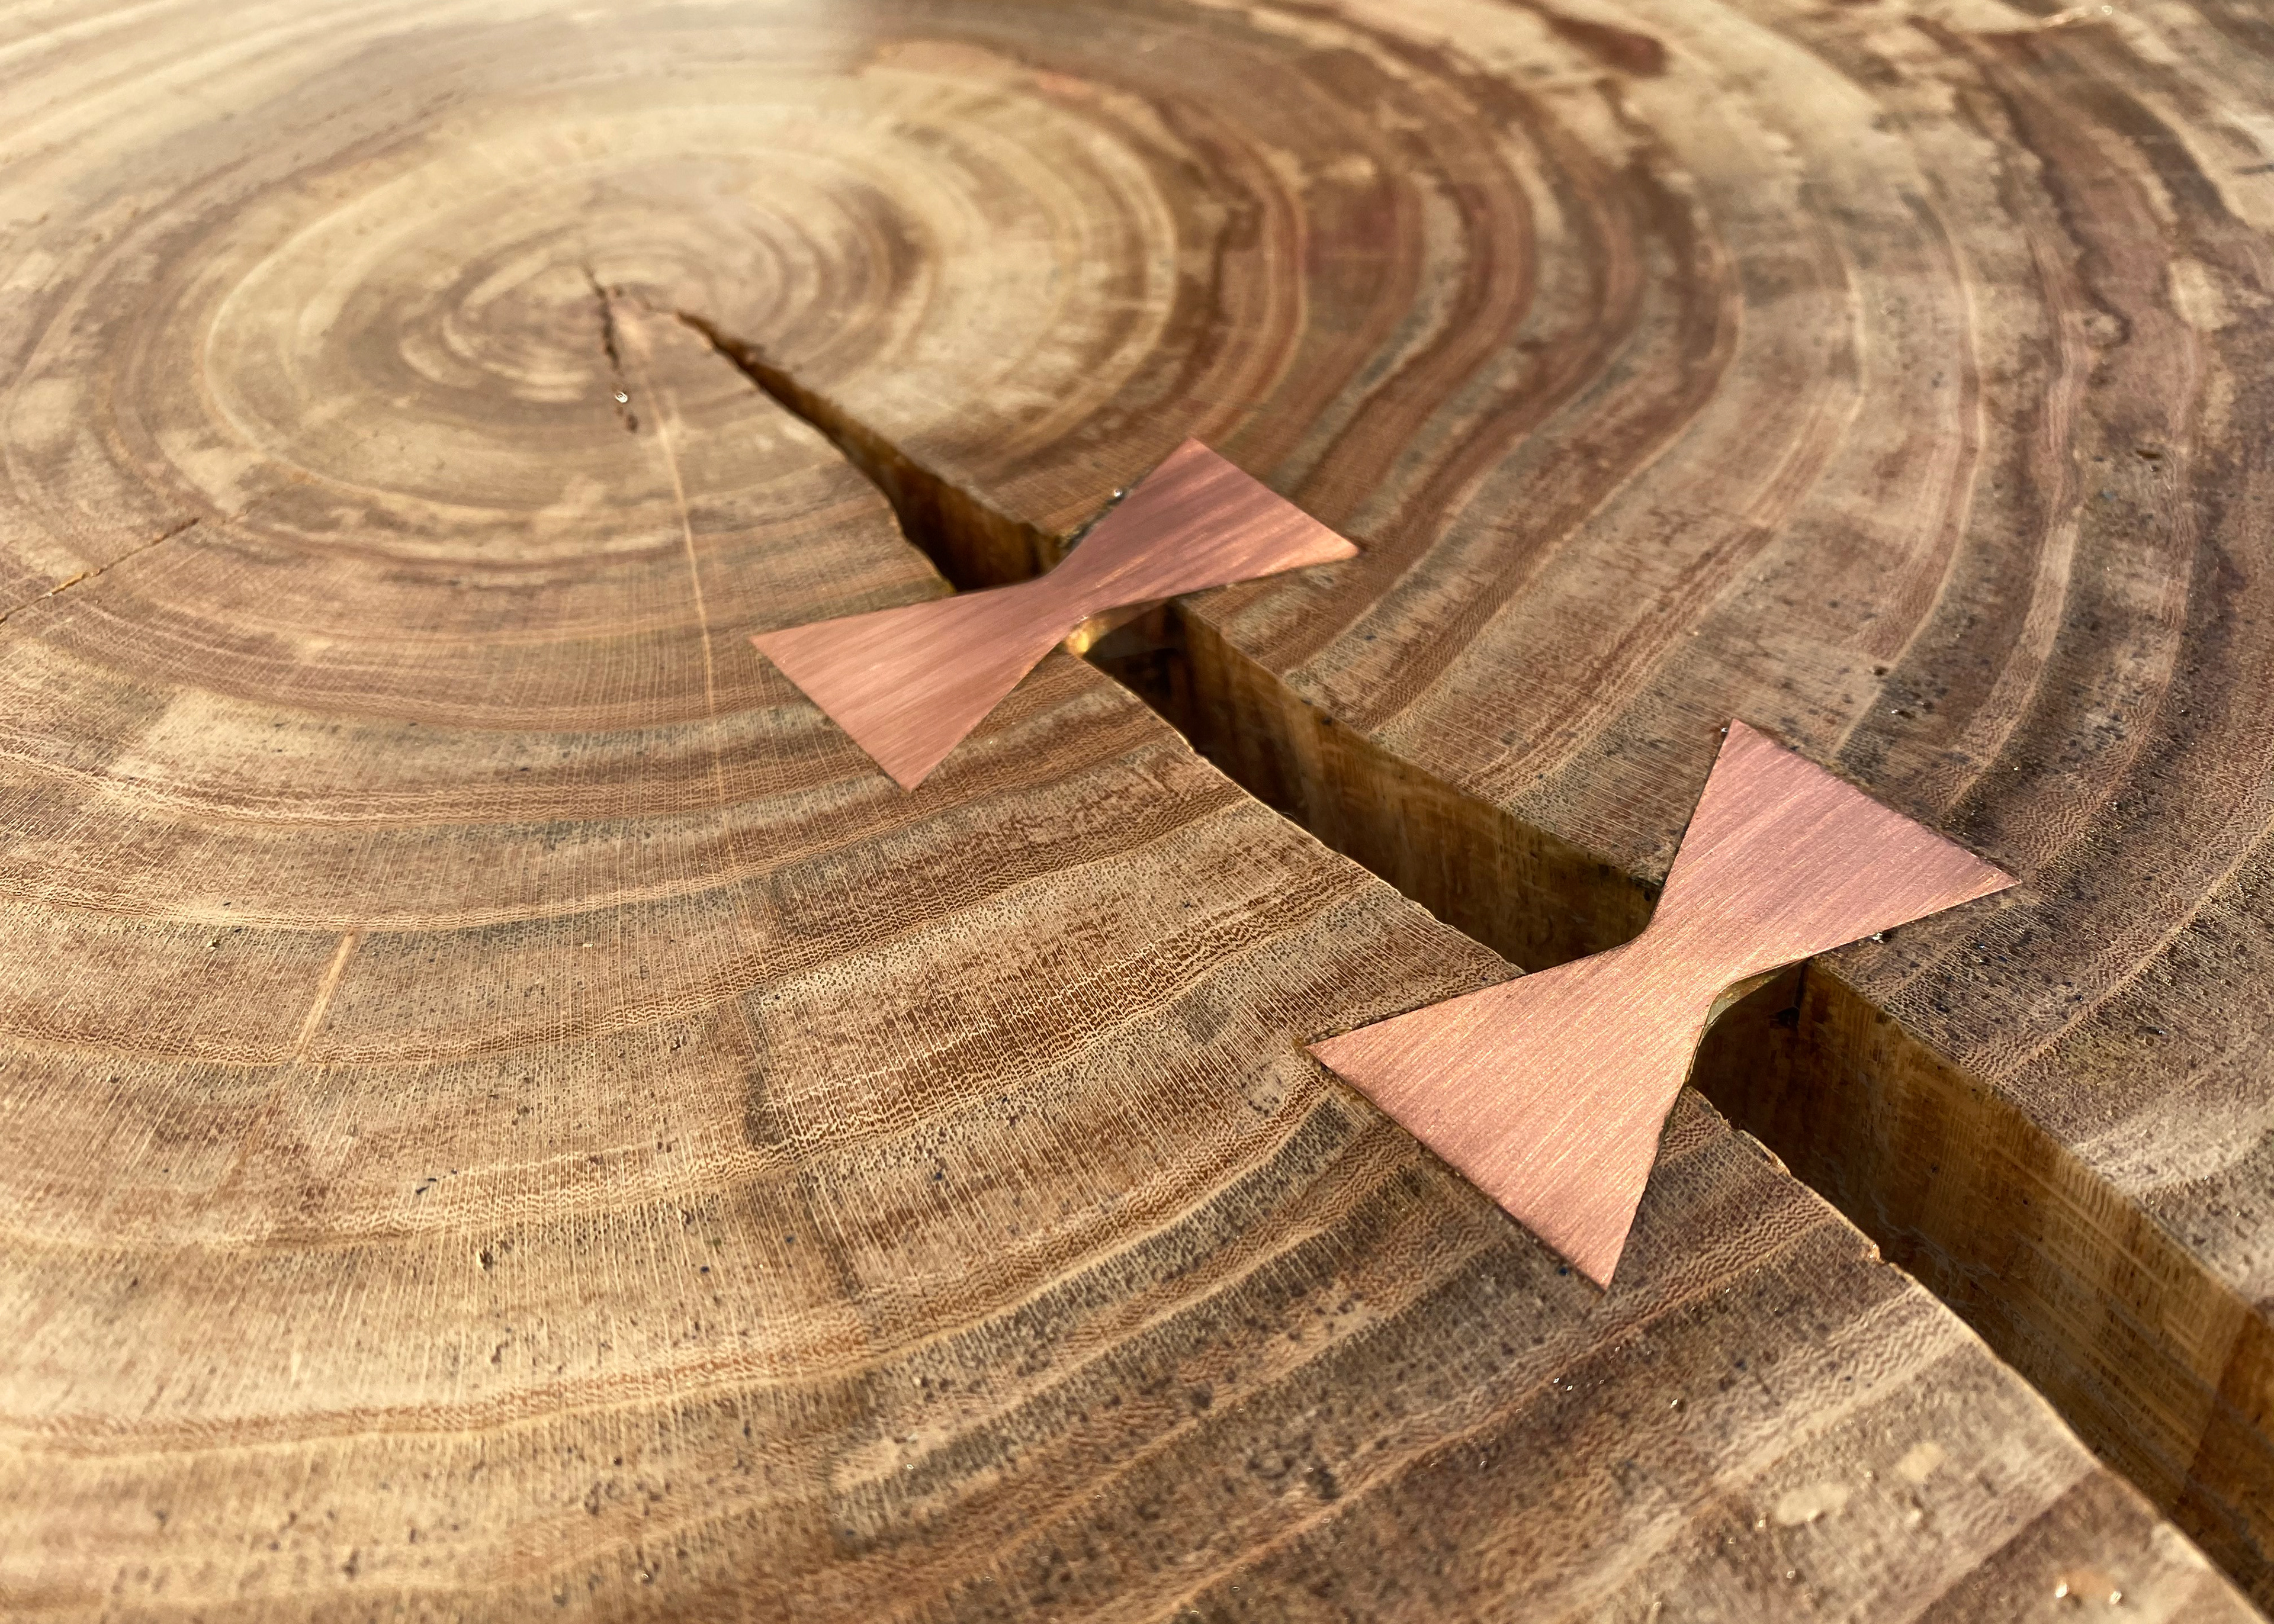
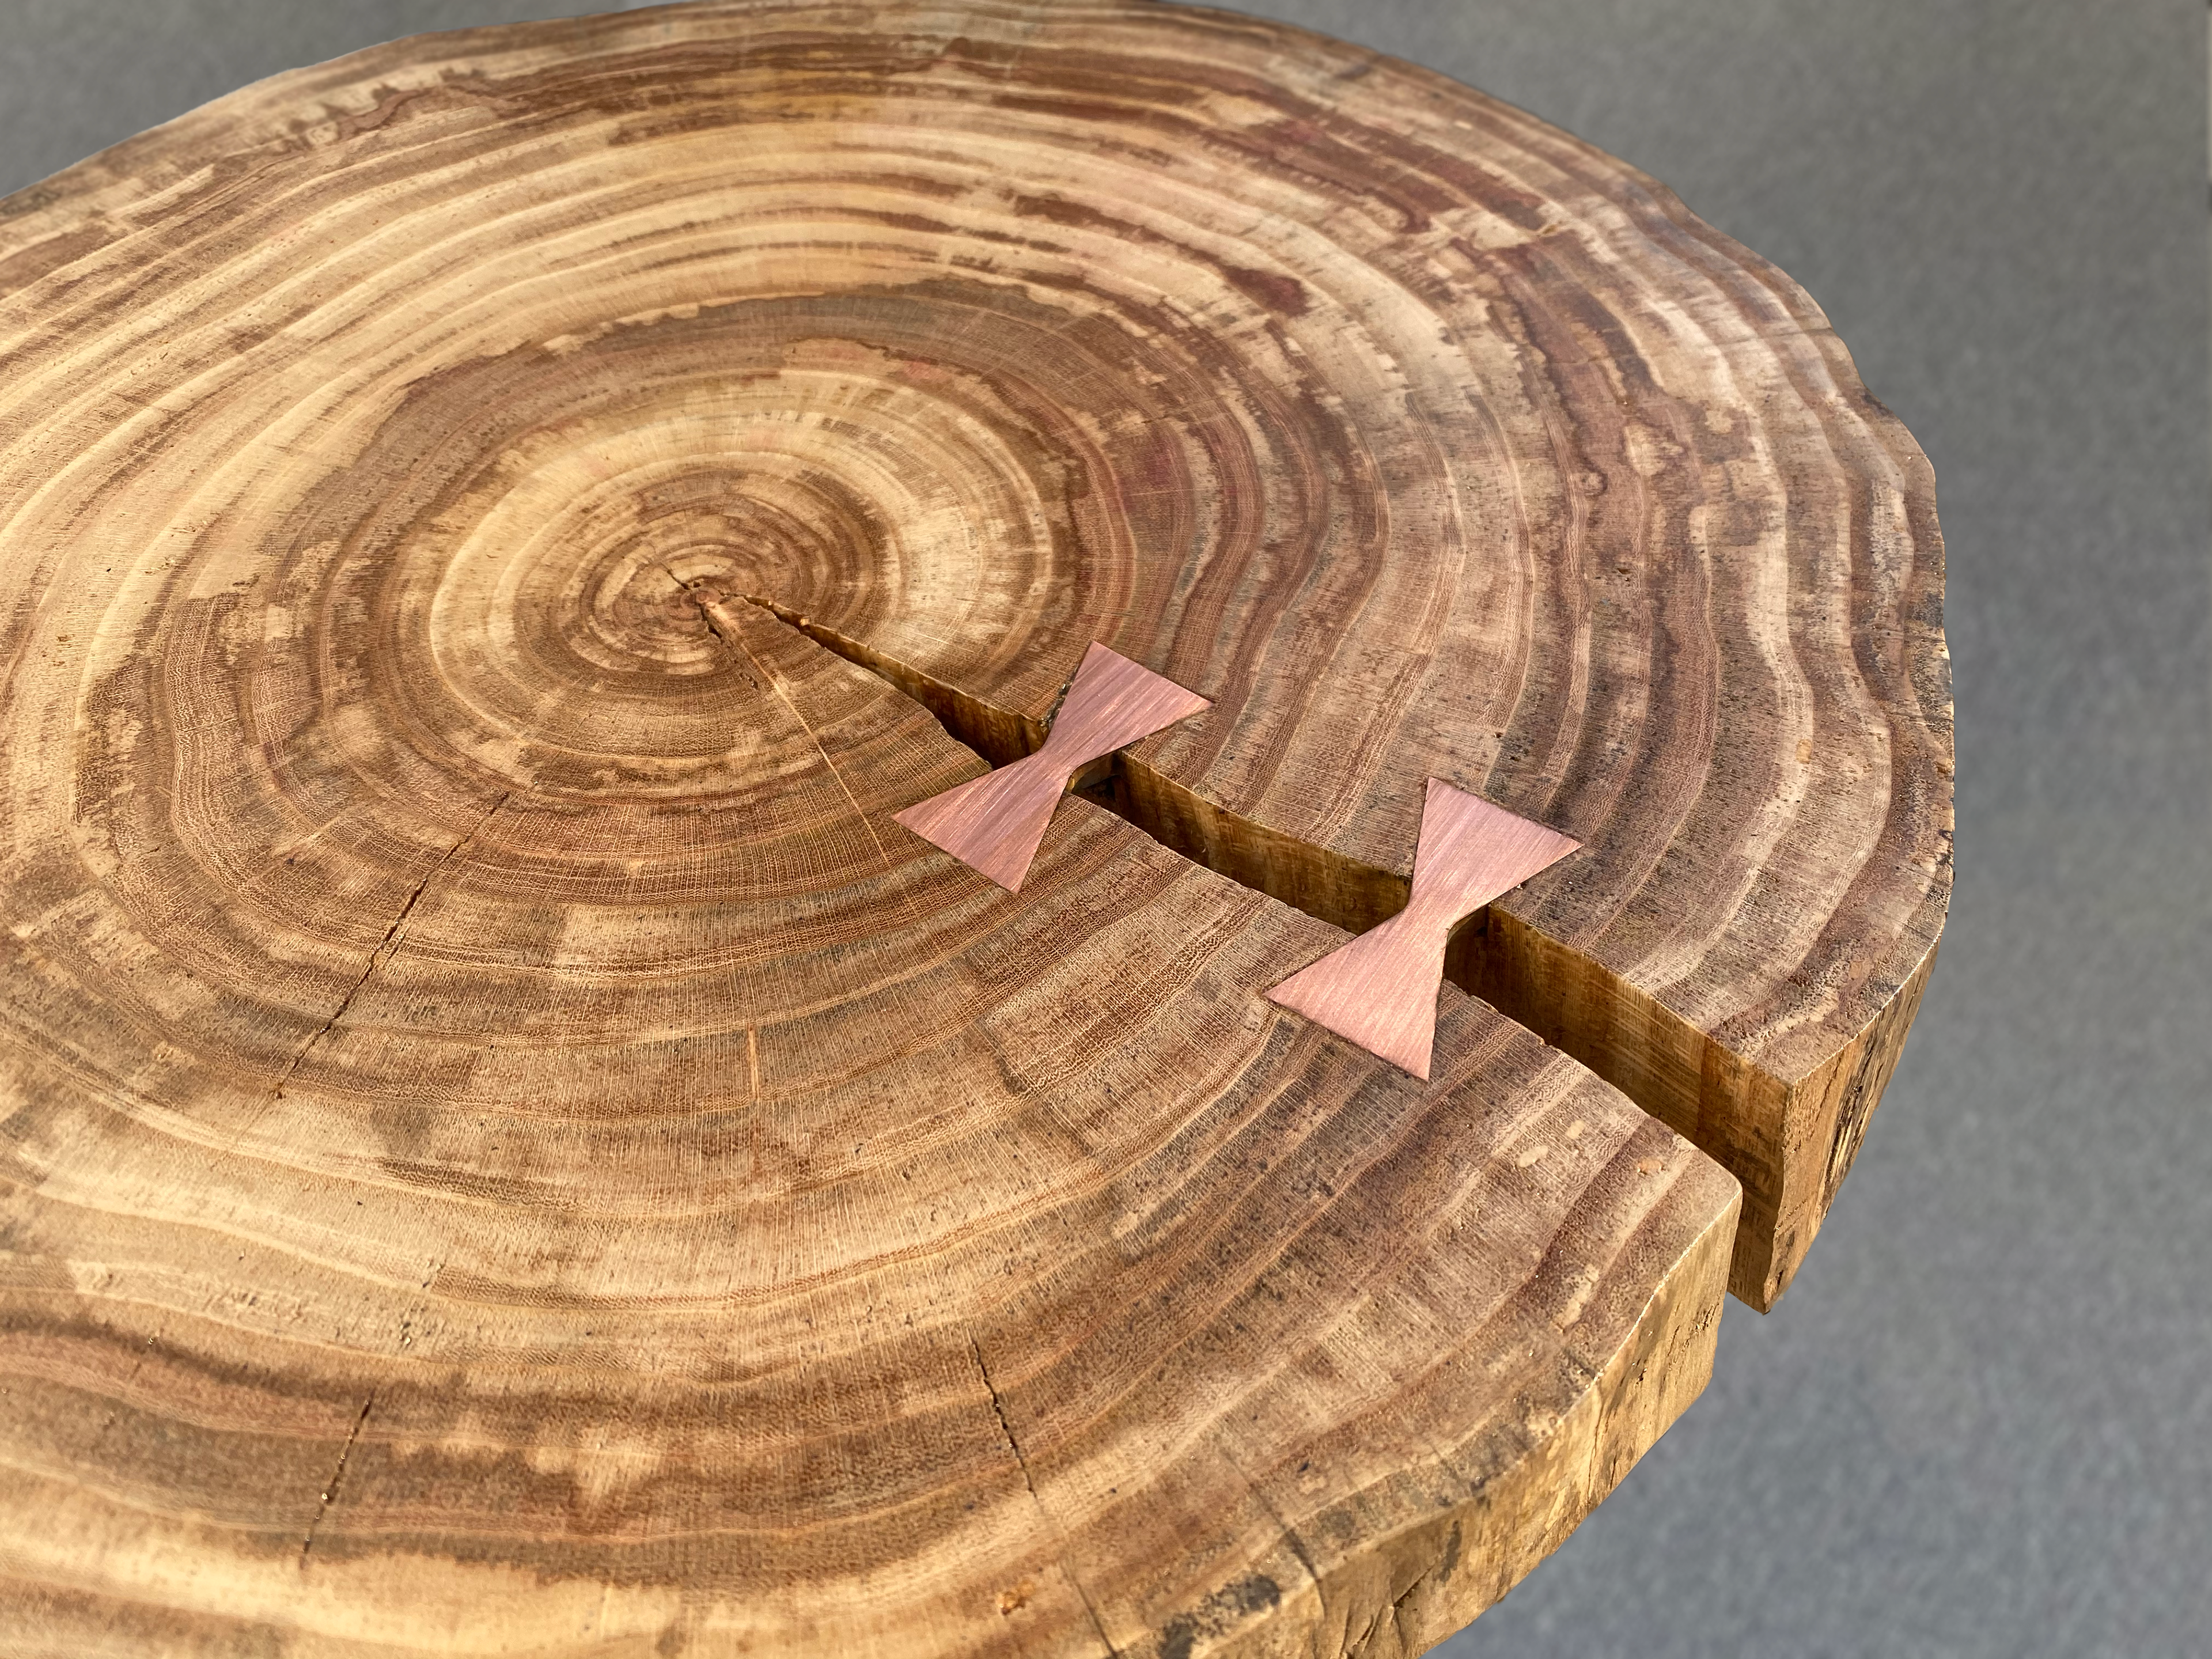
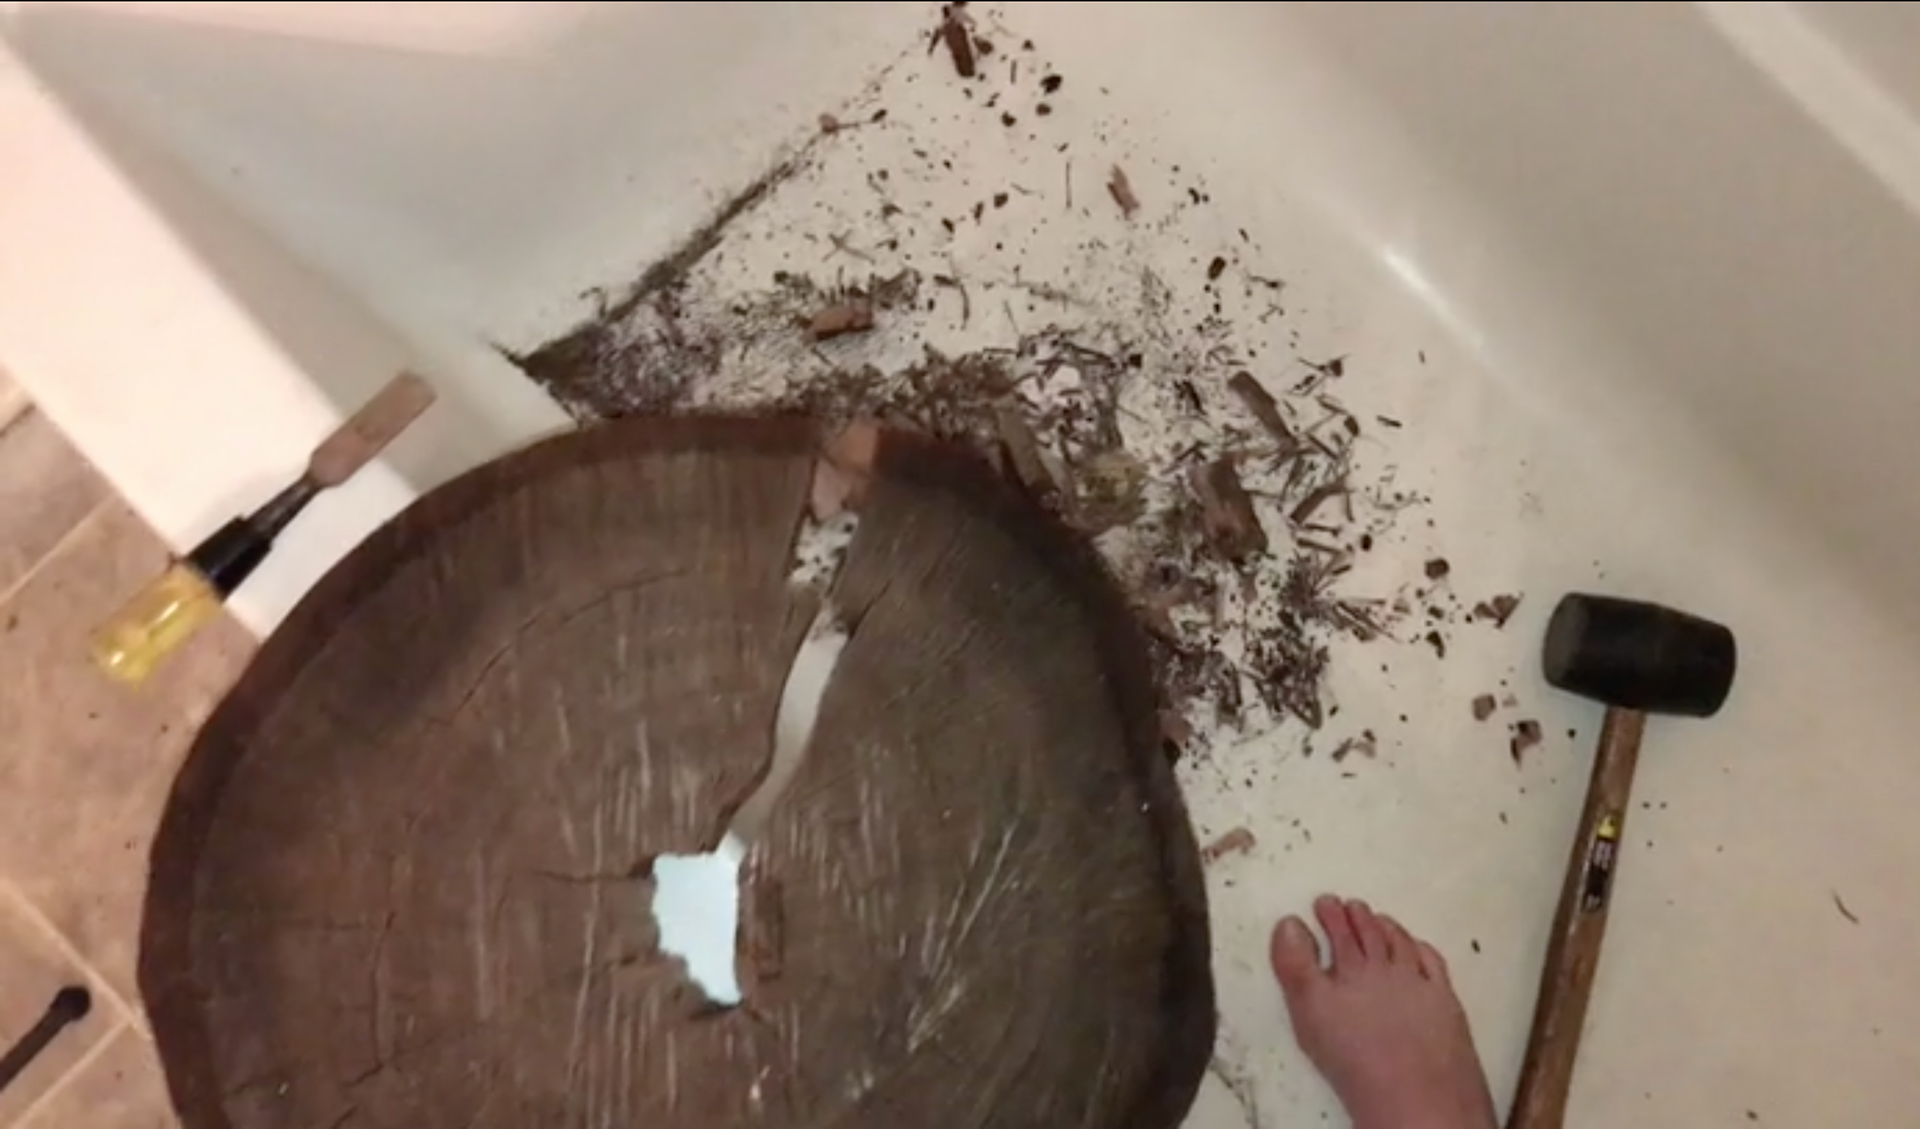
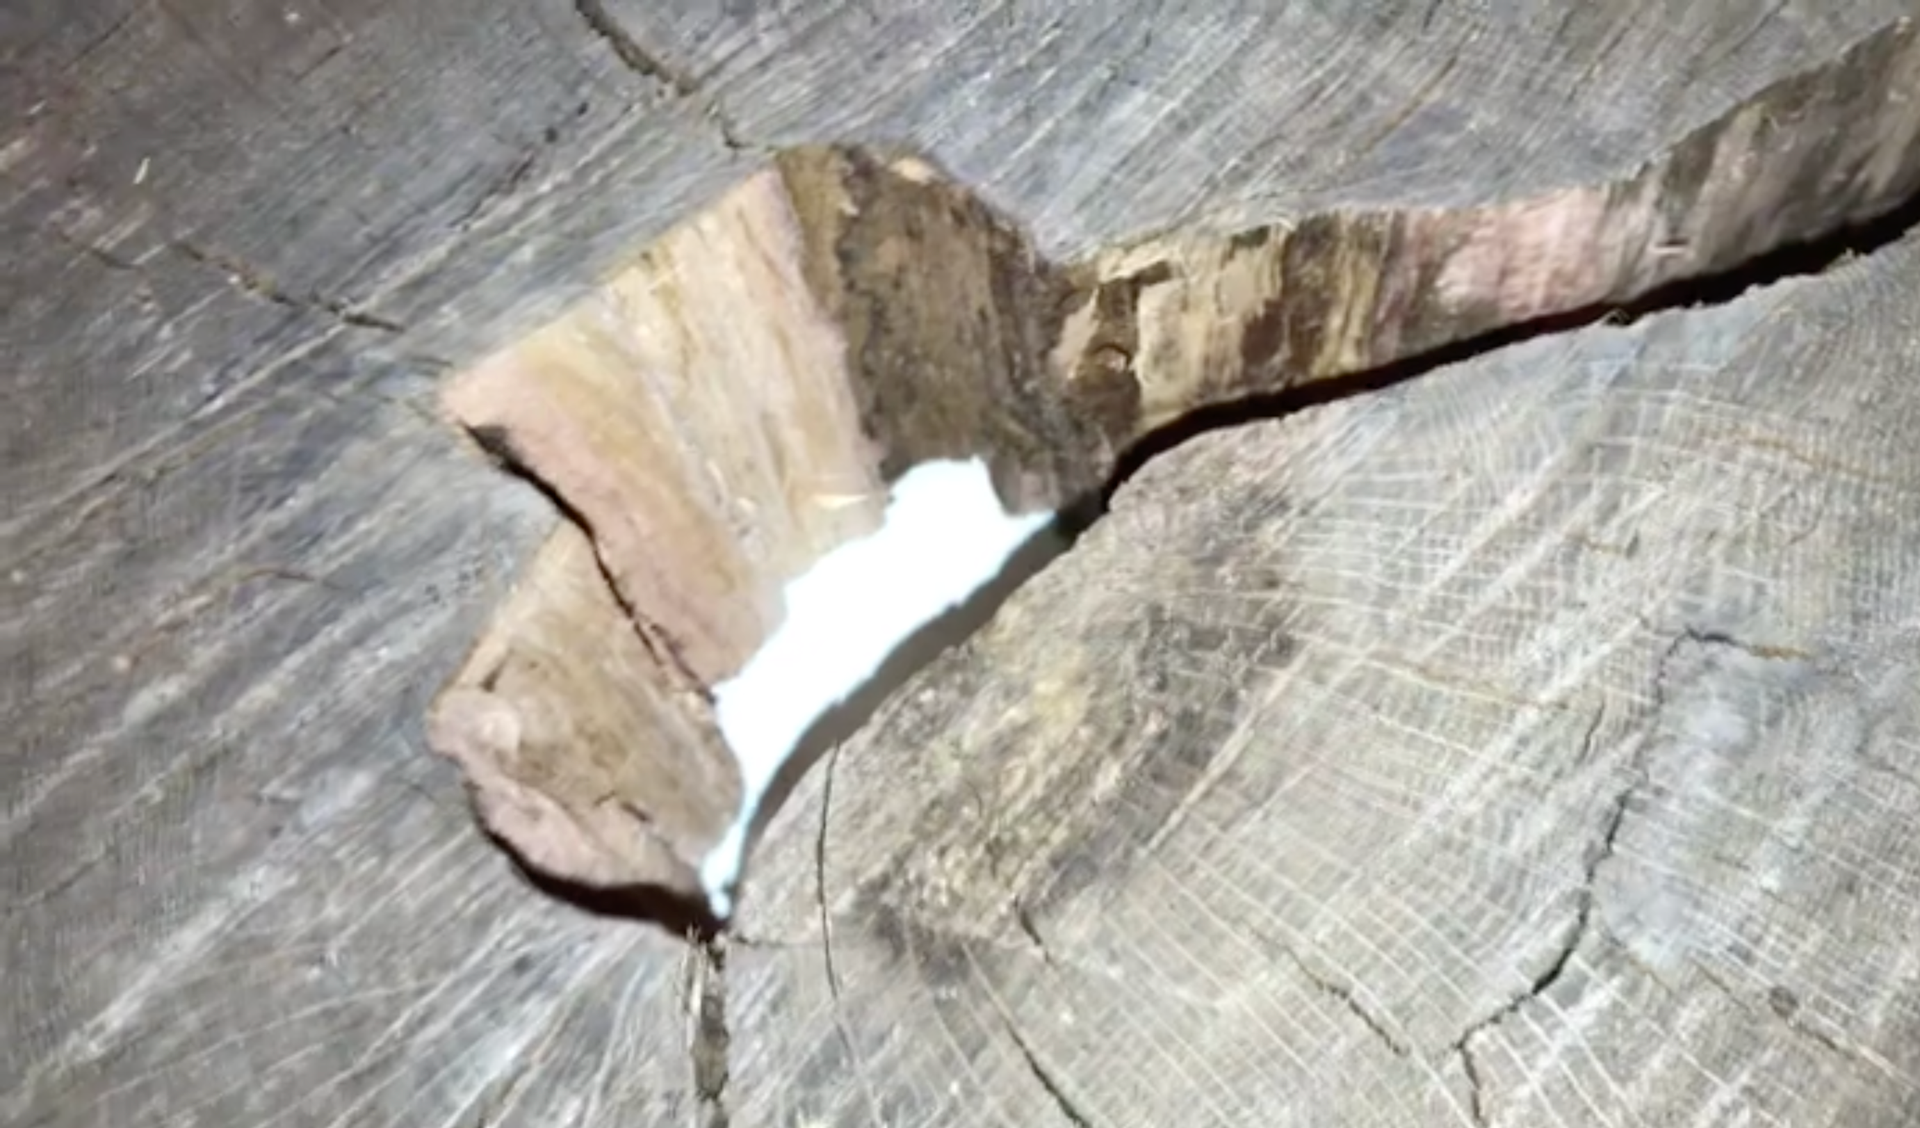
When the wood arrived, I scored the wood with the shape of the bowties and began chipping away the wood by hand. An obstacle I quickly ran into was the size of the bowties; as they were only two inches in length and my smallest chisel was 1/2", it was difficult to affect the precision necessary to get a snug fit. However, I kept on and eventually cut the holes to depth.
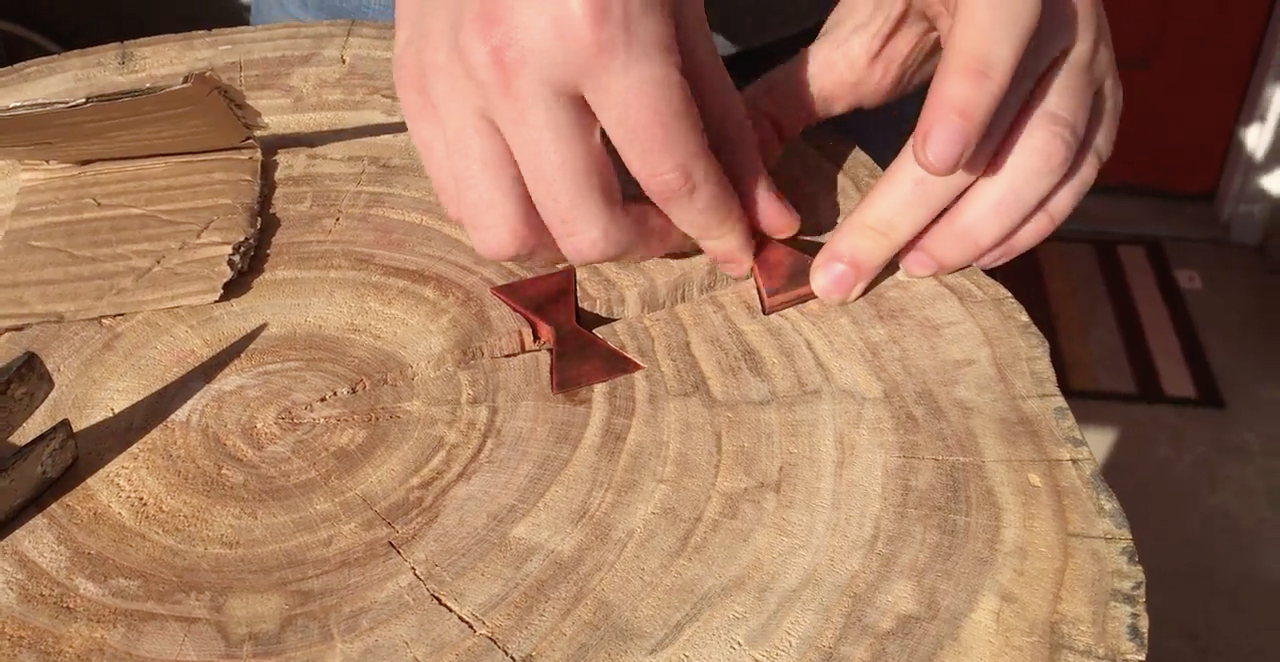
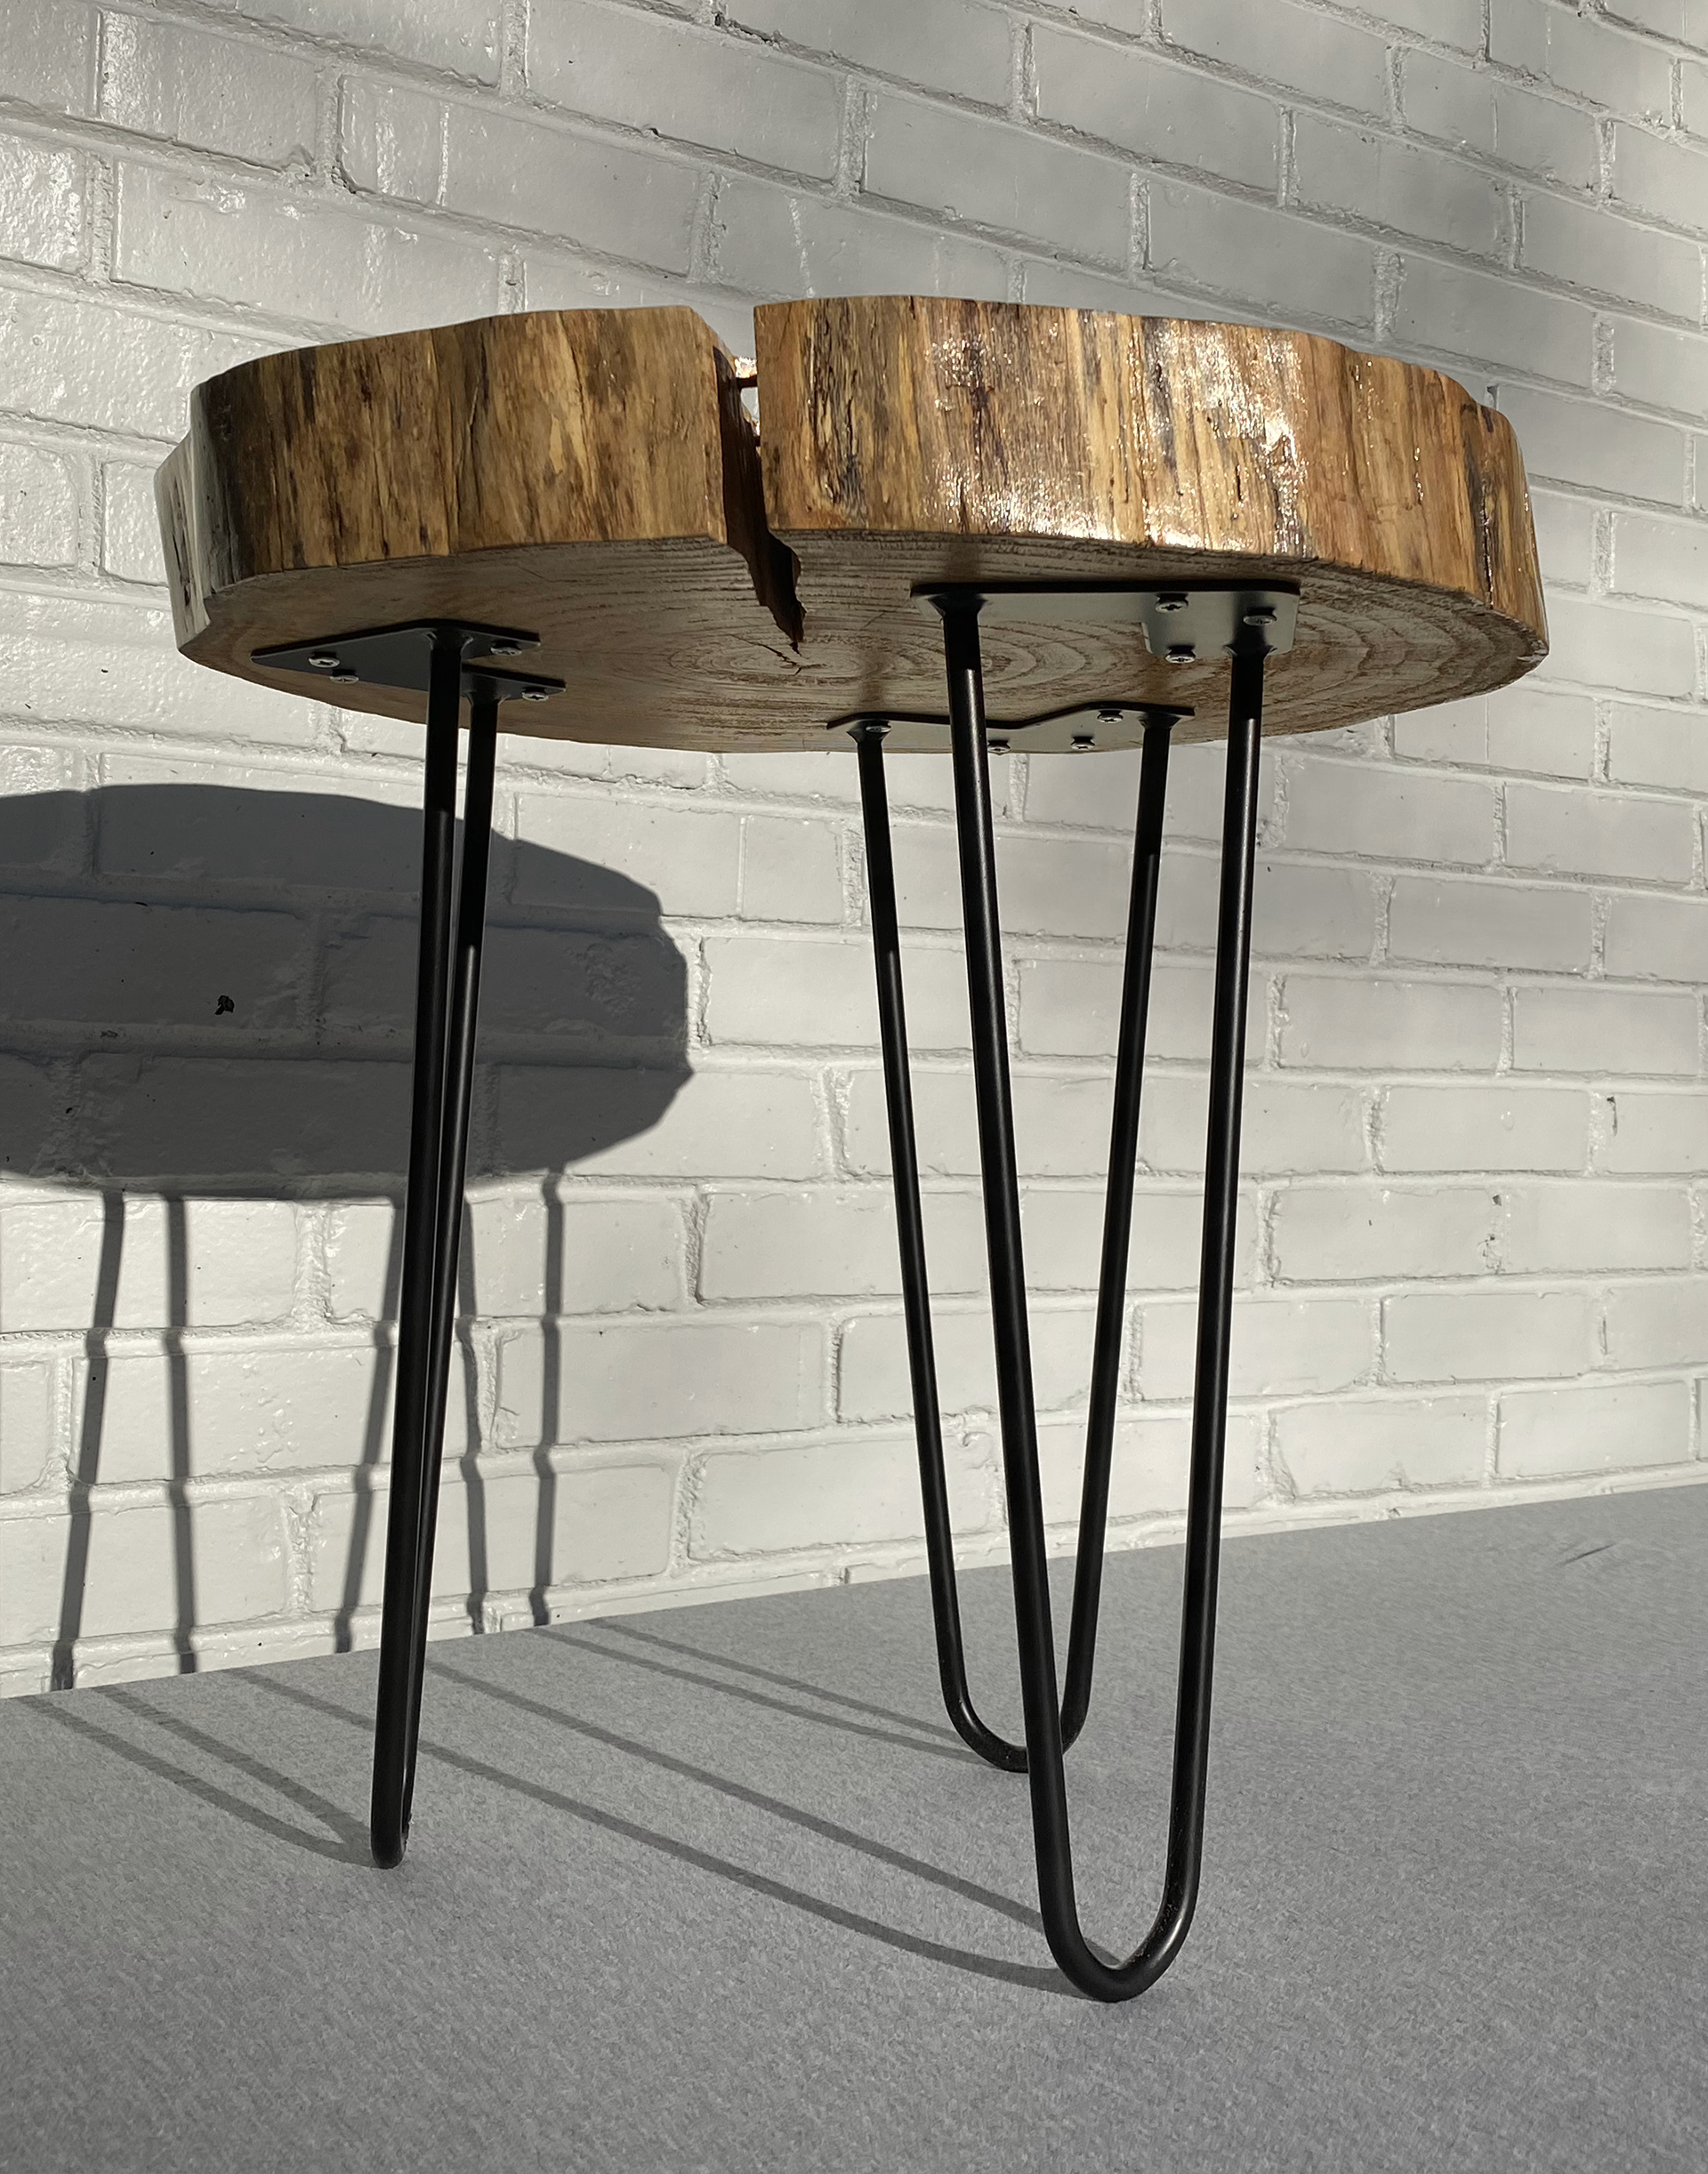
After dry-fitting the keys, I covered the walls of the slots with epoxy, slid the key in, and hammered them into place. Many hours of sanding, sealing, and screwing in the legs later, I had a finished table.